2008-2010 Dodge Charger
How to upgrade the stereo system in your Charger

In brief: This Crutchfield Research Garage article gives you an overview of your Charger's stock stereo system and your aftermarket upgrade options. We'll tell you all about:
- The factory stereo system
- Removing the factory radio
- Removing the factory speakers
- Adding more bass
- Other options for your Charger
Then, use our vehicle selector to find the gear that will fit your car.
Overview of the Dodge Charger
The 2008-10 Dodge Charger is one of the last living examples of a true automotive archetype: the big ol’ American sedan. It’s handsome, roomy, comfortable and, if it’s “got a Hemi in it,” almost ridiculously powerful.
The Hemi cars get most of the attention, of course, but, thanks to a thriving tuner market, the V6 models offer plenty of performance potential. They look just as good, they’re easier to find, and you’ll probably pay less. The money you save can be spent on all sorts of upgrades. Like, for example, a new stereo system.
Detailed stereo and speaker removal instructions
The factory stereo system
The Charger’s factory stereo options are kind of like salsa, in that they're easily ranked according to intensity. There was “Mild” (the base 4-speaker system with 66 throbbing watts of power), “Medium” (Boston Acoustics systems with 6 or 7 speakers) or “Hot” (the top-of-the-line Kicker system with 13 speakers, including a trunk-mounted subwoofer). The stock receiver was a single-disc AM/FM/CD player. A touchscreen navigation system was available as well.
Whether you’re looking to take a base unit from “mild” to “wild” or an SRT from “hot” to “inferno,” the Dodge Charger is easy to shop for, easy to work on, and well worth the investment.
Removing the Charger’s factory radio is relatively easy. Installing a new one can be a bit more challenging, depending on whether you choose a single- or double-DIN receiver. Either will work, but there’s a slight difference in the installation process.

The Charger's factory radio is reasonably easy to remove and replace (Crutchfield Research Photo)
Removing the factory radio
To remove the old unit, use a panel tool to pry out the top and sides of the trim panel surrounding the receiver to release the connecting clip. Ease the assembly out carefully, disconnect the wiring harness, and remove the trim panel. After you remove the four Phillips screws securing the receiver to the dash, disconnect the receiver and remove it.
Single-DIN units install with relative ease in most cases. If you plan to play music from your phone or iPod, you’ll like the “shelf” that’s built into the single-DIN adapter. It’s a great place to put your music player.
Installing a double-DIN touchscreen receiver is where things get a little (but not too) challenging. The opening isn’t quite wide enough as-is, so you’ll need to cut away some plastic bits around the edge of the sub-dash. This isn’t as hard as it sounds, but you’ll need a Dremel tool or hacksaw to carefully trim away the excess. The Charger is an old-school kind of car, but that doesn’t mean you want to go medieval on your dash opening.

The Charger's spacious dash cavity will hold a wide variety of aftermarket receivers (Crutchfield Research Photo)
In order to install a new stereo, you'll need a special adapter, like the PAC C2R-CHY4 or RP4-CH11, to enable the new stereo to work with the Charger's electronics. These adapters aren't cheap, but if you purchase your new stereo from Crutchfield, we'll give you a very healthy break on the price.
No matter what kind of receiver you choose, the downside of replacing the stock radio is that you’ll lose the factory satellite radio, hands-free cell phone and other MyGIG features. The upside is that many new receivers are satellite-ready out of the box and also offer Bluetooth® functionality. A Bluetooth microphone looks and works great when you run the wiring up through the steering column and mount the mic on the inside top of the instrument cluster.
Tools needed: Panel tool, Phillips screwdriver, Dremel tool or hacksaw blade (for DD installations only)
Read our Car Stereo Buying Guide for shopping tips and advice.
Shop for car stereos that fit your Dodge Charger
Steering wheel audio controls
In most cases, it's reasonably easy to retain your Charger's steering wheel audio controls when you install a new stereo. When you enter your vehicle information, our database will choose the adapter you need to make your factory steering wheel controls work with a compatible aftermarket receiver.
Removing the factory speakers
The Charger's factory speakers are located in the front doors, the dash, and the rear deck.

Anything up to a 7" speaker will fit in the Charger's front doors (Crutchfield Research Photo)
Front doors
The Charger’s big, thick front doors can house big, powerful speakers if they need to. A wide variety of 6"x9", 5-1/4", 6-1/2" or even 7" units will work nicely in this car, and the sound improvement will be noticeable.
Removing the factory speakers involves removing the door panels, which involves removing several covers, screws and clips. This isn’t terribly difficult, but it is kind of, well, involved. You’re dealing with potentially fiddly bits of plastic here, so work carefully and remain patient. It’s better to do it the right way slowly than to break stuff quickly.
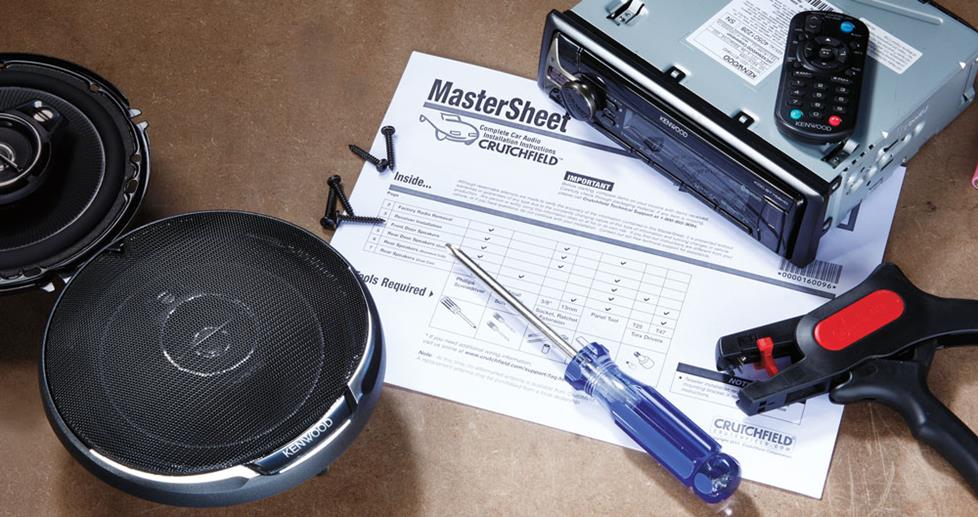
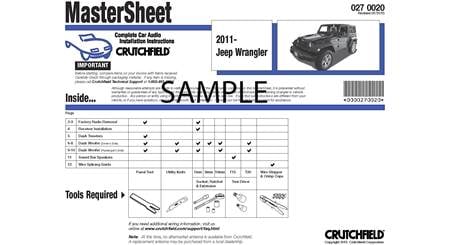
Your Crutchfield MasterSheet™ (free with purchase) has details on this and other aspects of the installation.
Tools needed: Panel tool, Phillips screwdriver, small flat blade screwdriver, T15 Torx driver

The rear deck houses two speakers and, in some cases, a sub (Crutchfield Research Photo)
Rear deck
The rear deck also features a pair of stock 6"x9" units, so a wide variety of 6"x9", 5-1/4" or 6-1/2" units will work nicely here, as well. Aftermarket 6"x9" speakers should fit right in, while other sizes will come with an adapter bracket that’s included free with your speaker purchase.
To get to the speakers, the rear seat and rear deck will need to be removed. The degree of difficulty is reasonable, but the amount of work depends on whether your car has a fixed or folding rear seat. Either way, this job will take time and a bit of muscle, so you might want to find someone to help. We also suggest that you find a clear, clean place to store the cushions and panels as you remove them. If you think seats attract stains IN the car, you’ll be amazed at what can happen when you take them out....
Note: During one of our installations, we noticed that the rear deck cover had (accidentally, we assume) been glued to the base of the rear window. After a bit of gentle cajoling, it came out with little or no damage and it went back in perfectly. We doubt this is an everyday situation with the Charger, but it’s something to look out for.
Tools needed: Panel tool, Phillips screwdriver, small flat blade screwdriver, long flat blade screwdriver,10mm or 18 mm socket

A panel tool makes it easier to get to the dash-mounted tweeters, including this center-dash speaker (Crutchfield Research Photo)
Tweeters
Depending on the factory stereo package, your Charger could have two or three in-dash tweeters. Boston Acoustic models have two corner units, and the Kicker package adds a 3-1/2" center-dash tweeter. They’re all easy to remove, but with the corner units, you’ll have to splice into the factory wires, and you may have to trim the new speaker’s “ears” to fit beneath the grille. A wiring adapter is available for the center tweeter.
Tools needed: Panel tool, Phillips screwdriver, right-angle Phillips screwdriver (for corner units)
Read our Car Speakers Buying Guide for more information.
Shop for speakers that fit your Dodge Charger

This Kicker sub is part of a factory option package (Crutchfield Research Photo)
Bass in your Charger
Some Chargers have a little more bass than the average car. The 7-speaker and Nav-equipped cars came with a 2-ohm single voice coil subwoofer in the center of the rear deck, while Kicker-equipped models came with a 10" square dual-voice coil subwoofer in the trunk. Both run off a factory amp and will only reproduce bass.
Replacing the rear deck sub involves the same process as replacing the rear speakers, so if you can, try to either replace everything at once or plan ahead for a future install by pre-wiring when you set up the speakers. You’ll also need to re-drill the mounting screw holes and cut out the carpet pad below the rather slim factory sub to obtain the mounting depth needed for an aftermarket unit. Plugging a round 10" subwoofer into the Kicker is do-able, but you’ll need to fabricate an adapter bracket and wire the sub into a new mono amp.

The trunk-mounted battery really helps if you're wiring an amp (Crutchfield Research Photo)
If you’re truly serious about bass, you might want to choose your own sub and build your own package. High-quality enclosures from Sound Ordnance will hold subs up to 15" subwoofers, and the Charger’s spacious trunk will hold a pretty big box. It also holds a rear-mounted battery, which means you won't have to go through the firewall when you're wiring your Charger for a powerful aftermarket amplifier to drive those big subs. That's a huge time-saver when you're doing the installation yourself.
Learn more about building a bass system in our Car Subwoofer Buying Guide.

Seal in your sound by installing Dynamat in your Charger's doors and trunk
Other options for your Charger
There are plenty of other ways to improve your Charger. Here are just a few of them:
Add an amp (or two)
A new 4-channel amplifier will help you get the most out of your new speakers. You'll get cleaner power (and a lot more of it), which will result in much, much better sound. A mono amp can provide the juice you need for your new rear deck subwoofer, too. Learn more about adding amps to your system in our Car Amplifier Buying Guide.
Install some Dynamat
The Dynamat 10435 Xtreme Door Kit is the perfect way to seal in sound. This heavy-duty insulating material is easy to install, and it really makes a difference. One kit will take care of the front doors. If you install a big sub, you might want to line the trunk lid as well.
Remote start and security systems
Adding remote start capability to your vehicle lets you warm it up in the winter or cool it down in the summer. The iDatastart system is incredibly convenient and makes it easier than ever to install a remote start system, so we highly recommend it. The module requires a vehicle-specific T-harness (sold separately) to connect with your vehicle's computer, security, and ignition systems, so we ask that you call to order so that we can make sure you get the right harness for your ride.
You can also talk to your Crutchfield Advisor about a security system. They’re not as easy to install (we usually suggest letting a professional do the job), but we can help you choose a system that’ll work in your vehicle.
Let's get started!
Ready to shop? Use our vehicle selector to find the gear that will fit your car or truck. If you have questions of your own, give us a shout via phone, chat, or email










Will from Vegas
Posted on 9/7/2018
Hey Jon, I have a 2008 Charger, I have a Soundstream model VRN-65HXB,is there a plug n play type adapter to just swap out the head unit? If so can you do a link? Thanks
Jon P. from Crutchfield
on 9/9/2018
Jon Paulette from Crutchfield
Posted on 3/26/2018
George, I've sent your question to our sales team, and they'll be contacting you via email soon. For immediate help, you can contact them via phone or chat.
George from Cartersville Va
Posted on 3/23/2018
Hello Jon I have a 2010 SXT Dodge charger my question is on these models I know they were discontinued but were they installed with the factory amp and if so will I be able to run aftermarket door speakers or would I need to get amp for them as well ....I already have 2 15s in the trunk which is amazing but I need some midrange for clear and better sound.
Jon Paulette from Crutchfield
Posted on 9/14/2017
Chad, Radio replacement is not recommended in that version of the Charger at this time. Speakers, however, are another matter. When you enter your vehicle's info into our Outfit My Car tool, you'll see which speakers will work in your car. If you have any questions, our advisors are available via phone or chat. Oh, and our in-house article research involves a mix of employee-owned vehicles and those belonging to various friends and family in the Central Virginia area.
Chad from Columbus
Posted on 9/14/2017
Hello. I have a 2014 Charger with the Alpine system (8" screen, Nav, etc.) and would like to change out the speakers and add a subwoofer. I see you have this listing but nothing for the new Chargers. My question is do you work on customer cars for your tutorials or just employee cars?