

Kid-friendly home theatre installation
How to child-proof your audio/video system, without compromising on sound quality

Heads up!
Welcome to this article from the Crutchfield archives. Have fun reading it, but be aware that the information may be outdated and links may be broken.When Crutchfield’s Senior Director of Marketing Zach and his wife had their second child, they decided it was time to finish their basement. They had two ideas for the space: a play area for the kids and a high-performance home theater.
Zach envisioned an open floor plan with no door to separate the home theater from the playroom. Because the children would have free access to both areas, the home theater system had to be made safer for (and protected from) the little ones. The challenge: child-proof the audio/video system, without giving up any of the high-end sound the adults craved.
For design help, Zach turned to Jeff in Crutchfield’s A/V Design Group. Here’s a look at how the plan came together.
Up and away and out of sight
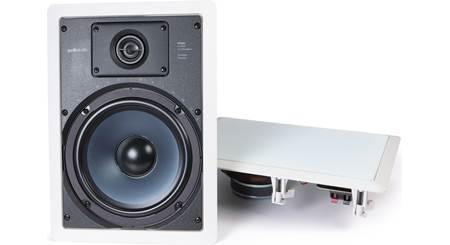
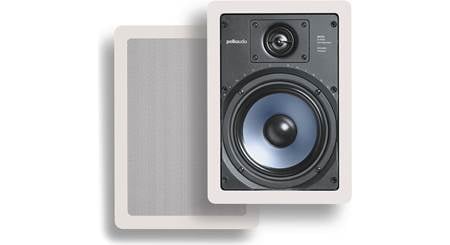
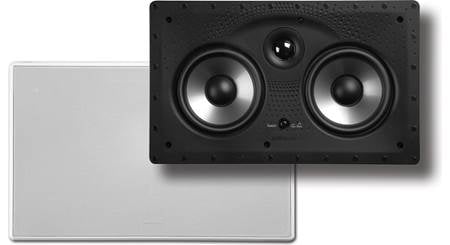
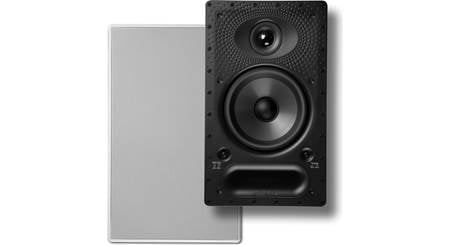
To eliminate exposed wiring and avoid sacrificing floor space, Jeff recommended using in-wall and in-ceiling speakers. Jeff also suggested an equipment cabinet with doors to protect the A/V gear from little fingers. The cabinet supports a dedicated TV mounting bracket that provides anti-tip protection — a solution that’s easier than wall mounting and safer than simply placing the TV on the pedestal that came with it.
Jeff recommended that Zach go ahead and place all of the cables behind the wall then use wall plates to create an attractive looking place to plug everything in. To help get him started, Jeff gave Zach a list of items that he would need before the drywall went up, including:
- in-wall speaker wiring
- pre-construction brackets for the speakers
- junction boxes for the wall plates
- in-wall HDMI, CAT-6 Ethernet cable, and RG-6 CATV wiring
- subwoofer cables

Here’s Zach’s basement before the in-wall wiring, speakers, and drywall were installed.
Getting it all together
Once Zach had decided on the gear for his system, Jeff sent him a detailed, itemized list of all the parts he would need. Jeff even segregated the components and hardware into separate sections by which room they would be installed in (a very nice roadmap to have when the sawdust really starts flying and details get confused).

Zach’s contractor drilled the holes in the wall studs for the wiring. Zach ran all of the low-voltage wiring himself, and installed the pre-construction brackets (those black rectangular frames with the mounting straps on the side) to indicate where the drywall was to be cut for the in-wall speakers. He also installed all of those colorful junction boxes where the wiring terminates and the future wall plates will be installed.

With the drywall up, the holes cut for the speakers and wall plates, it was time to start actually installing some equipment. The blue area to the front and left in this shot is the playroom. The object in the foreground is the beginnings of Zach’s new wet bar.
How'd the install go?
Even though Zach decided to handle the installation and setup of all the components himself, he was happy to let his electrician drill out the wall studs and ceiling joists for the in-wall wiring. He also had his contractor create tight, uniform acoustic spaces between the studs for the in-wall speakers – framing them in with sections of 2 X 4, then sealing any air gaps with insulating foam. This would allow the speakers to deliver a more accurate low-frequency response. Zach left the often messy job of cutting out the openings in the drywall to his contractor, as well, which allowed him to install his speakers with a minimum of fuss.
Thanks to A/V designer Jeff’s assistance and experience, Zach’s installation went off without a hitch. And he had all of the parts on hand needed to finish the job.

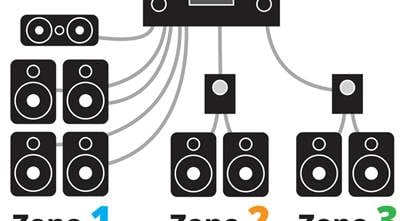
With the gear in place, all Zach needs to do now is add furniture (and stock his bar with juice boxes and some refreshing adult beverages). By the way, you're not seeing double. Zach installed two Polk Audio powered subwoofers for deeper and more evenly distributed bass throughout his room.

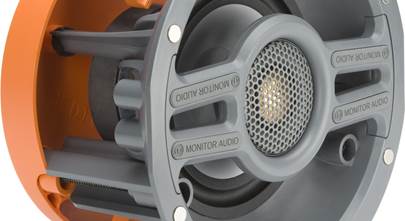
Don’t forget the back surround speakers. Zach’s Polk Audio in-ceilings are located above the bar in the back of the room with their drivers angled forward to deliver the best sound, and an immersive surround sound listening experience.
Setting up for success
Once everything was tucked into place, and all the connections were made, it was time to fire up the new system. The first thing Zach did was run the receiver’s Audyssey MultiEQ® auto setup and room calibration process, using the including microphone. He also manually tweaked the EQ settings on the receiver, and used the Polk in-wall speakers’ built-in room environment controls to fine-tune the sound. “The tweeter switch on the 265-LS reduced a noticeable echo effect that I think I’m getting because there is nothing on the walls to absorb sound,” says Zach.
Zach also took advantage of the receiver’s source level adjustments to compensate for the differences in volume between his various entertainment sources. “Switching between the different inputs resulted in some fairly big volume changes. I was able to adjust the individual levels for each input to get a nice even volume output when moving from source to source.”

Dedicated wall plates make for a clean, professional-looking install. Once all the connections are made, Zach will push his wheeled equipment cabinet back against the wall for safety.
A) Bank of Ethernet ports connected to Zach’s router for any future networked components
B) Single HDMI port connected to a corresponding plate further up the wall for a possible future wall-mounted TV
C) Telephone/TV antenna jack for Internet and over-the-air programming
D) A/C power connections
E) Speaker connections for the home theater system
F) Speaker connections for the playroom and patio
G) Dual HDMI port connected to the playroom TV and bar area laptop computer

Zach’s BDI equipment cabinet keeps his components safe, the TV firmly mounted, the center channel speaker optimally located, has plenty of room for more gear, and looks beautiful in the room. Whew!
How does it sound?
So, how did the fruits of all this labor turn out? Everyone in Zach’s family is impressed. The sound is deep, immersive, and natural, with super-clear movie dialogue. “This system gives us exactly what we were hoping for — huge theater sound and a myriad of multi-zone and multi-room capabilities — without taking up a lot of space. It gives us a very kid- and space-friendly design, and we didn’t have to compromise on any of the picture and sound quality that made us excited to install it in the first place. Having in-wall speakers really takes the emphasis off all of the gear, and puts it more on the movie experience.”