


2009-2012 Ford Flex
How to upgrade the stereo system in your Flex


In brief: This Crutchfield Research Garage article gives you an overview of your Flex's stock stereo system and your aftermarket upgrade options. We'll tell you all about:
- The factory stereo system
- Removing the factory radio
- Removing the factory speakers
- Adding more bass
- Other options for your Flex
Then, use our vehicle selector to find the gear that will fit your Flex.
Overview of the Ford Flex
Despite a distinct dimensional similarity to a '70s-era LTD Country Squire, the Ford Flex is not, repeat not a station wagon. In marketing-speak, the Flex is a "crossover," because everyone knows that Americans don't buy station wagons. A lot of people bought Flexes, though, so apparently there is a market for a vehicle that holds lots of stuff, doesn't require a stepladder for entry, and isn't a minivan. In other words, a station wagon crossover.
Call it what you will, but the Flex is a very cool vehicle, and you're lucky to call it yours. Granted, the slab-sided styling makes a Volvo 244 look like a Corvette by comparison, but the Flex makes it work. Plus, all those straight edges and right angles create a vast amount of usable interior space. With the seats up, the Flex can seat three rows of actual adults in reasonable comfort. With the seats down, there's room for a baby grand piano.
Okay, just kidding, but if you need room for stuff, the Flex has room to spare. All that, combined with excellent road manners and a nicely appointed cabin, make the Flex a smart choice for anyone who needs the versatility and comfort that only a station wagon crossover can provide.
Upgrading the stereo in a Flex is difficult in some ways (replacing the receiver) and reasonably simple in others (upgrading the speakers), but the end result can be very rewarding. We'll discuss all the perils and possibilities below.

The base radio is very well-integrated with the dash (Crutchfield Research Photo)
The factory stereo system
The 2009-2012 Flex was available with three basic factory stereo systems. The standard package consisted of an AM/FM/CD receiver with six speakers. Next up was an AM/FM/6-CD receiver with Sirius satellite radio and six speakers, which could be boosted to a 12-speaker Sony stereo package with a sub and two amps. The top model was a Sony CD/DVD/nav receiver. The SYNC system was an option, as was a rear seat DVD entertainment system with headrest screens. The Flex was also equipped with USB and aux inputs for iPods® and other devices.

The nav radio looks pretty good in the dash. (Crutchfield Research Photo)
Removing the factory radio
Or not, as the case may be.
Ford's interior designers created a sleek, functional home for the Flex's entertainment and climate controls. The fully integrated center stack looks terrific and works well, but it certainly wasn't designed with the aftermarket in mind. The climate controls are fully integrated into the factory receivers, which makes adding a new stereo incredibly difficult.
It's not impossible, mind you, but it is a complex, time-consuming project that requires a lot of skill and commitment. A dash adapter is available, but you'll have to relocate the factory climate controls into the adapter and make minor modifications to the dash. Once you do all that, you'll never be able to re-install the stock radio. This is obviously a lot of work, and there are basically no do-overs. If you're serious about putting an aftermarket receiver in your Flex, you should turn the work over to a car audio professional.
Detailed stereo and speaker removal instructions
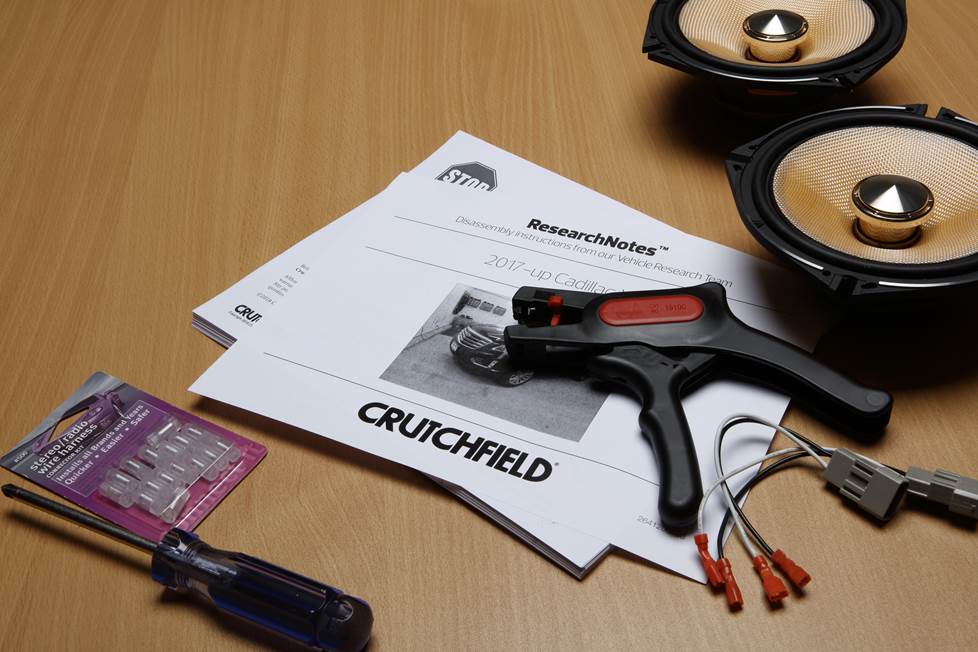
The good news is that filling your Flex with sound doesn't have to mean emptying your wallet at the car audio shop. There are plenty of ways to add performance and functionality without replacing the factory receiver. You still may need to access the receiver, but that's a ton easier than replacing the thing. Note that we said "easier," not "easy."
Tools needed: Panel tool, socket wrench and 7mm extension, small flat blade screwdriver
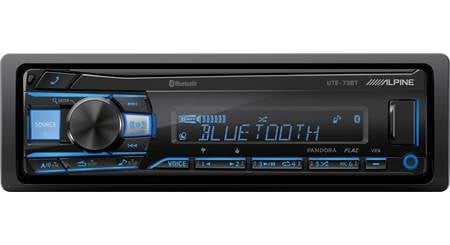
Read our Car Stereo Buying Guide for shopping tips and advice.
Shop for car stereos that fit your Ford Flex
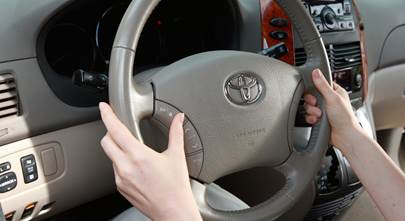
Steering wheel audio controls
In most cases, it's reasonably easy to retain your Ford's steering wheel audio controls when you install a new stereo. When you enter your vehicle information, our database will choose the adapter you need to make your factory steering wheel controls work with a compatible aftermarket receiver.

Getting to the front door speakers is reasonably easy on the Flex (Crutchfield Research Photo)
Removing the factory speakers
Upgrading the speakers is by far the best, easiest way to get better sound in your Flex. The factory stereo isn't as powerful as an aftermarket receiver would be, of course, but new speakers will make the most out of the power you have. Adding a new amp for the speakers will give you more power and control, while adding a new sub and a dedicated amp will give you the rich, full sound you want. We'll take a look at all of the locations below.

The center dash speaker is easy to reach and replace (Crutchfield Research Photo)
Center dash speaker
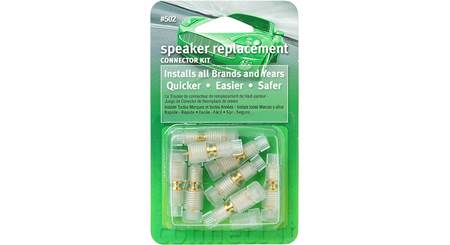
The center dash speaker, available with the 12-speaker package, is a 3-1/2" unit mounted under a grille. It's easy to remove and replace. Use a panel tool to pry up the center dash grille to release five clips and remove the grille. Remove the two 7mm screws securing the speaker to the dash, then disconnect the harness and remove the speaker. A wiring harness is not available, so you'll either need to splice the speaker wires or use a set of Posi-Products speaker connectors.
Tools needed: Panel tool, socket wrench and 7mm extension

The front pillar tweeters are mounted to the sail panels (Crutchfield Research Photo)
Front pillar speakers
The pillar tweeters, found on all Flex models, involve a bit more work. You'll need custom mount the new tweeters and use a set of Posi-Product connectors here, too, but if you're installing a set of component speakers, mounting the new tweeters is reasonably straightforward.
You'll start by pulling the door gasket away from the body along the front pillar. Starting at the top edge, pry the A-pillar trim panel out to release three clips. Release the retainer tab, disconnect the harness and pull up the panel up to remove. Gently pry the tweeter out of the mount on the panel.
Tools needed: Panel tool, small flat blade screwdriver

A close-up view of the factory front door speakers (Crutchfield Research Photo)
Front door speakers
In the front doors, the Flex sports a pair of 6"x8" woofers that can be replaced by a wide variety of same-size units or (with a mounting bracket that's included with your speaker purchase) 5-1/4" models. You'll need to remove the door panel, but that's not too hard..
Start by prying out the screw cover behind the door release handle on the upper door and removing the exposed 10mm screw. Next, start from the top edge, pry out the screw cover behind the door pull handle in the center of the door, and remove the 10mm screw you see there.
On the rear of the door, you'll need to remove one Phillips screw on the rear edge of the door panel. Pry off the reflector and remove another Phillips screw. From there, remove two Phillips screws along the front edge of the panel and two more along the bottom. Lift up on the panel, disconnect the speaker harnesses and door release cable, then remove the panel and store it someplace safe and out of the way. All that's left is to remove four 1/4" hex screws securing the speaker to the bracket, disconnect the harness and remove the speaker.
Tools needed: Panel tool, socket wrench, 1/4" & 10mm extensions, Phillips screwdriver, small flat blade screwdriver

You can replace the rear door speakers with 6"x8" or 5-1/4" aftermarket models (Crutchfield Research Photo)
Rear door speakers
The rear speakers are 6"x8" coaxial units that can be replaced by same-size or 5-1/4" speakers. Pry out the screw cover behind the door release handle and remove the exposed 10mm screw. Then starting at the top edge, pry out the screw cover behind the door pull handle and remove the 10mm screw you see there.
Pry off the reflector on the rear edge of the door panel and remove one Phillips screw, then remove two Phillips screws along the front edge of the panel and two more along the bottom. Pry out the rear edge of the panel to release two retaining clips, then lift it up, disconnect the harness and the door release cable, and put the panel aside. Remove four 1/4" hex screws securing the speaker to the bracket, disconnect the harness and remove the speaker.
Tools needed: Panel tool, 1/4" & 10mm socket wrench extensions, Phillips screwdriver, small flat blade screwdriver

If your Flex has the 12-speaker system, you'll want to replace these rear pillar speakers (Crutchfield Research Photo)
Rear pillar speakers
The rear pillar speakers found in 12-speaker Flexes are 3-1/2" 8-ohm models wired in parallel. The speakers are reasonably easy to reach, and replacement models are readily available. A wiring harness is not, however, so a set of Posi-Products connectors will be a big help here, too.
Starting at bottom edge of the pillar, pry open the screw covers on the trim panel and remove one 7mm screw behind each cover. Pull the upper pillar trim panel out to release the retaining clips, then disconnect the harness and allow the panel to hang by the seat belt. Remove the two Torx T-15 screws securing the speaker to the trim panel and remove the speaker.
Tools needed: small flat blade screwdriver, socket wrench, 7mm extension, Torx T-15 driver
Read our Car Speakers Buying Guide for more information.
Shop for speakers that fit your Ford Flex
Bass in your Flex
The Flex was available with a factory subwoofer. If you replace it, you'll hear a noticeable improvement in the sound of your music.

A close-up view of the factory amplifier (Crutchfield Research Photo)
Factory subwoofer
If your Flex has the 12-speaker system, you already have two factory amps (speaker and sub) and an 8" dual-voice coil subwoofer behind the right rear trim panel in the cargo area. This isn't a bad set-up at all, but it could be better.
The passenger's rear side panel must be removed to access the sub, which is mounted to a polymer enclosure, along with the sub amp. Removing the panel isn't terribly difficult, but it is a bit labor-intensive and you may need to drill new screw holes to mount certain aftermarket subwoofers. Of course, if you replace the sub, you'll also want to replace the factory amps. There's nothing quite like more power, plus you're already removing all these panels, so, y'know, while you're up….
To remove the panel, start at the bottom edge. Pry open the screw covers on the "D" (rearmost) pillar trim panel and remove one 7mm screw behind each cover. Pull the upper pillar trim panel out to release the retaining clips, disconnect the harness and allow the panel to hang by seat belt. Pry out the two center push pin clips on the rear scuff plate; then pull straight up on the plate. This releases the four retaining clips. Remove the plate, then unscrew the rear cargo net hooks and get the net out of the way.

The factory sub is conveniently located right behind the amp (Crutchfield Research Photo)
Moving forward (in both the car and in the removal process), you'll need to work on the "C" pillar next. Starting at the bottom edge, pry open the screw cover on the trim panel and remove one 7mm screw. Pull the panel out to release three clips and let it hang by the seat belt.
Next, you'll pry up the right-rear door scuff plate enough to remove one 5mm screw in the front edge of the rear side panel. Again, you don't have to remove this panel; you just need to get it out of the way for a second. Pry carefully, of course. With the screw removed, pry out on all sides of the side panel to release the retaining clips, then disconnect the harness and place the panel on the folded second row seats.
Remove three 10mm screws securing the sub/amp enclosure to the side wall. Pry out two clips on the top edge of the enclosure, disconnect the harness and remove the enclosure. Remove eight Phillips screws on the front of the subwoofer and one 8mm screw on the back of the enclosure, then disconnect the harness and remove the sub.
Tools needed: Panel tool, Phillips screwdriver, small flat blade screwdriver, socket wrench and 5mm, 7mm, 8mm, and 10mm extensions

This JL Audio Stealthbox is designed to fit the Flex
Aftermarket subwoofers
There's plenty of room for people and/or gear in the Flex, and there's plenty of room for more bass, too. The kind of sub that's best for you depends on how you use your Flex.
If pure power comes first and you're not terribly interested in using the third-row seats, let your creativity (and/or your budget) be your guide and go as big as you like. There's a 40" W x 29" H x 14"/14" D (top and bottom) space for a subwoofer box in the rearmost cargo area — but it will eat up your grocery space. There's also plenty of room for smaller sub that can be disconnected when you need more space. It's a nice mix of pounding sound and practicality.
If your Flex was not originally equipped with a sub, you can still add bass without losing utility. The solution here is a JL Audio Stealthbox. It's a custom-fit, color-matched design that fits into the passenger side trim panel. The Stealthbox contains one 10W3v3-4 subwoofer (500w RMS, 4 ohm) in a sealed enclosure. The beauty of this piece, besides the custom look, is that it doesn't eat up cargo room and it won't affect the function of the third row seat. Installation does require some permanent panel modification, so you might want to turn this job over to a car audio pro.
If you don't want to modify your Flex, you can also boost your sound quite a bit by installing a compact powered subwoofer underneath each of the front seats.
Learn more about building a bass system in our Car Subwoofer Buying Guide.

Adding a Garmin GPS to your Flex will help get you where you want to go
Other options for your Flex
As you might expect with a vehicle as roomy and versatile as the Flex, there are lots of other upgrades available.
Factory sound processor
A sound processor is a great way to get the most out of your new speakers. The factory stereo is programmed to make the inferior factory speakers sound their best, which often means dialing back the bass output as the volume goes up. A sound processor will strip out the factory sound shaping and give your aftermarket speakers and amps a clean, flat signal. Learn more in our article about factory sound processors.
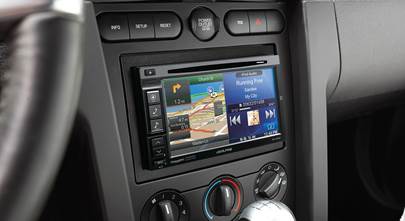
Portable navigation
If your Flex is equipped with the factory nav system and SYNC, you're in pretty good shape. If it isn't, all is not lost. A portable GPS system will give you the directions and traffic updates you need, plus you can take it with you when you're exploring a new town.
Noise supression
With a boxy, broad-beamed vehicle like the Flex, wind and road noise can be an issue. Installing Dynamat while you're installing your new speakers will reduce squeaks, rattles and noise, allowing you to hear your stereo system in all its glory.
Remote start and security systems
Adding remote start capability to your vehicle lets you warm it up in the winter or cool it down in the summer. The iDatastart system is incredibly convenient and makes it easier than ever to install a remote start system, so we highly recommend it. The module requires a vehicle-specific T-harness (sold separately) to connect with your vehicle's computer, security, and ignition systems, so we ask that you call to order so that we can make sure you get the right harness for your ride.
You can also talk to your Crutchfield Advisor about a security system. They’re not as easy to install (we usually suggest letting a professional do the job), but we can help you choose a system that’ll work in your vehicle.
Let's get started!
Ready to shop? Use our vehicle selector to find the gear that will fit your car or truck. If you have questions, give us a shout via phone, chat, or email


Kevin Sudduth from Angier
Posted on 12/22/2021
I'm installing an aftermarket Amp and subs. I need to connect the signal wire to turn turn the Amp on. Super confusing wiring. Where should I splice it in at? 2011 Ford flex Sony system with stock Amp and sub.
Jon Paul from Crutchfield
on 12/23/2021
Robert Gregory from New york
Posted on 10/6/2020
I have the cd changer and serious xm but water has damaged it and volume and station controls are either non responsive or crossed up. Do you have a recommendation for a replacement to fill this space?
Jon Paul from Crutchfield
on 10/7/2020
Guy Evans from Roseville
Posted on 8/18/2020
I have the base model receiver with sync system. No sub. I want to add some after market speakers and amp. Need some info on this.
Jon Paul from Crutchfield
on 8/19/2020