2002 Chevrolet Avalanche
How to upgrade the stereo system in your Avalanche

In brief: This Crutchfield Research Garage article gives you an overview of your truck's stock stereo system and your aftermarket upgrade options. We'll tell you all about:
- The factory stereo system
- Removing the factory radio
- Removing the factory speakers
- Adding more bass
- Other options for your Avalanche
Then, use our vehicle selector to find the gear that will fit your vehicle.
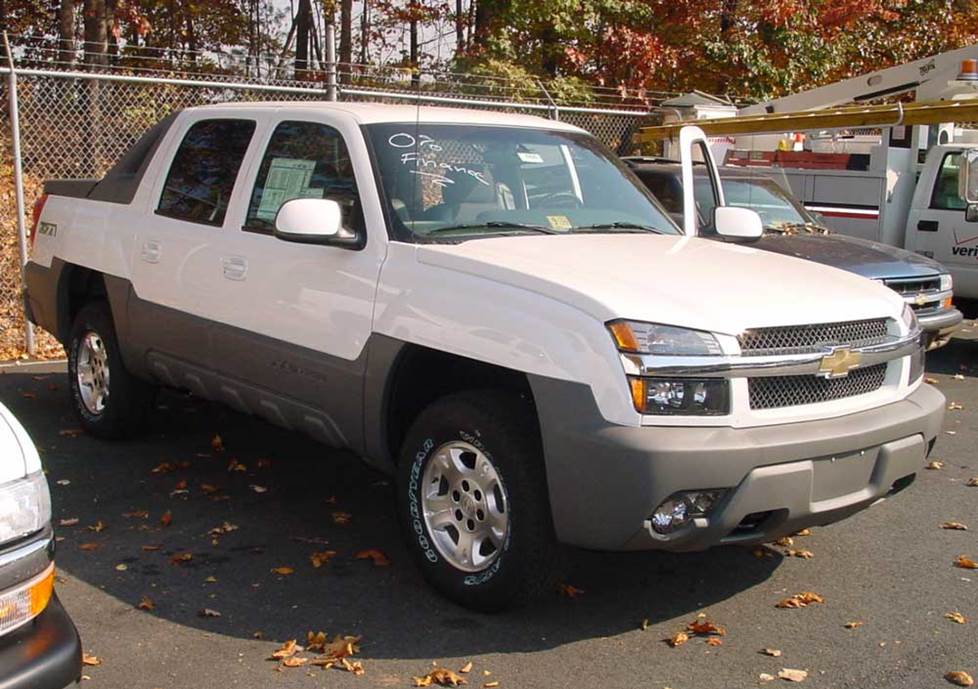
Overview of the Chevy Avalanche
The original Avalanche was the answer to the burning question, "Hey, what if you crossed a full-sized Chevy truck with a multi-tool?" The innovative "Midgate" was a nifty piece of engineering that transformed the 'Lanche from comfortable SUV to mattress-moving pickup in almost no time. For people who only needed a pickup some of the time, that was a pretty cool party trick.
The Midgate was the Avalanche's main attraction, but comfortable seats, nimble (for a truck, anyway) handing, and distinctive looks also helped make this truck an immediate hit with the press and public. Today, it's still a versatile, practical vehicle with a lot going for it. Sure, the early-aughts side cladding is a matter of taste, but wasn't it always? You can't see it from the inside, anyway.
Speaking of inside, the audio system is definitely ripe for improvement, especially in a truck this old. Replacing the factory system is a pretty straightforward process on this truck, but adding bass can get a bit complicated. We'll help you choose the right gear and give you the advice you need to make your Avalanche sound awesome.

The Avalanche's stock radio is the usual "GM corporate" model found in other trucks (Crutchfield Reseach Photo)
The factory stereo system
The Avalanche was equipped with GM’s standard corporate AM/FM CD player, which is slightly taller and a bit shallower than most single-DIN aftermarket stereos. Not every touchscreen receiver will fit in the Avalanche, but a wide variety of double- and single-DIN receivers will, and you'll be impressed by the features available on some of them.
Adding a stereo with a flip-out screen might seem like a neat idea, but in most cases, the screen will hit the column-mounted gear shifter every time it opens up. A more typical in-dash model is a better choice for this truck. You won't have to worry about OnStar® compatibility in your Avalanche, since this truck came with an analog version that GM doesn't even support anymore.
Note: The entire Chevy truck line, including the Avalanche, received new dash design for 2003. Thus, the first year Avalanche is sort of a one-year wonder in terms of stereo replacement. These installation tips are also good for the Avalanche's upscale cousin, the Cadillac Escalade EXT.
Detailed stereo and speaker removal instructions

Removing the factory radio
Removing the old radio is reasonably simple. Use a panel tool to pry around the edges of the trim panel to release eleven metal retaining clips and remove the panel. You'll want to be careful around the "hazard" switch while you're doing this. Depending on the receiver you choose, you may need to use a hacksaw blade to remove the factory radio's rear support bracket. This isn't tough to do, but you don't want to damage the dash while you're doing it.
You'll need a mounting kit to trim out the new radio, a wiring harness that allows you to connect your new radio without having to cut the factory wiring, and an adapter that connects the Chevy antenna to your new radio. Crutchfield includes these installation parts at a deep discount with your purchase, plus you'll get free step-by-step disassembly instructions.
Tools needed: Panel tool, socket wrench and extension, 7mm socket
Read our Car Stereo Buying Guide for shopping tips and advice.
Shop for car stereos that fit your Chevrolet Avalanche
Steering wheel audio controls
In most cases, it's reasonably easy to retain your truck's steering wheel audio controls when you install a new stereo. When you enter your vehicle information, our database will choose the adapter you need to make your factory steering wheel controls work with a compatible aftermarket receiver.
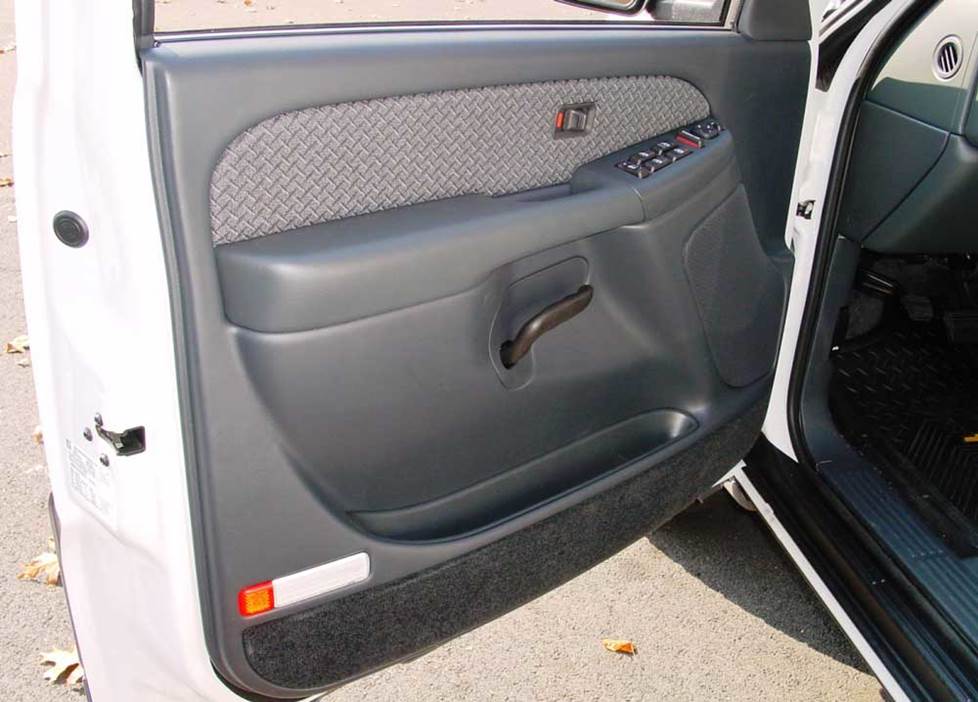
The front doors can house a wide variety of aftermarket speaker sizes (Crutchfield Research Photo)
Removing the factory speakers
The Avalanche has speakers in the front and rear doors.
Front door speakers
The Avalanche has a lot of unique elements, but it's still a Chevy truck at heart. That's a handy thing when it comes to things like replacing door speakers.
The speakers are reasonably easy to reach and replace. You'll need to remove the sail panel and door panel, but that's not a terribly involved process at all, and your MasterSheet will walk you through every step. The key is to work carefully and take it easy when you're prying away the plastic bits. They're not as young and flexible as they used to be.
The factory front speakers are 6-1/2" models, so a wide variety of aftermarket models will fit right in. You can install a 6-1/2" or 5-1/4" speaker using a simple adapter plate for installation. You can also go with slightly larger 6-3/4" speakers if you’re willing to drill some new screw holes.
Drilling new screw holes isn't the hardest thing ever – you'll place the new speaker in its future location, mark where the holes go, and drill the new holes – but you're still drilling holes in your truck, so be careful. Be aware of what's around the spot you're drilling into, mind the drilling depth, and wear eye protection.
Crutchfield includes mounting brackets (when needed) and speaker wiring harnesses with every speaker order, which makes your installation a lot easier.
Tools needed: Panel tool, socket wrench, extension, 7mm socket
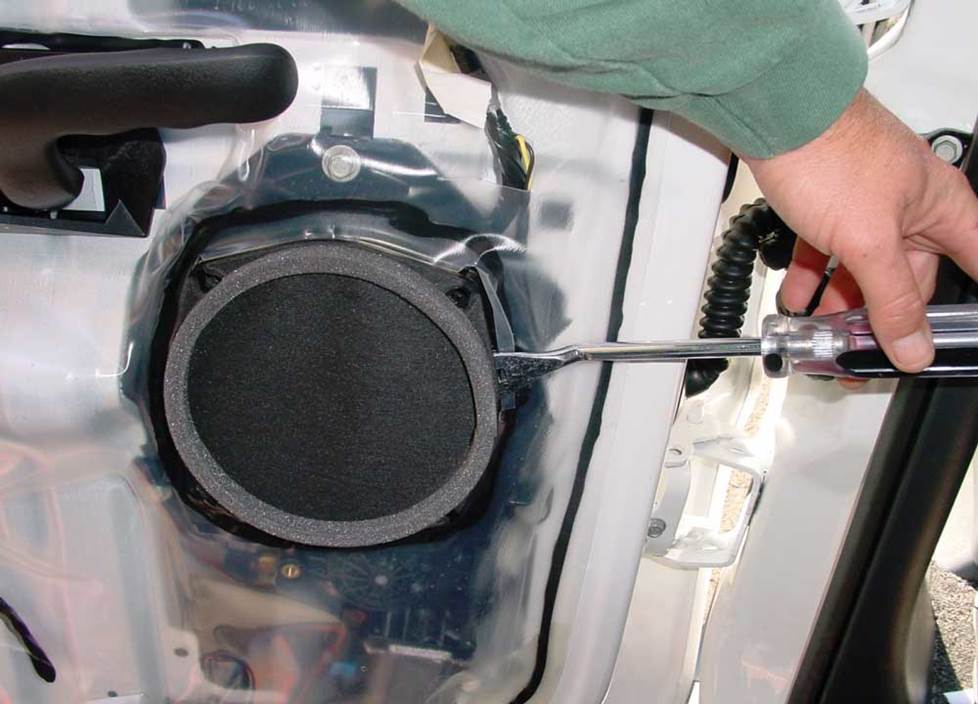
Removing the rear door speakers isn't hard at all (Crutchfield Research Photo)
Rear door speakers
In the back doors, the Avalanche sported a set of stock 6-3/4" speakers. The factory speaker brackets will work with this size, but you'll need an adapter if you install 5-1/4” and 6-1/2” speakers. Again, it's included free with your speaker purchase, along with the speaker wiring harnesses you need.
Mounting screws, on the other hand, may or may not be included with your speakers. Some manufacturers do, some don't, and some mean to, but forget sometimes. It's no big deal, really, but always check the box before you start the job. As with most projects, it's better to make that trip to the hardware store before you start than when you're halfway through.
The Avalanche's rear doors are somewhat different from the standard crew cab Chevy truck, so the process of removing the speakers is somewhat different, too.
You'll start by removing a 7mm screw under the door pull handle, then carefully prying off the door release trim. Remove another 7mm screw from the bottom front edge of the door panel, then carefully lift the door panel, disconnect the wiring harness and remove the panel. You really do want to be careful here, because aging plastic door panels can be easy to break and hard to replace.
Once the panel's off and stored safely, remove the four Torx T15 screws that secure the speaker. On most trucks, that would allow you to remove the speaker. Not on the Avalanche. The speaker is glued in place, so you'll need to pry it out with your panel tool before you can disconnect it.
Once that's done, you're ready to connect the new speaker's wiring adapter to the vehicle's speaker harness. Secure the speaker to the door using the hardware you just removed; then test it out before putting the door back together.
Tools needed: Panel tool, socket wrench, extension, 7mm socket, Torx T15 driver, Phillips screwdriver
Read our Car Speakers Buying Guide for more information.
Shop for speakers that fit your Chevrolet Avalanche
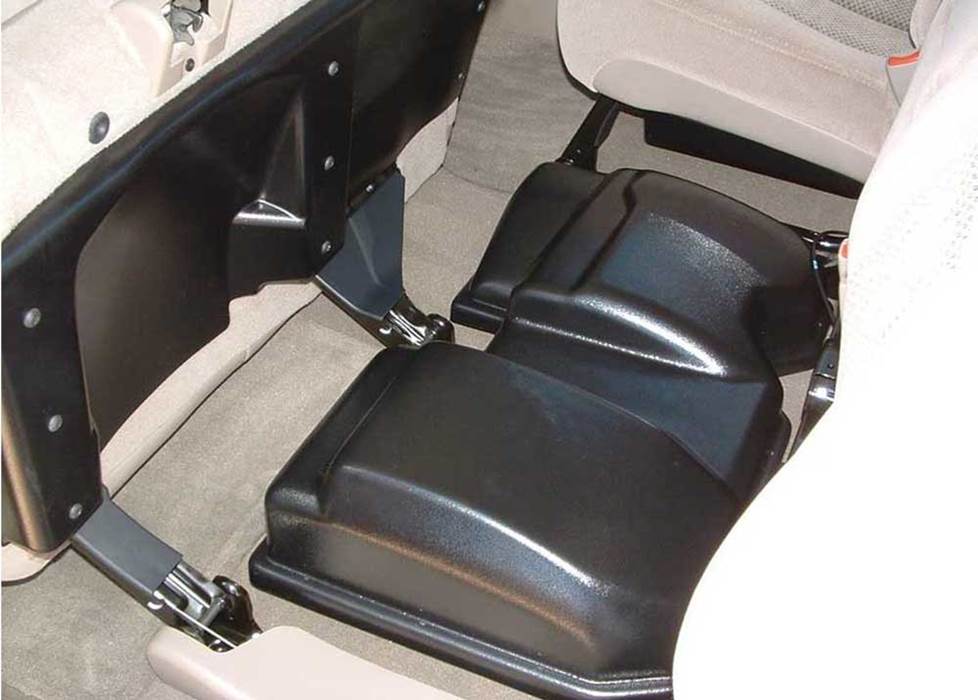
This Q-Forms enclosure fits under the rear seat on the driver's side, and holds a 10" sub
Bass in your Avalanche
Adding bass to the rear of the cabin in an Avalanche is possible, but it's challenging. Due to the way the Midgate works, there just isn't anywhere to install a standard subwoofer. A compact powered subwoofer might be the best solution for most Avalanche owners.
If you want even more bass, though, we do have some other options, like the Q-Forms enclosure below. It fits under the driver's side rear seat of your Avalanche (or any 2000-up Chevrolet or GMC pickup) without sacrificing any space.
A wide variety of custom-fit subwoofer options are available for the Avalanche, and they fit into a variety of locations. Wiring harnesses are not needed with these enclosures, but a fair amount of car audio installation experience might be.
Installing one of these subwoofer enclosure in your truck isn't an impossible task for the average DIY-er, but it can get complicated. Due to the extensive disassembly and reassembly required, we generally recommend that this sort of work be turned over to a car audio professional.
To see all of the sub options for your Avalanche, enter your vehicle info.
Learn more about building a bass system in our Car Subwoofer Buying Guide.
Shop for vehicle-specific subwoofers for your Chevrolet Avalanche
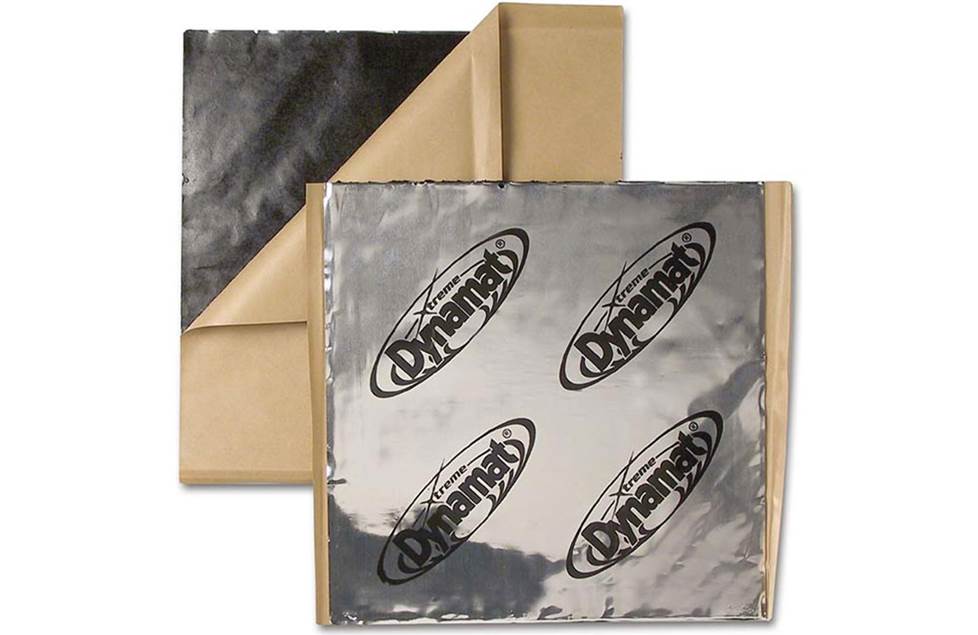
Help seal in sound by putting Dynamat in your truck's doors
Other options for your Avalanche
There are plenty of other ways to improve your Chevy Avalanche. Here are some of the ways Crutchfield can help.
Sound deadening
The Avalanche is a very nifty truck, but it's still a truck, and trucks can be kind of noisy. To hear your upgraded speakers in all their glory, you need to reduce the amount of road roar getting into the cabin. Installing a set of foam baffles behind each new speaker is an inexpensive and very effective way to quiet things down. If you're really serious about sound, line the doors with Dynamat.
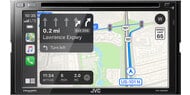
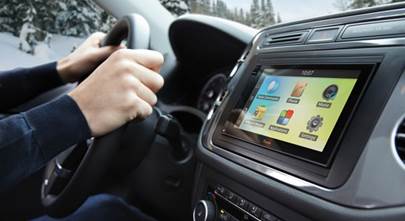
Portable nav
If you don't want to invest in a big double-DIN receiver, you can still get the nav you need and more with a portable navigation unit. A portable GPS can be transferred from vehicle to vehicle, or just tucked into a storage compartment when not in use.
Security
Installing a security system in your Avalanche isn't easy (security systems rarely are), but it's definitely a good idea. Our Crutchfield Advisors can help figure out what you need to get the job done, but we usually recommend taking your car and new gear to a professional installer.
Let's get started!
Ready to shop? Use our vehicle selector to find the gear that will fit your car or truck. If you have questions, give us a shout via phone or email


Jon Paulette from Crutchfield
Posted on 12/10/2015
Vincent, Thanks for the kind words. The 2003-06 is on the list, so stay tuned. In the meantime, you can use our vehicle selector to confirm which stereos fit that model and get some info on what else you'll need for the installation. Good luck!
VincentD from Baltimore
Posted on 12/9/2015
That's a great article! I'm thinking of purchasing a 2003-2006 Avalanche. Can you please do a guide for it? Thanks from a lifelong Crutchfield customer!!! (: