2007-2013 Toyota Tundra CrewMax
How to upgrade the stereo system in your Tundra CrewMax

In brief: This Crutchfield Research Garage article gives you an overview of your Tundra's stock stereo system and your aftermarket upgrade options. We'll tell you all about:
- The factory stereo system
- Removing the factory radio
- Removing the factory speakers
- Adding more bass
- Other options for your Tundra CrewMax
Then, use our vehicle selector to find the gear that will fit your truck.
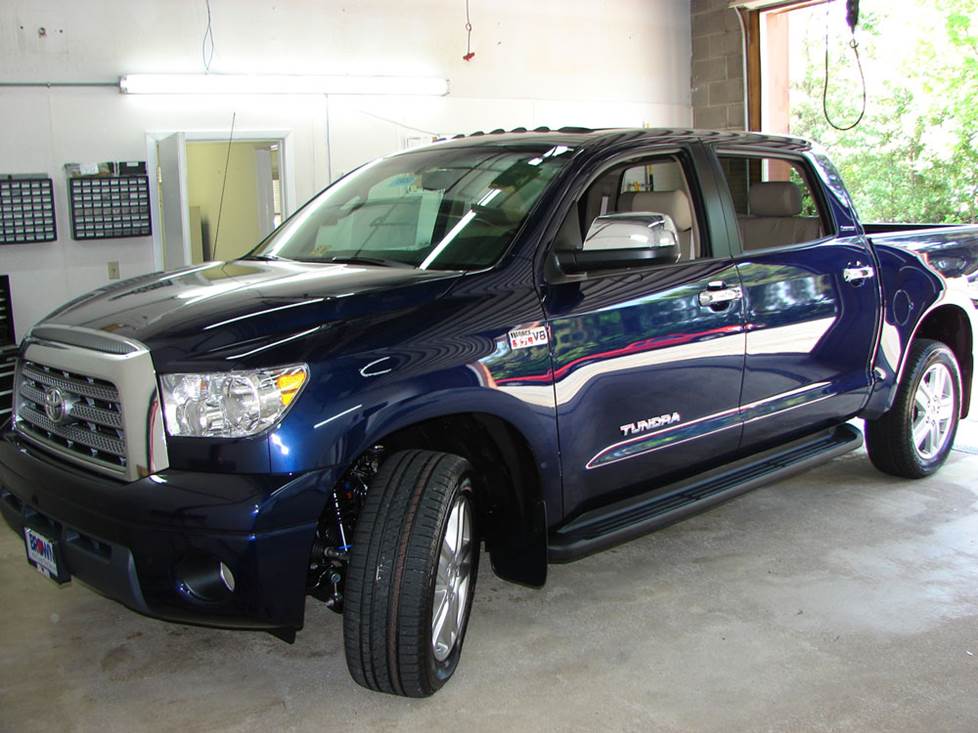
Overview of the Toyota Tundra CrewMax
When it comes to pickups, bigger isn't always better – but it sure does help. Toyota spent decades building tough, reliable trucks like the HiLux and the Tacoma, but as good as they were, those mini and medium-size trucklets weren't quite enough in a country where full-size pickups generally sell faster than most cars – including Toyota's own nearly-ubiquitous Camry.
It's possible to be successful without being smart, but that's a pretty rare thing. Toyota is a very smart company and they knew that they needed a big truck to be a player in the category. The second-generation Tundra – especially the CrewMax – is big enough, tough enough, and strong enough to take on the best of the Big Three. It's also a Toyota, though, which means there's a lengthy list of available features, including a not-too-shabby factory JBL stereo system.
If you're looking to upgrade your Tundra's sound system, Crutchfield has the equipment and advice you need.
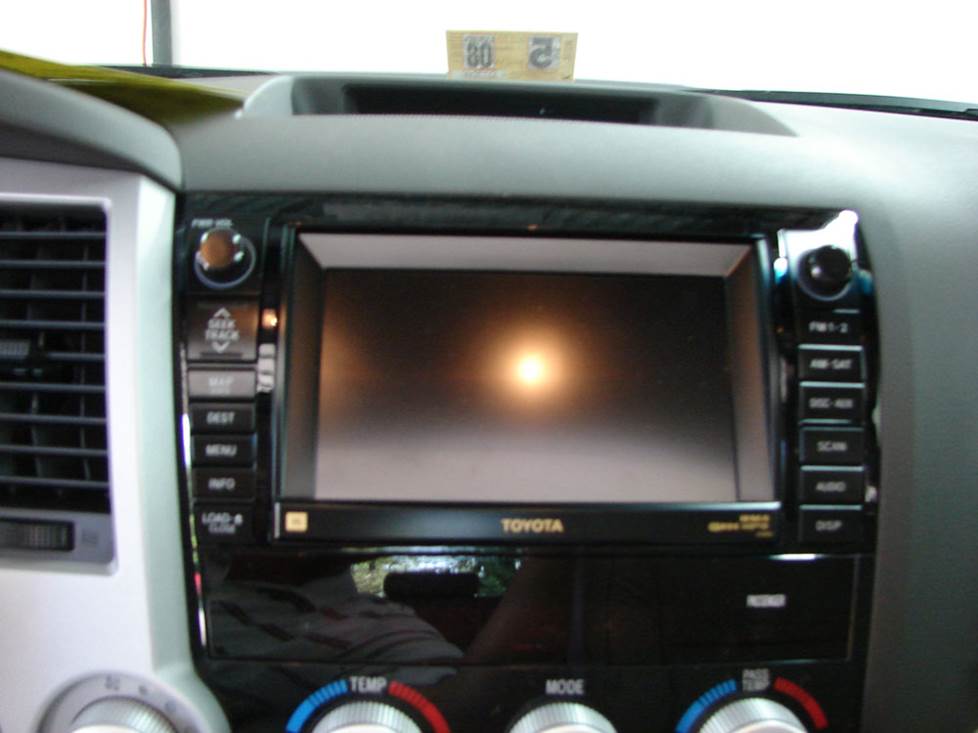
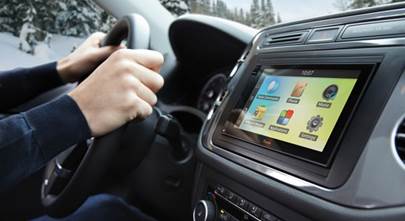
The Tundra was available with several different radios (Crutchfield Research Photo)
The factory stereo system
The Tundra CrewMax had the option for either bench or bucket seats, depending on the owner’s preference. If you have the bucket seats, you'll need to disassemble the center console when you're replacing the factory radio.
Regardless of the interior setup, Toyota offered two different radio options in the CrewMax truck: an in-dash AM/FM/CD unit or the same radio with an in-dash 6-disc changer.
You could also choose between the standard 6-speaker system or an upgraded JBL system that features twelve speakers (including an 8" subwoofer) powered by a 440-watt amplifier.
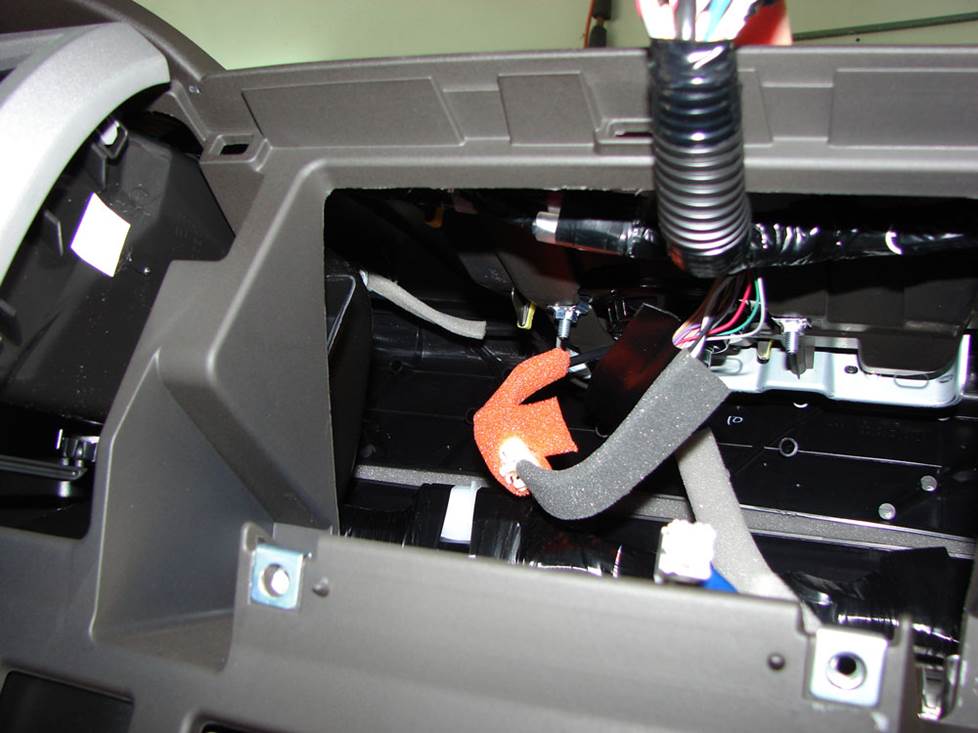
Removing the stock radio is kind of time-consuming (Crutchfield Research Photo)
Removing the factory radio
Removal and replacement of the factory stereo is somewhat complex because the dash enclosure employs a host of trim panels and accessory systems that you will have to contend with.
The process begins with the removal of the interior knee panel and the cup-holder assembly, and also includes removing the ashtray, displacing and disconnecting the heater control panel, displacing the entire instrument panel, and removing a myriad of trim panels that protect hidden screws.
And all that just gives you access to the receiver. This is not an impossible task for the DIY-er, but it is challenging, so work carefully and stay organized.
You can install a single-DIN or double-DIN radio in your Tundra. The radio cavity is 9" deep, so there's certainly no shortage of space to work with. You'll need a mounting kit to trim out the new radio and a wiring harness that allows you to connect your new radio to the factory wiring.
Detailed stereo and speaker removal instructions

If you have the JBL system, you will have to buy and install a special integration adapter that ties your new stereo into the JBL's amplified speaker system. You'll need a receiver with two sets of full-range preamp outputs to interface with this adapter; otherwise, you'll need to purchase a 4-channel line output converter.
Crutchfield offers a deep discount on the kits and adapters needed for both the standard and the JBL systems. If you have questions, talk to a Crutchfield Advisor.
When you replace the stock stereo, you'll lose factory options like the AUX input connection, satellite radio, and hands-free cell phone interface. Fortunately, you can replace and probably improve on all of those things with the right aftermarket receiver.
Tools needed: Phillips screwdriver, small flat blade screwdriver, panel tool, 10mm socket, ratchet & extension, pliers
Read our Car Stereo Buying Guide for shopping tips and advice.
Shop for car stereos that fit your Toyota Tundra
Steering wheel audio controls
In most cases, it's reasonably easy to retain your truck's steering wheel audio controls when you install a new stereo. When you enter your vehicle information, our database will choose the adapter you need to make your factory steering wheel controls work with a compatible aftermarket receiver.
The door speakers are reasonably easy to reach and remove (Crutchfield Research Photo)
Removing the factory speakers
Depending on whether you have the regular old factory package or the upgraded JBL entertainment system in your truck, the central differences between the two setups are the number and placement of each system’s speakers.
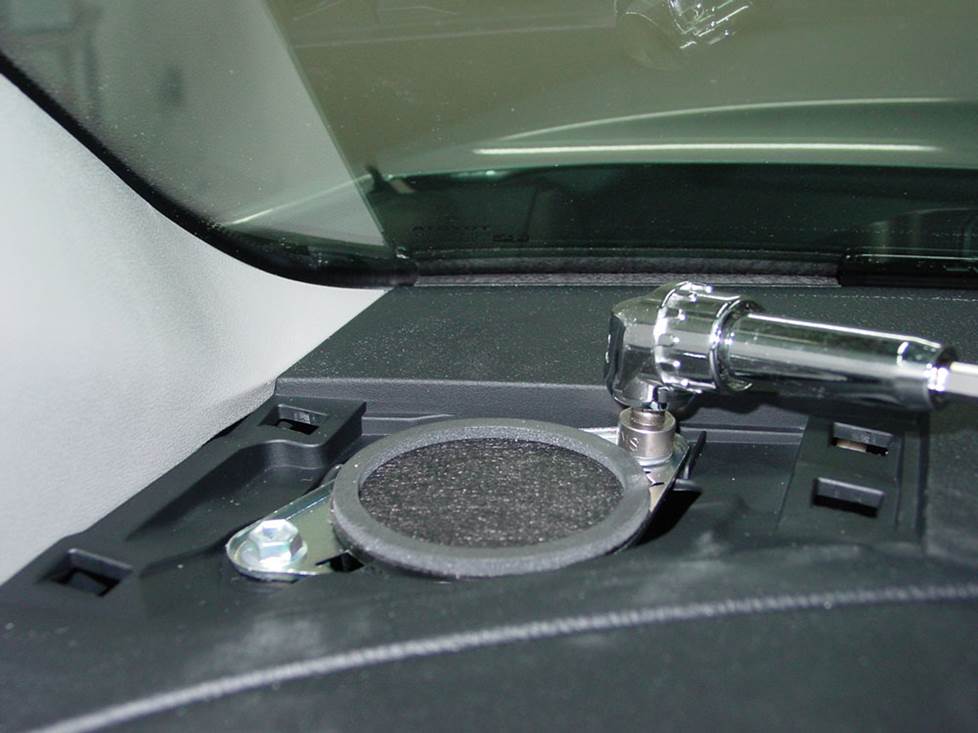
Both the base and JBL systems include speakers in the dash corners (Crutchfield Research Photo)
Standard speaker system
Removing the dash speakers: In the case of the regular system, the factory setup includes 2" tweeters at each corner of the dash, just below the windshield. Replacing the dash speakers is considerably easier than working with the receiver installation, and primarily requires prying up each dash grille and removing two screws.
The only bit of complexity comes when you try to find tweeters that'll fit in these locations. You will have to fabricate mounting brackets for any tweeters you select, and you'll either have to splice into the factory wiring or use a set of Posi-Products speaker connectors.
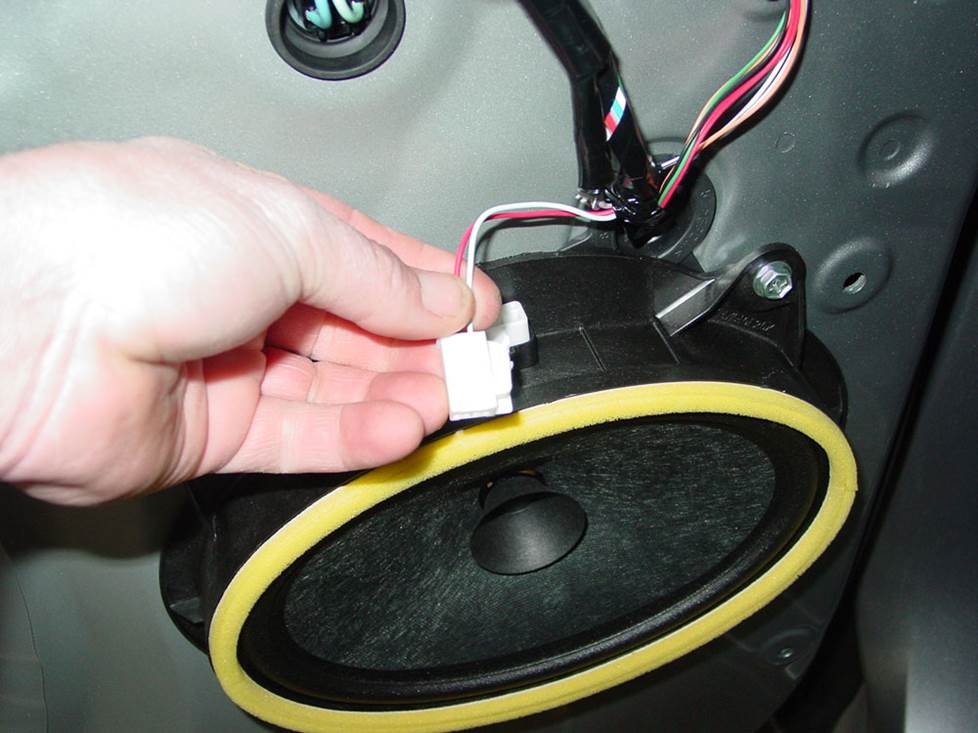
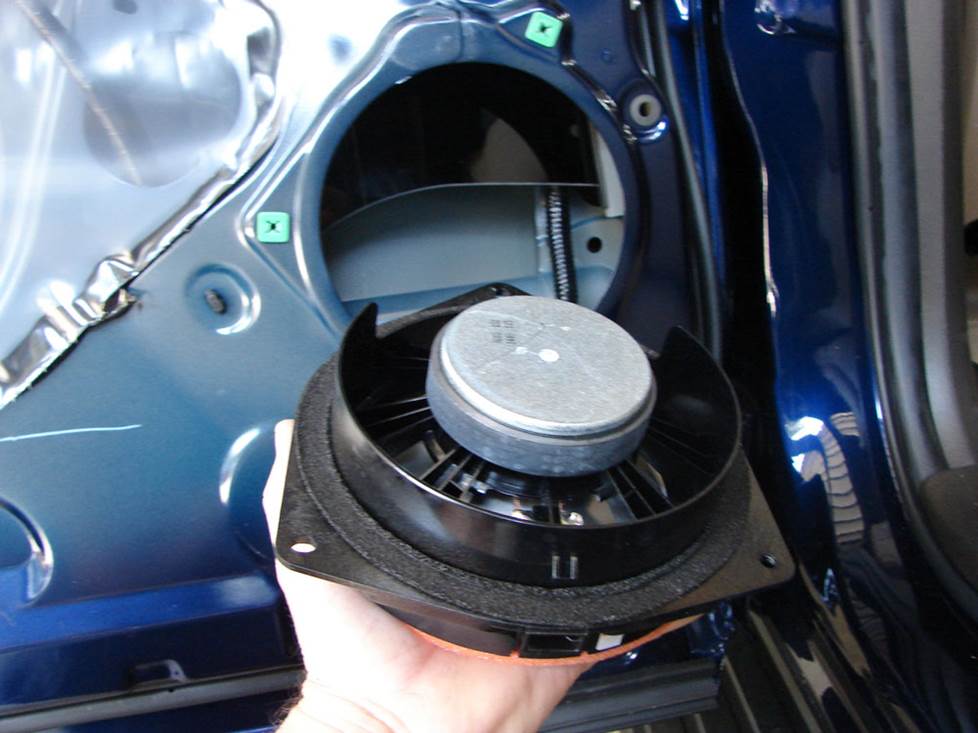
You can install 6-1/2" or 5-1/4" speakers in the front doors (Crutchfield Research Photo)
Removing the front door speakers: The Tundra has an oddly shaped 6"x9" speaker built into an integrated bracket installed in each front door. Aftermarket 6"x9"s won't fit because of that integrated bracket, so your best bet is a set of 6-1/2" or 5-1/4" speakers that will drop right in with the help of mounting brackets.
Speaker harnesses are available, and they'll allow you to attach your new speakers to the plugs that connect to the Toyota factory speakers. Oh, and they also make it easier to reinstall the factory speakers if you ever sell your truck. Crutchfield offers these speaker mounting brackets and wiring harnesses at a deep discount with every speaker order.
The process of installing door speakers simply requires removal of the door’s sail panel, followed by several hidden screws placed under trim covers, disconnection of the electric door controls and, finally, removal of the entire arm-rest assembly. Once those components are free and clear of the door panel, simply unscrew the door panels, take the panel off, set it aside, and unscrew four speaker fastenings.
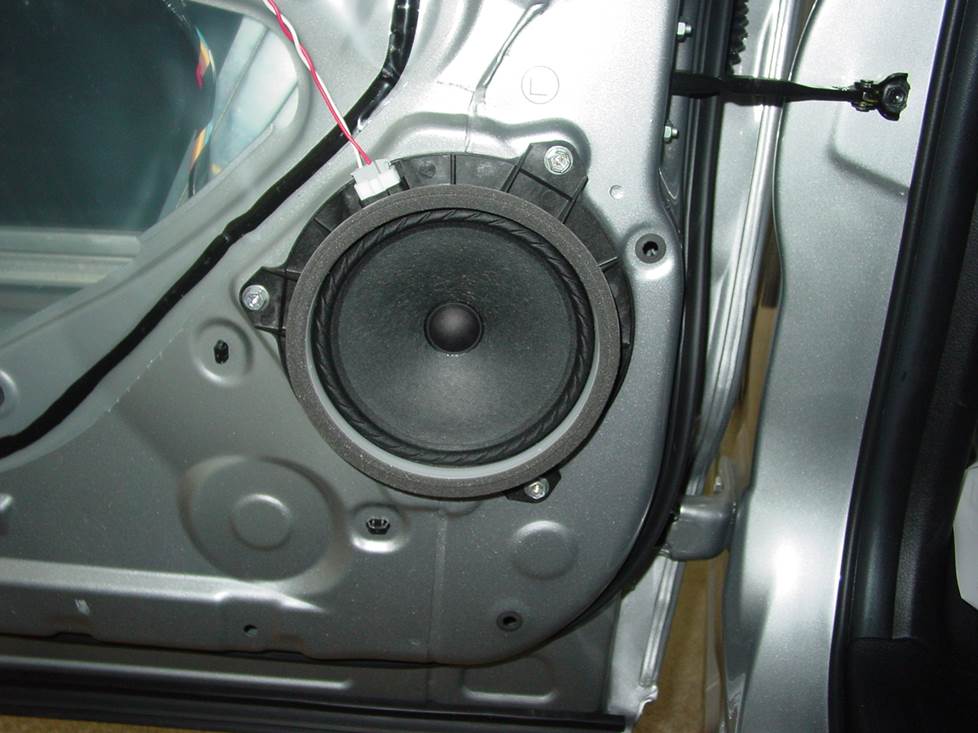
The standard rear door speakers are also pretty uncomplicated (Crutchfield Research Photo)
Removing the rear door speakers: In the CrewMax Tundra, the rear door factory speaker is a 6-3/4" that's also built into a bracket. And, again, your best bet is a set of 6-1/2" or 5-1/4" speakers that will drop in with the help of mounting brackets. Speaker harnesses are also available for the rear door locations.
Replacing the rear speakers is very similar to the front doors except that the process begins with the rear window trim panel. It's all covered in your Crutchfield MasterSheet.
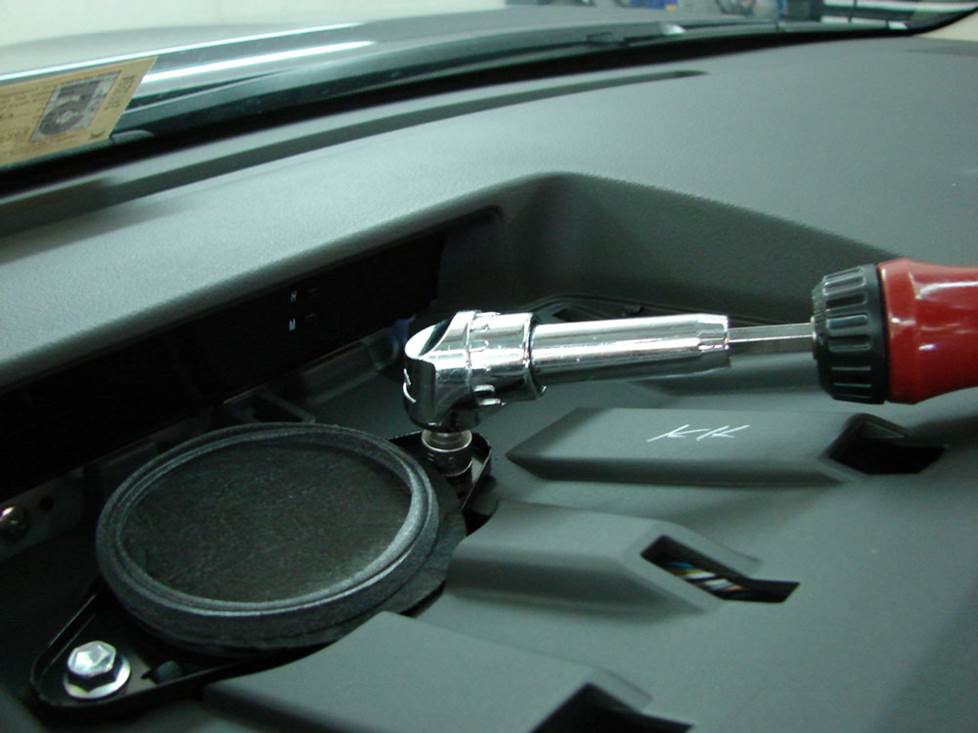
The JBL system includes a speaker in the center of the dash (Crutchfield Research Photo)
Replacing the JBL speaker system
JBL's 12-speaker system includes a center dash speaker, two dash tweeters, 6"x9" speakers with separate tweeters in the front doors, 6-3/4" speakers and tweeters in the rear doors, and an 8" subwoofer in an enclosure behind the left rear seat.
The Toyota brochure cites a 440-watt power rating for the JBL amp that powers this system, but these ratings are usually combined peak wattage ratings. That said, you'll still get good results using that special adapter to tie your new car stereo into the JBL system.
If you decide to replace all your speakers while keeping the JBL amp, keep in mind that they're all 2-ohm speakers. You'll want to pick speakers with lower impedances (like JBL or Infinity) to replace them or you'll hear a significant loss of volume. Harnesses are available for all locations except for the tweeters – you'll have to splice into the factory wiring or use some more Posi-Products connectors.
Tools needed: Phillips screwdriver, small flat blade screwdriver, panel tool, 10mm driver
Read our Car Speakers Buying Guide for more information.
Shop for speakers that fit your Toyota Tundra
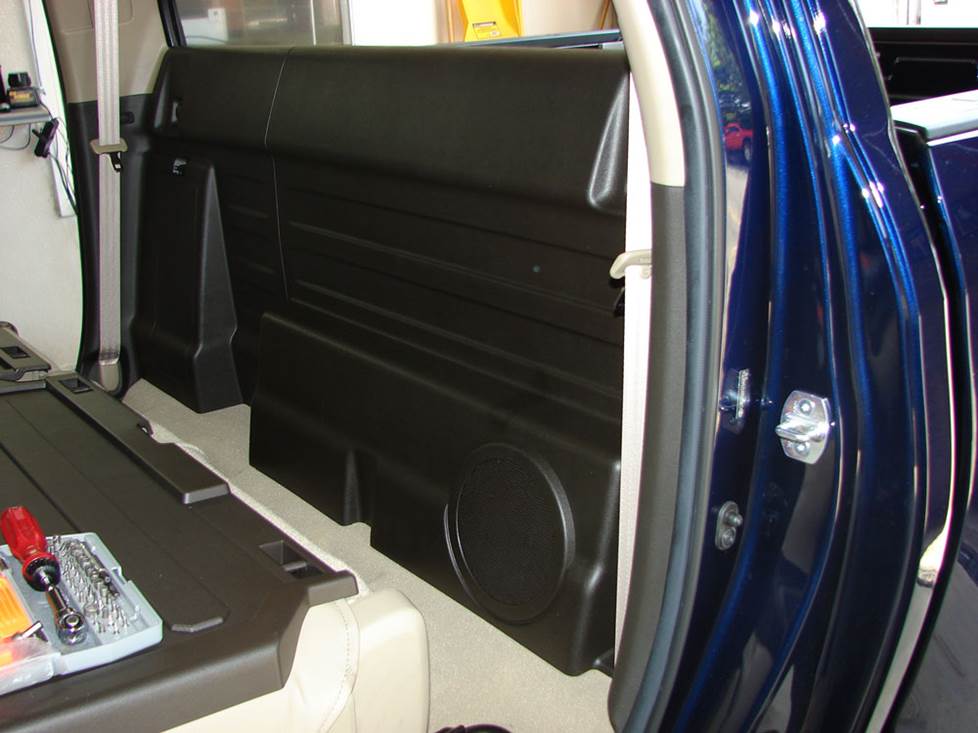
The stock JBL subwoofer isn't that hard to replace, really (Crutchfield Research Photo)
Bass in your Tundra CrewMax
The JBL-equipped Tundra CrewMax has a subwoofer behind the left rear seat. Replacement models are available, but this is a low-impedance sub, so if you try to replace it with a higher-impedance aftermarket sub, you'll experience noticeably lower volume levels. Our Vehicle Selector (and/or our expert advisors) will help you find the sub that fits.
The job isn't that hard, but there are a few steps involved, plus (maybe) some drilling. If you're patient and careful, though, this is a very do-able DIY project.
Fold down and slide both rear seats fully forward, then pull out both cargo tie-downs. Pry out the rear wall panel behind the right rear seat toward the front of the truck to release the retaining clips, then remove the panel. Repeat this step for the left side, then remove the six Torx T15 screws securing the sub, cut the wires near the speaker, and remove the sub.
Some aftermarket subs offer enough bolt patterns that you won't need to drill new mounting holes. If you choose a different sub, though, you'll need to do some drilling, and you'll also need to stay safe while you're doing that. Be aware of the area you're drilling into, work carefully, and wear eye protection.
Place the new sub in the cavity and use it as a template to mark the new mounting holes. Set the sub aside, then carefully drill the new holes with a 1/8" bit. Attach the spade connectors to the wires and make the necessary connections, then secure the sub with the hardware included. Make sure you test the sub before you button everything up again.
Tools needed: Panel tool, Torx T-15 driver
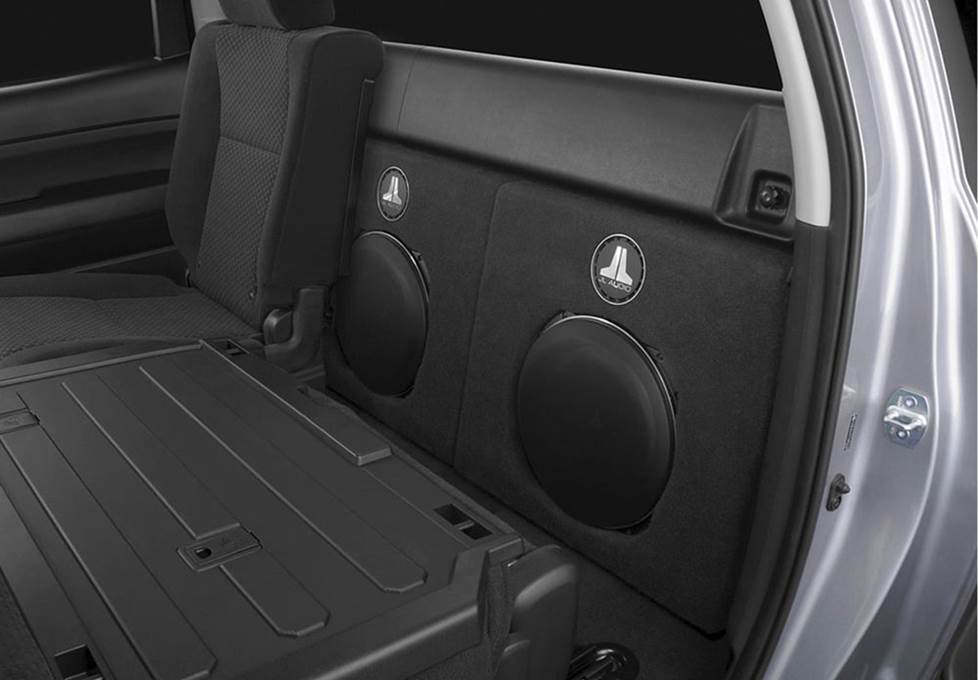
There's actually room for two JL Audio Stealthbox sub enclosures back here
Custom-fit bass from a JL Audio Stealthbox
If your truck doesn't have a sub, or if you just want to go big on bass, there's a JL Audio Stealthbox enclosure that's made for your Tundra CrewMax. There's no room for a standard subwoofer box, but this model fits nicely and sports a 13-1/2" sub in a shallow-mount enclosure.
If your Tundra is equipped with the factory JBL sub, you'll need to either cut the factory trim panel or obtain a replacement "no-subwoofer" trim panel from Toyota prior to installation. Once you solve that, though, there's actually room for two of these Stealthboxes behind the rear seat. Give us a call and we'll explain it all in greater detail.
With the enclosure installed, you'll lose one notch of seat adjustment to the rear, so you'll need to move your seat forward a little to fully recline the seat.
Learn more about building a bass system in our Car Subwoofer Buying Guide.
Shop for vehicle-specific subwoofers for your Toyota Tundra
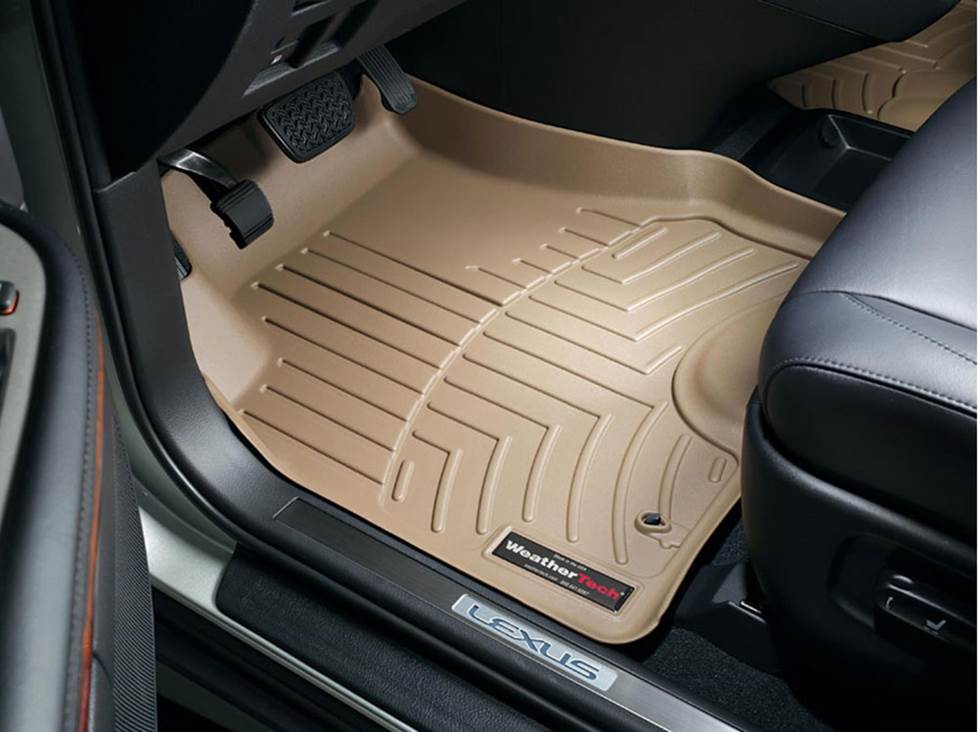
Your WeatherTech liners might not look exactly like this stock photo, but they will look great.
Other options for your Tundra CrewMax
Here are some other upgrade ideas for your Toyota pickup.
Preserve your truck's carpeting with floor mats
Driving a truck almost always leads to doing outdoorsy pickup truck things, which can really take a toll on your Tundra's carpeting. WeatherTech floor mats and liners will help protect your floors from dirt and damage.
Add kick panel speakers
If you really want to improve the sound in your Tundra, install a set of Q-Forms Kick Panel Pods. These unloaded, custom-fit speaker enclosures fit into the space where your kick panels are now. They hold a set of component speakers (sold separately) in an ideal position, angling them to maximize sound quality. They're available in colors that match your truck's interior, so they'll look as good as they sound. Installation takes some work, but it's not beyond the realm of an experienced DIY-er. Enter your truck's info to learn more.
Remote start and security systems
Adding remote start capability to your vehicle lets you warm it up in the winter or cool it down in the summer. The iDatastart system is incredibly convenient and makes it easier than ever to install a remote start system, so we highly recommend it. The module requires a vehicle-specific T-harness (sold separately) to connect with your vehicle's computer, security, and ignition systems, so we ask that you call to order so that we can make sure you get the right harness for your ride.
You can also talk to your Crutchfield Advisor about a security system. They’re not as easy to install (we usually suggest letting a professional do the job), but we can help you choose a system that’ll work in your Tundra.
Let's get started!
Ready to shop? Use our vehicle selector to find the gear that will fit your car or truck. If you have questions, give us a shout via phone, chat, or email


Pete Christian from Salisbury NC
Posted on 2/1/2023
Information about the Toyota crewcab very informative and made It clear how to R/R the rear speakers. Looking forward to possible chance to work with you. Thanks
Mike Wietzes from Innisfil , Ontario
Posted on 12/11/2022
Hi , I have a 2011 Toyota Crewmax with a JBL radio system. The amp under the passenger seat has failed , map still works but no audio or phone working. I would like to keep the original head unit. Do you have a replacement unit with a harness that would plug in. Any suggestions?
Jon Paul from Crutchfield
on 12/12/2022
Nolan Eliason from Houston
Posted on 8/29/2020
Is there a link for the special JBL integration adapter? I would like to purchase one for a stereo upgrade.
Jon Paul from Crutchfield
on 8/31/2020
Aaron Rodgers from Dallas
Posted on 5/13/2020
I am trying to put in a 12-inch sub behind the center console with a custom-built box and would also like to install a 600 Watt amp to power this. How would I go about attaching this to the factory stereo system? I have a 2007 by the way with the 12 speaker JBL option. Thanks!
Jon Paul from Crutchfield
on 5/14/2020