2007-2018 Mercedes-Benz/Dodge/Freightliner Sprinter
How to upgrade the stereo system in your Sprinter

In brief: This Crutchfield Research Garage article gives you an overview of your Sprinter's stock stereo system and your aftermarket upgrade options. We'll tell you all about:
- The factory stereo system
- Removing the factory radio
- Removing the factory speakers
- Adding more bass
- Other options for your Sprinter
Then, use our vehicle selector to find the gear that will fit your van.
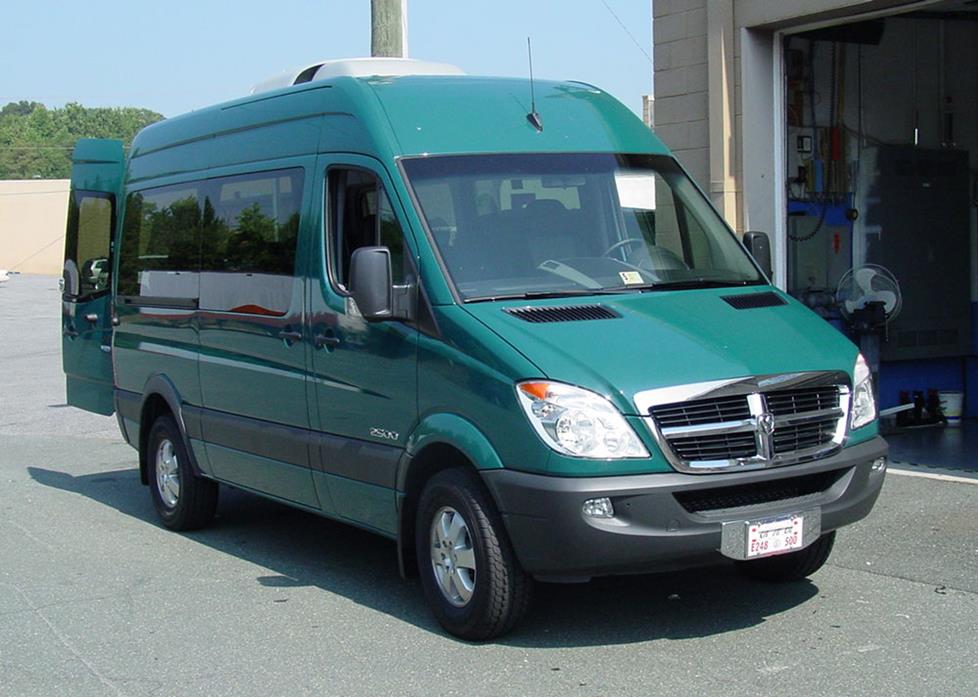
Overview of the Sprinter van
Sometimes you just need a van, and when you do, you might as well go for all the van you can get. The Mercedes (or Dodge or Freightliner) Sprinter is a whole lot of van, no matter which of the wheelbase/configuration/roof height variations you choose. Whether you need a bare-bones work truck, an optioned-up people hauler, an RV, or a blank canvas for the tricked-out custom van you've been dreaming of since the '70s, the Sprinter has a lot to offer.
The passenger van will transport a basketball team in relative comfort, while the cargo van has more floor space than your freshman-year dorm room. With the tall roof, you can actually stand up and walk around in the Sprinter's cargo hold. Heck, you can probably work on your golf game back there, so you'll have a huge edge over all the other Mercedes owners at the country club.
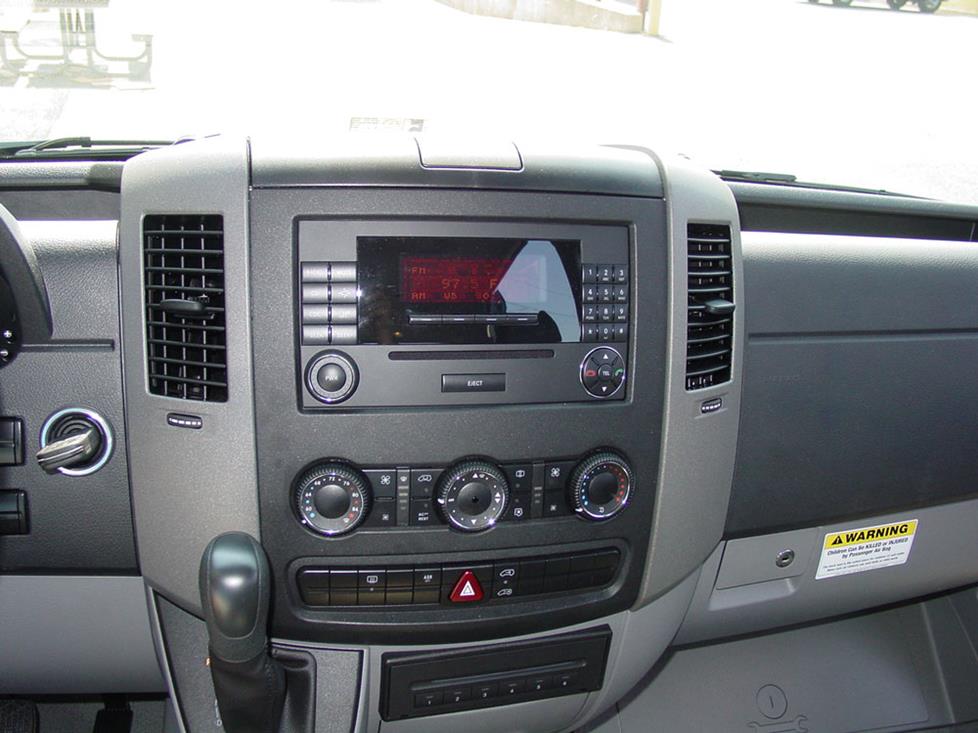
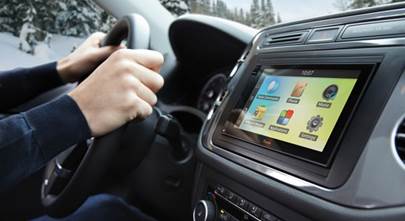
The radios can vary in appearance, but the removal/replacement process stays the same (Crutchfield Research Photo)
The factory stereo system
The stock stereos are pretty basic and you'll see a big increase in performance and functionality when you replace them. The appearance of the radios changed over the years, but the removal process is the same for all of them. The cargo van came with five speakers, while the passenger van could be optioned up to a 13-speaker system.
These stereos make all the appropriate noises, but if you care about sound, you'll really want to upgrade your gear. A new stereo and speakers will make a huge difference, but considering the vast size of this thing, you'll want to add amps and subs, too.
Replacing the stereo isn't hard, but when you replace the stock radio, you'll lose (if present to begin with) factory features like the AUX and USB inputs, satellite radio, and the nav system.
This is not necessarily a bad thing, because you'll have no trouble finding an aftermarket receiver with all those things and more. Single-DIN (2" tall) or double-DIN (4" tall) receivers will work nicely with the help of the dash kit and wiring harness adapter available at a discount with your Crutchfield stereo purchase.
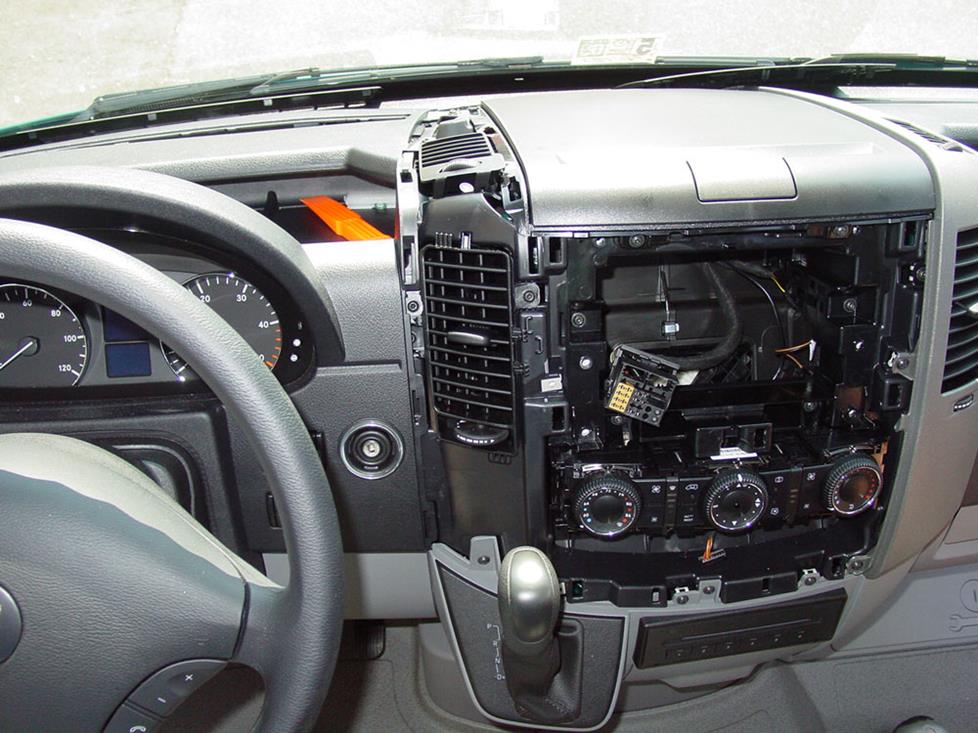
Due to the dash configuration, it's smart to replace the radio and dash speakers at the same time (Crutchfield Research Photo)
This is a pretty well-integrated dash, so if you're thinking about replacing the radio, and maybe the center dash and corner dash speakers, we suggest that you pony up and do them all at the same time. A lot of the steps overlap, so it'll save you time and hassle in the long run.
Removing the factory radio
Replacing the radio in this van is a pretty simple task. You'll start by setting the parking brake and disconnecting the negative battery cable to prevent any electrical short. Once that's done, grab some tools (see below) and get to work.
Open the dash top storage lid, then use a panel tool to pry out the sides and bottom of the receiver trim panel. Disconnect the wiring harnesses, remove the trim panel, and then remove the four Torx T25 screws securing the stock radio. With those out, you can remove the receiver and disconnect the harness.
Detailed stereo and speaker removal instructions

To install the new one, secure your aftermarket receiver to the mounting bracket by following the instructions supplied with the installation kit. Next, connect the wires following the instructions supplied with the receiver wiring adapter we included with your order. From there, just hold the receiver near the dash, connect the receiver wiring adapter to the vehicle harness and plug in the antenna lead. Slide the whole assembly into the dash and secure it with the screws you removed earlier.
If you're NOT replacing the corner dash speakers, you're ready to reinstall the trim panel and test the receiver. If you ARE replacing those speakers, leave the trim panel where it is and get to work on the speakers. We'll hit the highlights below, and complete, step-by-step instructions can be found in the Crutchfield MasterSheet included free with your stereo or speaker purchase.
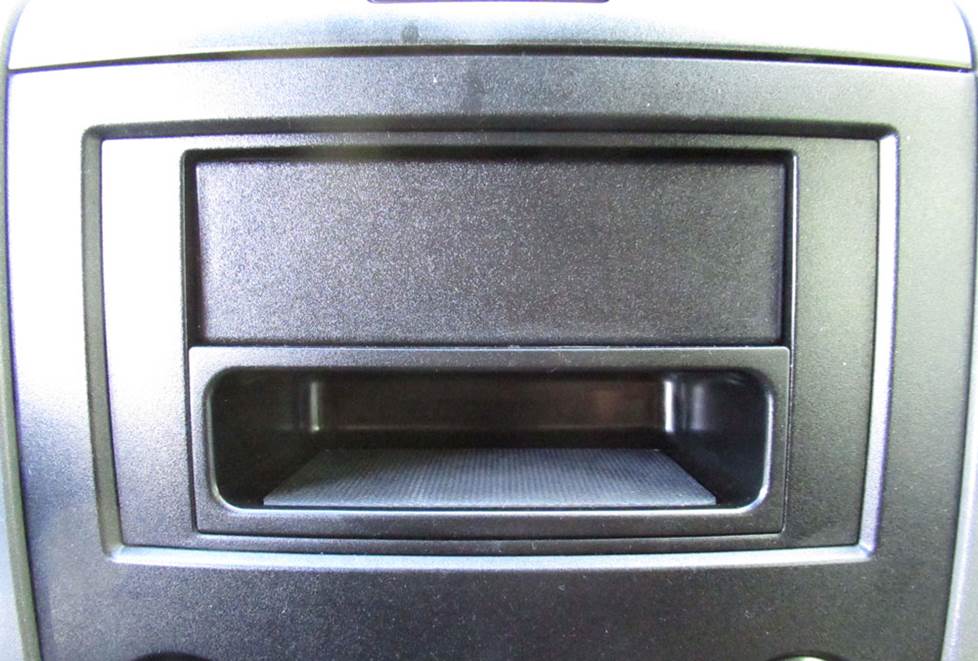
Driving around without a radio is no fun at all. Thankfully, "radio delete" is not a permanent condition in these trucks (Crutchfield Research Photo)
Radio Delete models: Some fleet model Sprinters don't have a radio at all. You can still install a new receiver in these "radio delete" vans, and you'll get to the cavity in pretty much the same way you would in a radio-equipped van. All the factory harnesses you'll need to use are in the dash, and the discounted kit and wiring harness adapter will work. This installation is not specifically covered in the MasterSheet, but if you have questions, remember that your Crutchfield purchase also comes with free tech support for the life of your gear. Speaker installation is also totally do-able because that wiring is present. Those instructions are the same as those discussed below and they are detailed in your MasterSheet.
Tools needed: Panel tool, Torx T-25 driver
Read our Car Stereo Buying Guide for shopping tips and advice.
Shop for car stereos that fit your Dodge Sprinter Camper Van
Steering wheel audio controls
In most cases, it's reasonably easy to retain your van's steering wheel audio controls when you install a new stereo. When you enter your vehicle information, our database will choose the adapter you need to make your factory steering wheel controls work with a compatible aftermarket receiver.
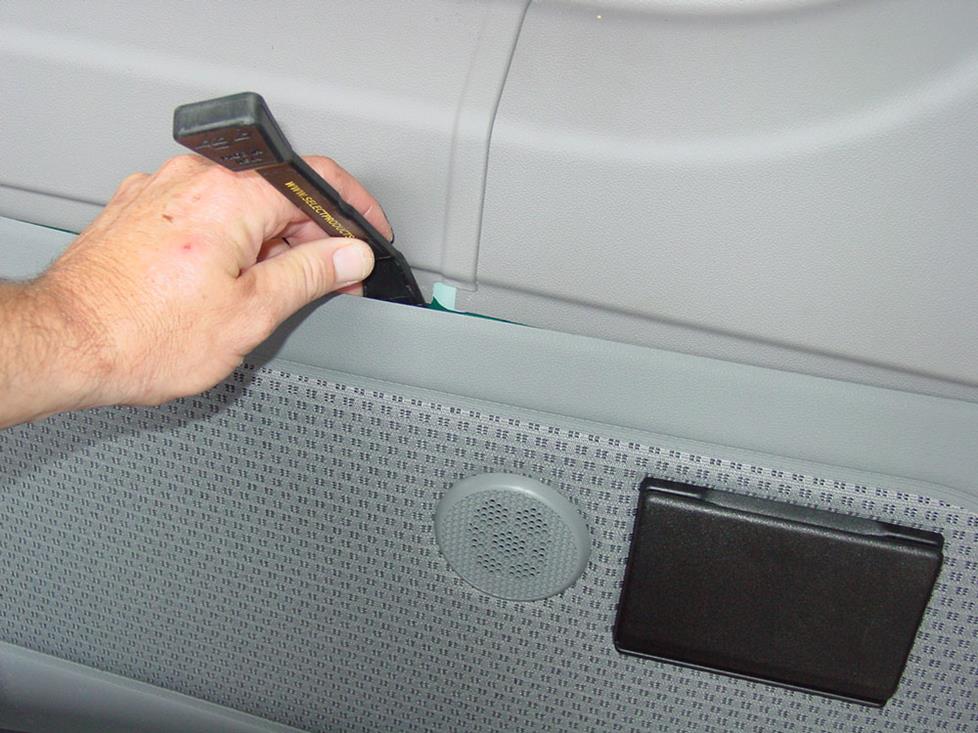
You'll need to remove the side panel to get to this speaker (Crutchfield Research Photo)
Removing the factory speakers
Depending on how your Sprinter is configured, you'll find speakers in the dash, front doors, mid-side panels, and/or rear side panels.
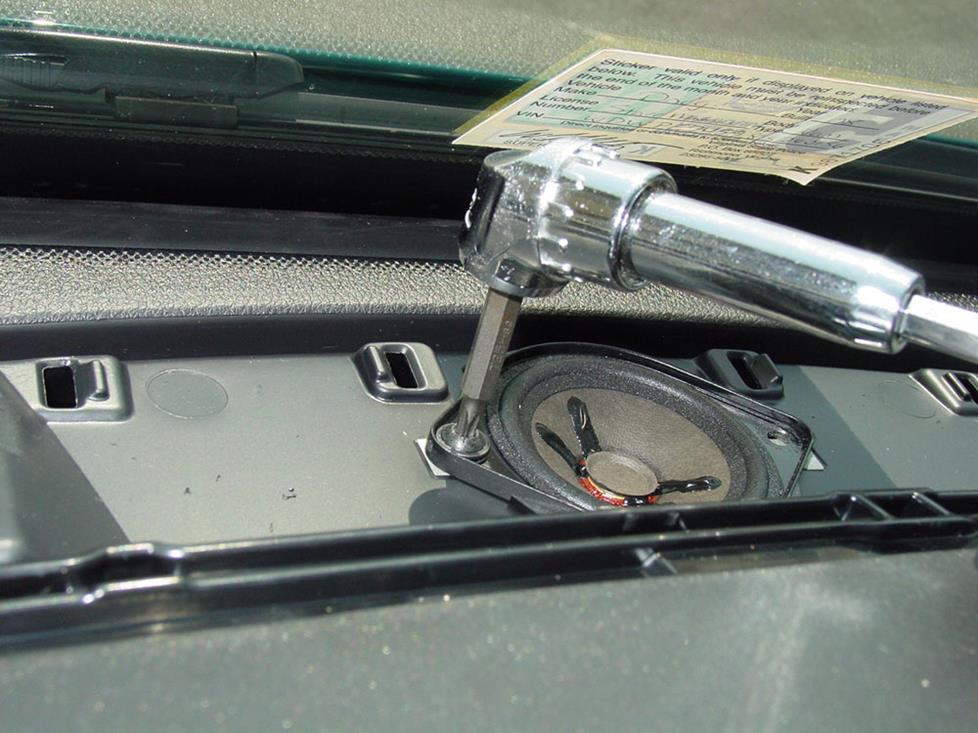
The center dash speaker is among the easier ones to replace in this van (Crutchfield Research Photo)
Removing the center dash speaker
Removing the center dash speaker is pretty simple. Installing a new one involves some work on your part, but not too much. To get it out of there, use your panel tool to pry around the sides of the speaker grille and release the retaining clips. Remove the grille, then remove the two Torx T25 screws securing the speaker. Pull it out, disconnect it, and remove it.
The speaker is almost-but-not-quite 3-1/2" in diameter, so you can't just drop an aftermarket speaker into this space. You'll need one of our universal backstraps to serve as a mounting bracket here. You'll also need Posi-Products speaker connectors, since there's no wiring harness adapter available for this location. Using these connectors is a lot easier than splicing, plus you'll also get a reliable connection in an area that absorbs a lot of shock and vibration.
Once everything's hooked up, test the speaker to make sure it's working.
Tools needed: Panel tool, Torx T-25 driver
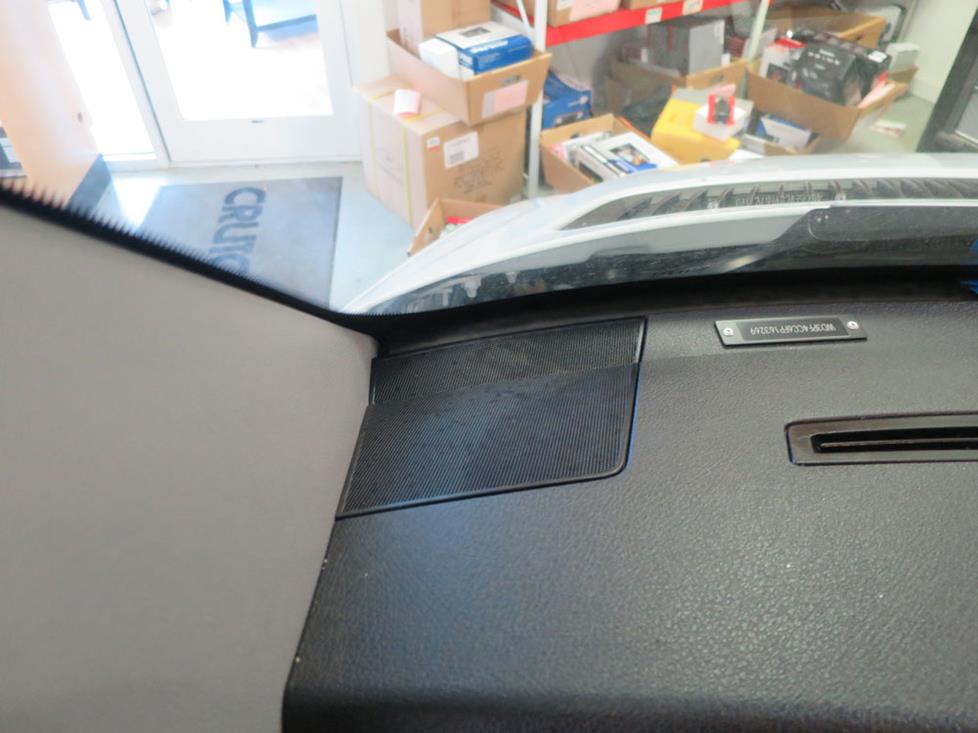
Organization is a must when you're replacing the dash corner speakers (Crutchfield Research Photo)
Removing the corner dash speakers
The corner dash speakers aren't hard to replace, but there are a few steps to the process. When you do this, it'll be important to stay organized and work carefully. As noted earlier, there's some overlap between this process and your radio and center dash replacement tasks, so if you can, it's good to do all three at once.
The factory speakers are mounted to the underside of the top dash panel, so you can't just pry out the speaker and drop in a new one. You'll need to remove the panels, then you'll need to use our universal backstraps (or hot glue or silicone) to secure the speakers. You'll also need to use Posi-Products speaker connectors to connect these speakers to the factory wiring system. Complete, step-by-step instructions can be found in your MasterSheet.
Tools needed: Panel tool, Torx T-25 & T-30 drivers, small flat blade screwdriver
Replacing the front door speakers isn't a cakewalk, but it's a do-able project for the average DIY-er (Crutchfield Research Photo)
Removing the front door speakers
Installing new speakers in the front doors is a pretty easy DIY project. You'll start by prying out the screw covers on the upper and lower front corners of the door panels, then removing one Torx T25 screw from each. Starting at the bottom edge, pry up the door pull trim to remove each panel. That'll expose two Torx T30 screws, which you'll need to remove. Open the lower door storage panel and remove two exposed Torx T25 screws.
Now, you're ready to pry out the sides and bottom of the door panel. There are a total of eleven retaining clips around the perimeter, so work slowly with your panel tool and they'll all pop out. Disconnect the door release cable and wiring harnesses, then remove the panel. Remove the four Torx T20 screws securing the speaker and remove it. Use the mounting brackets included with your Crutchfield speaker purchase to install the new speakers.
There's no wiring harness adapter available, so once again, we suggest using Posi-Products speaker connectors to connect the speakers to the factory wiring. It's a ton easier than splicing, and you'll get a much more secure connection. You also might need to acquire some mounting hardware, because not all speakers come with screws and things.
Once everything's connected, you're ready to secure the speaker and start putting the door back together.
Tools needed: Small flat blade screwdriver, Torx T-20, T-25, and T-30 drivers, panel tool
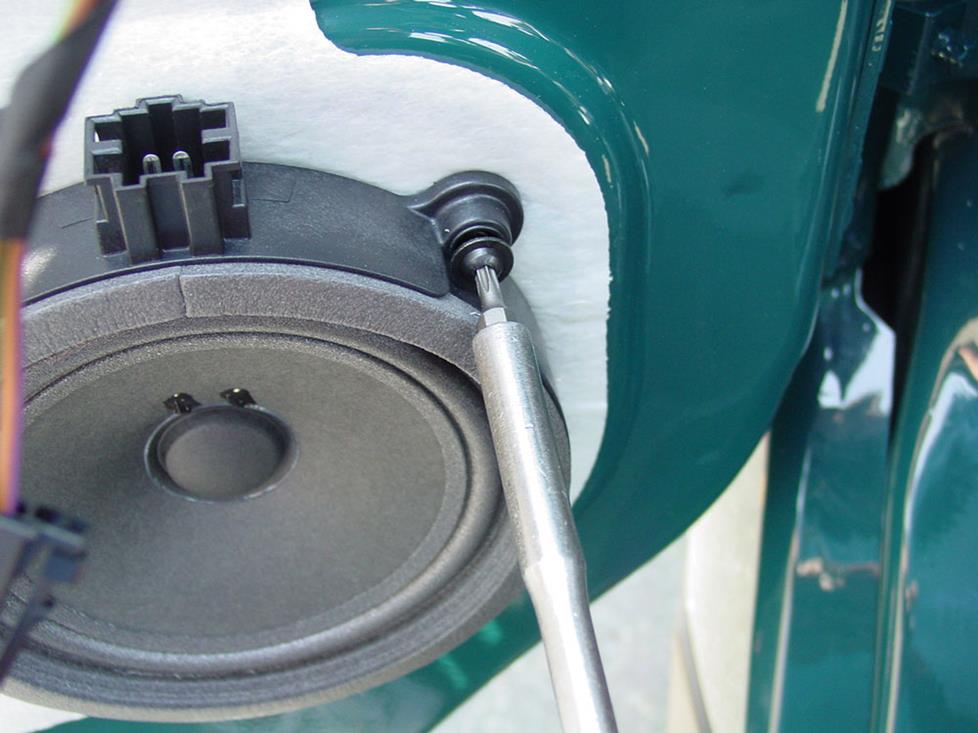
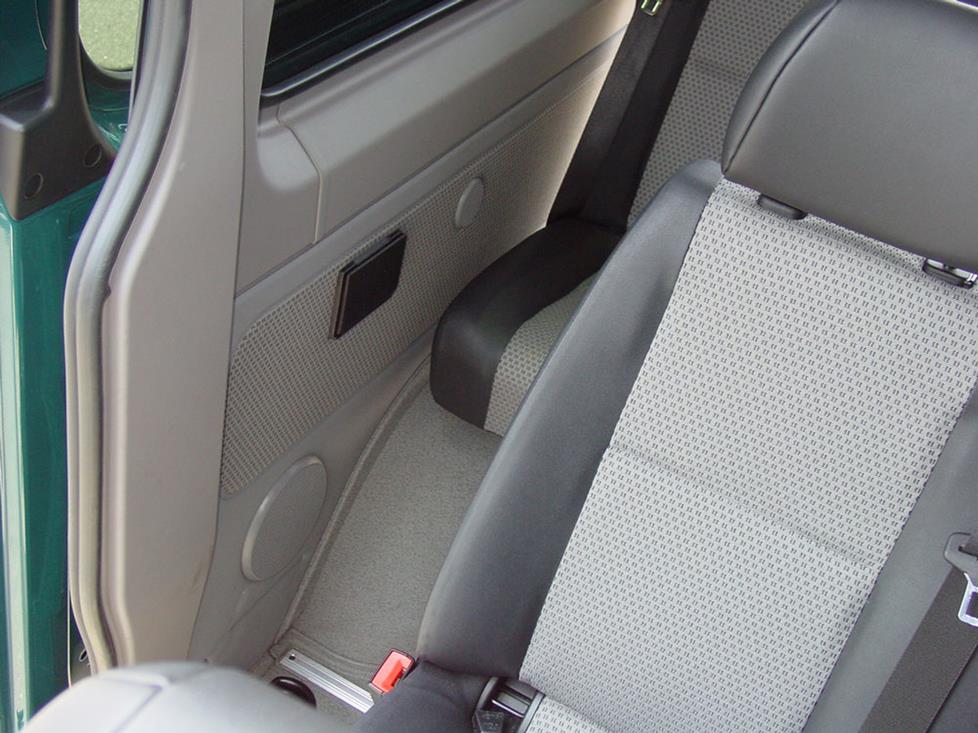
The side speakers are component models. You'll need to remove some panels to get to them. (Crutchfield Research Photo)
Removing the middle side speakers
Passenger vans will generally have component speakers (woofers and tweeters) in the middle side panels. One of those panels is attached to a sliding door, while the other one is just, well, the driver's side of the van.
The stock 5-1/4" woofers can be replaced with 6-1/2" aftermarket component woofers, and the accompanying tweeters can be made to work with modification. Specifically, you'll need to fabricate a mounting bracket using something like our universal backstraps, hot glue, or silicone to mount the new tweeters. You'll also need Posi-Products speaker connectors, because there's no wiring harness available for the tweeters.
You'll need to remove the panels to access the speakers, of course. The stock woofers are mounted to the underside of these panels, so you'll need to remove them by drilling out the rivets (using a 3/16" bit). Remove the speaker.
You'll need to drill new mounting holes for the new woofers, using a 1/8" bit this time. This isn't hard, but you're drilling into your own van, so work carefully, and always wear eye protection.
Be sure to order speakers that come with grilles, because you'll need to use them. Also before ordering, check to see whether the speakers come with mounting screws. If they don't, you'll need to head to the hardware store. (By the way, on our site, we tell you exactly what comes in the box for every product we sell.)
The panel removal instructions are pretty basic, and you'll find 'em all in your Crutchfield MasterSheet.
Tools needed: Panel tool, drill, 3/16" bit, 1/8" bit
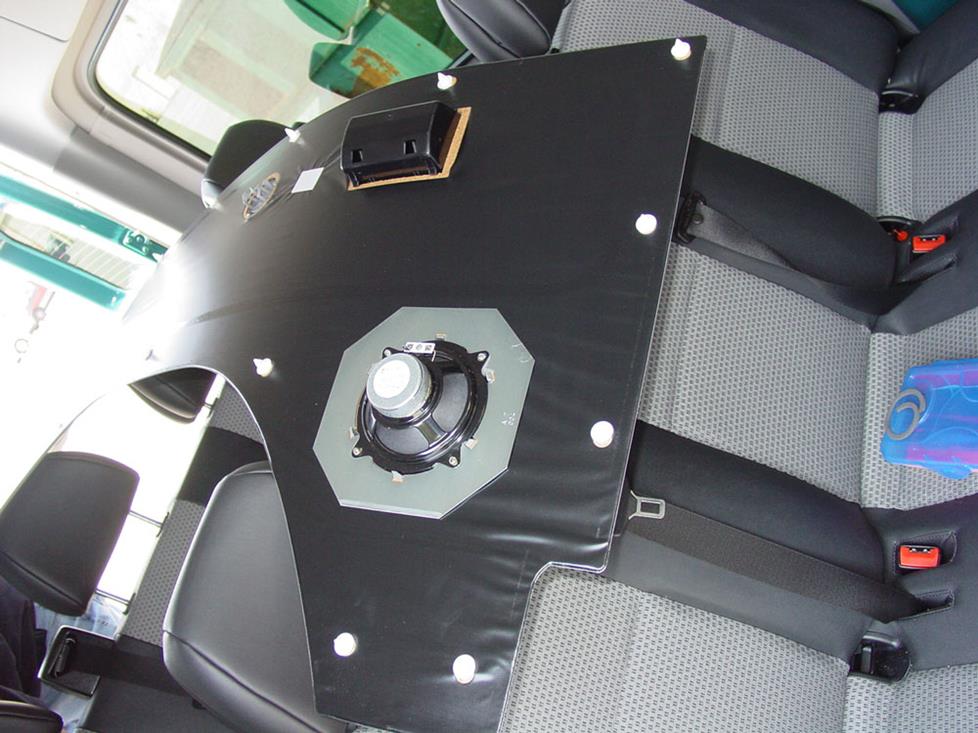
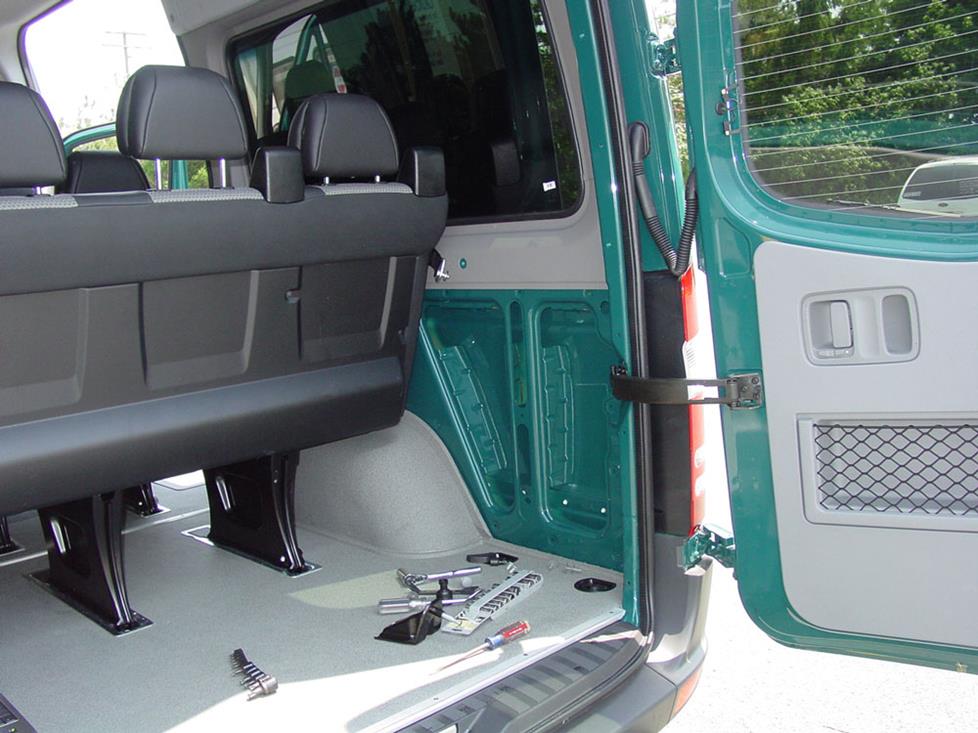
Some passenger vans have speakers in the far rear side panels (Crutchfield Research Photo)
Removing the far rear side speakers
To replace the speakers in the far rear of your van, you'll need to remove the second and third row seats. This isn't hard, but these seats are very heavy, so you'll definitely want to have a helper. Maybe two.
Panel removal differs a bit, depending on the side. On the driver's side, you'll simply pry out the front edge of the side panel to release enough clips to access the speakers. On the passenger's side, pry out the front edge of the side panel to release those retaining clips, then lift the panel and disconnect the wiring harnesses before you remove the speakers.
From there, you'll do pretty much exactly the things you did with the mid-van speakers. All the same cautions and suggestions apply, and all the in-depth details can be found in your MasterSheet.
Tools needed: Panel tool, drill and 3/16" bit
Read our Car Speakers Buying Guide for more information.
Shop for speakers that fit your Dodge Sprinter Camper Van
The passenger van offers a decent amount of subwoofer space. The cargo van offers tons more. (Crutchfield Research Photo)
Bass in your Sprinter
Like bass? Depending on the configuration, the Sprinter has room for a big subwoofer box, plus an actual stand-up bass, a bass guitar or three, and maybe the basso profundo guy from your local opera house.
The Passenger van configuration offers a 69" W x 27" H x 20" D space with all the seats in place. The Cargo van's hold is roughly the size of a tiny house, so you can pretty much let your imagination be your guide. Ask the basso profundo guy. They know things.
Learn more about building a bass system in our Car Subwoofer Buying Guide.

This is a big van, but adding Dynamat can really help seal in sound
Other options for your Sprinter
Here are some other ideas for you to consider. You'll probably have a few of your own, so please share your notes and photos in our Custom Car Showroom.
Noise reduction for improved sound
The Sprinter is actually kind of aerodynamically slick for a van, but it’s still a van, and exterior noise is a fact of life. There's no way to totally eliminate wind and road noise in this (or any van, really), but installing some Dynamat in the doors can really seal in sound and let you enjoy your music to the fullest.
Add a rear-view camera
The Sprinter is a long, tall, and somewhat unwieldy vehicle when you’re in traffic or a crowded parking lot. If your Sprinter doesn't have a factory camera, we offer rear-view cameras from Alpine, Kenwood, Sony, Pioneer, Accele, and more. Some are designed to work with same-brand receivers only, but others have a composite video connector and will work with almost any video receiver.
Speaker wire
There's tons of room for speakers in this vehicle, but you'll also need a lot of speaker wire to make all those connections. If you're planning a big system, factor in the wiring when you're making your plans — and setting your budget.
Add a security system
Installing a security system in your Sprinter isn't easy (security systems rarely are), but it's definitely a good idea, especially if you leave tools and other valuables in it overnight. Our Crutchfield Advisors can help figure out what you need to get the job done, but we usually recommend taking your van and new gear to a professional installer.
Let's get started!
Ready to shop? Use our vehicle selector to find the gear that will fit your car or truck. If you have questions of your own, give us a shout via phone, chat, or email


Michael H from San Diego
Posted on 9/3/2020
Thanks for the write-up. I'm interested in the new infotainment systems and what the largest of each type you can put in a 07-18 Sprinter (non-halo). Seems like the Metris and cabling have taken a bit of a hiatus w/the new van out and no backwards look at the previous, although screen size has increased across the brands. Thoughts?
Jon Paul from Crutchfield
on 9/8/2020
Matt from Colorado
Posted on 7/8/2020
Hi, the mid and rear speakers in my 2017 Sprinter van are 6 ohm. They appear to be wired in parallel giving a net impedance of 3 ohms. If I replace them with 4 ohm speakers will I overload the head-unit?
Cormac O'S from Dublin
Posted on 4/14/2020
Hey there, Do you have any info on what gauge speaker wire is in the van from stock/factory? I've been in contact with Crutchfield live chat and have been advised, since the system I'm looking to buy has a 45w RMS amp built into the head unit and has 45w RMS speakers, that I should be looking at using 16 gauge or thicker as 18 gauge only allows for 14-22 watts RMS, so would effectively only deliver half the power the speakers are capable of using? If the stock/factory speaker is 16 gauge, then great, but if it's 18 gauge, I guess it means I should really replace it with 16 gauge. Would be great to get confirmation on this if you have that info available :) Thanks!
Jon Paul from Crutchfield
on 4/16/2020
Dave Ness from San Diego
Posted on 7/27/2019
Thanks for the article. I've bought quite a bit from Crutchfield in the past but I'm hesitant this time becuase my van, 2018 Mercedes Sprinter, doesn't even show up in your vehicle list. Glad to see the article but why not tell us more like what size speaker does fit in the center dash area and how to mount it with the mounting strap? I've already replaced my front door speakers and tweeters. What functions are lost with a change out of the head unit?
Jon Paul from Crutchfield
on 7/29/2019