Screaming audio in a 2020 Polaris RZR
MB Quart transforms the off-road experience

Y
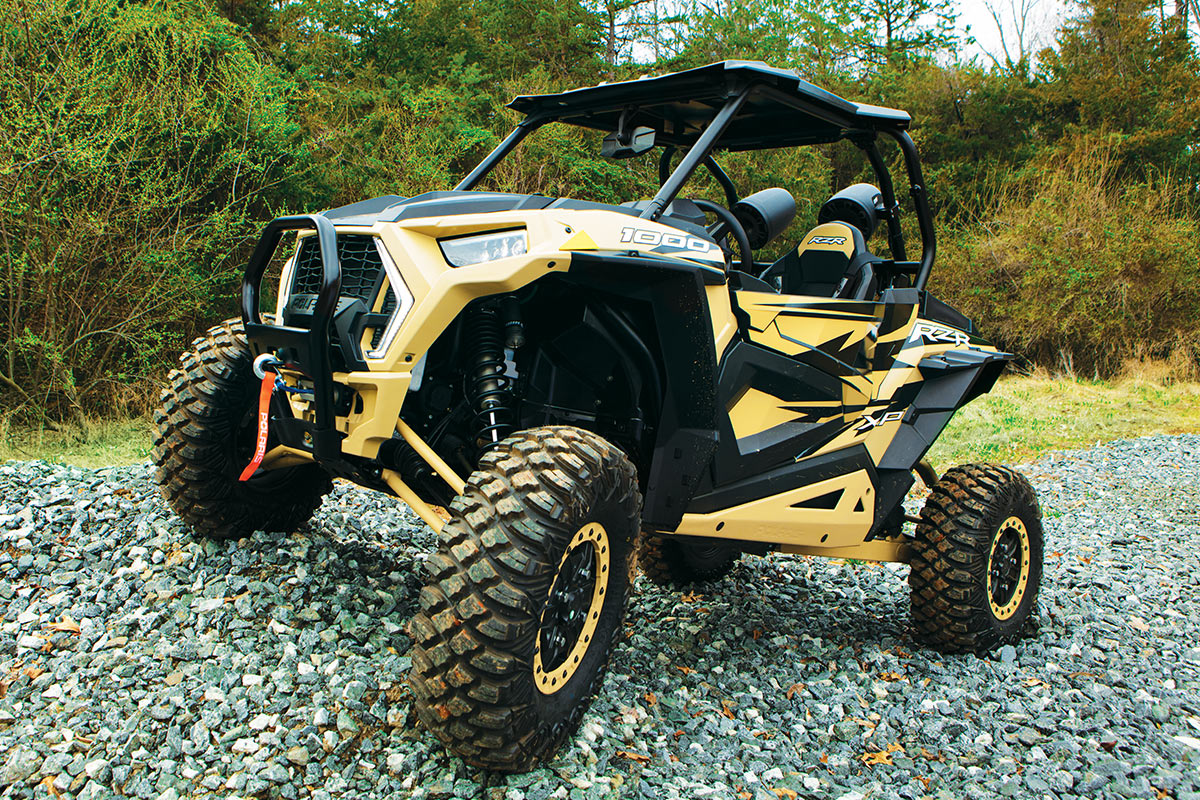
ou know what rocks? Hitting the back country on a Polaris RZR. You know what else rocks? Rock 'n' roll. Putting the two together? Oh man. So much rock. Which is what we did recently, installing a complete MB Quart Stage 5 sound system on a 2020 Polaris RZR.
Many car audio manufacturers are now designing systems specifically for use with various side-by-sides, including the Polaris RZR. MB Quart's latest Stage 5 system is a great entry in this field. As the name implies, there are five parts to the system:
- A multimedia receiver
- Two amplifiers (one 2-channel, one mono)
- A pair of 8" full-range cabin speakers
- A pair of cage-mountable 8" speaker pods
- A custom 10" subwoofer enclosure
To make life easier, everything is mounted in or on housings and brackets MB Quart designed specifically for 2014-up Polaris RZRs.
Around here, we love custom gear like this and we wanted some hands-on experience with this system. Luckily for us, a good friend of one of our advisors just happens to own a 2020 RZR. He trailered it down to our HQ, and Peter, our merchandiser for specialty vehicles, and I spent a day mounting everything, then letting it rip. The result: pure awesomeness. Here's how it all went down.
Step 1: Setting up and taking apart
Before getting started on the project, we laid out the pieces of the kit to make sure we knew where each piece of hardware was supposed to go. Once we'd taken stock and formed our plan of attack, we began the disassembly process.
The nice thing about the RZR is that it's largely modular. A few screws here, a couple of pressure-fit knobs there, and all the panels that need to be removed to grant access to the mounting points are exposed.
We took apart the dash and upper console, removed the saftey handle from the passenger side, pulled out the glove box, and removed a couple of panels in the center of the RZR to expose wiring channels. Those tasks done, we were ready to start the show.
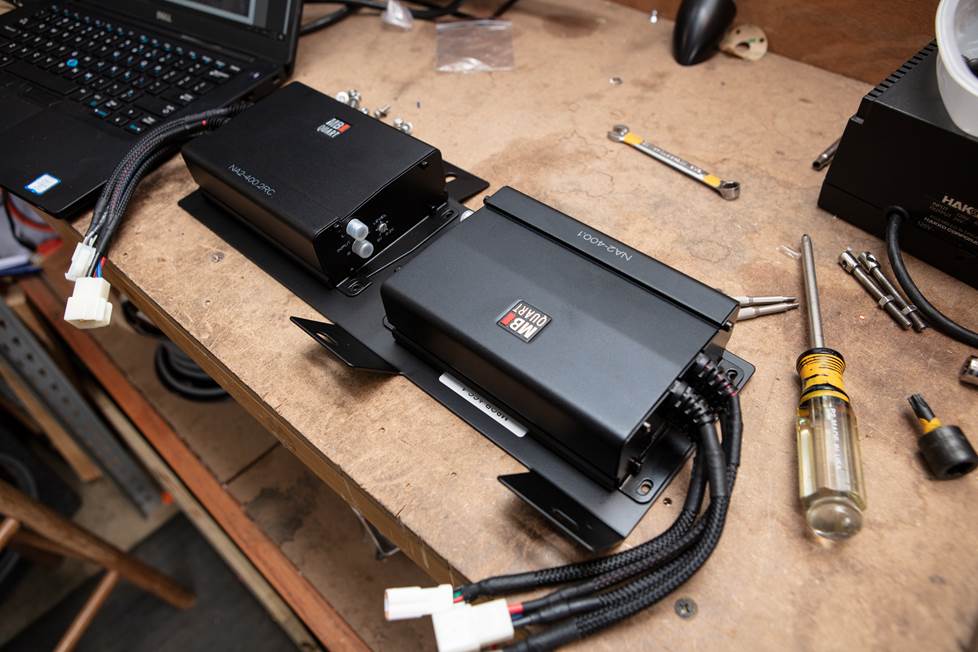
Step 2: Mounting the amplifiers
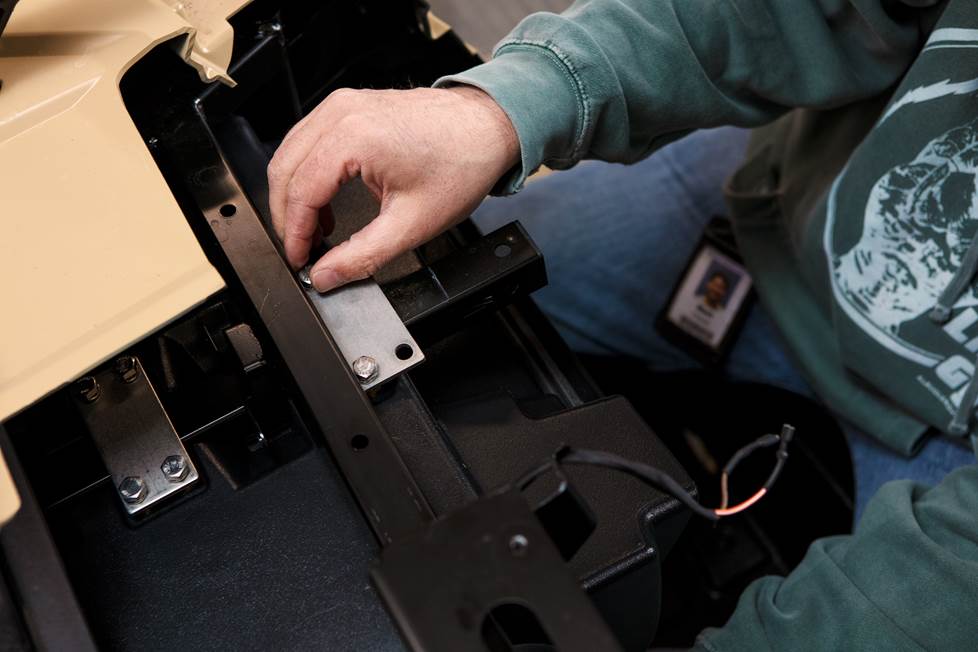
First up: POWER! Specifically, attaching the two amplifiers (one for the full-range speakers, and one for the subwoofer) to the custom mounting bracket included in the kit. MB Quart even included the necessary nuts and bolts, which was nice.
MB Quart designed the bracket to mount to the RZR chassis right behind the dash. The bolt-holes and tabs are in just the right spots, so there was no guesswork required on our part, and no drilling needed. We laid it on the chassis without securing it (yet) so that we could work on all the necessary wiring (yes, after we made all wiring connections, we did, in fact, secure it to the chassis).
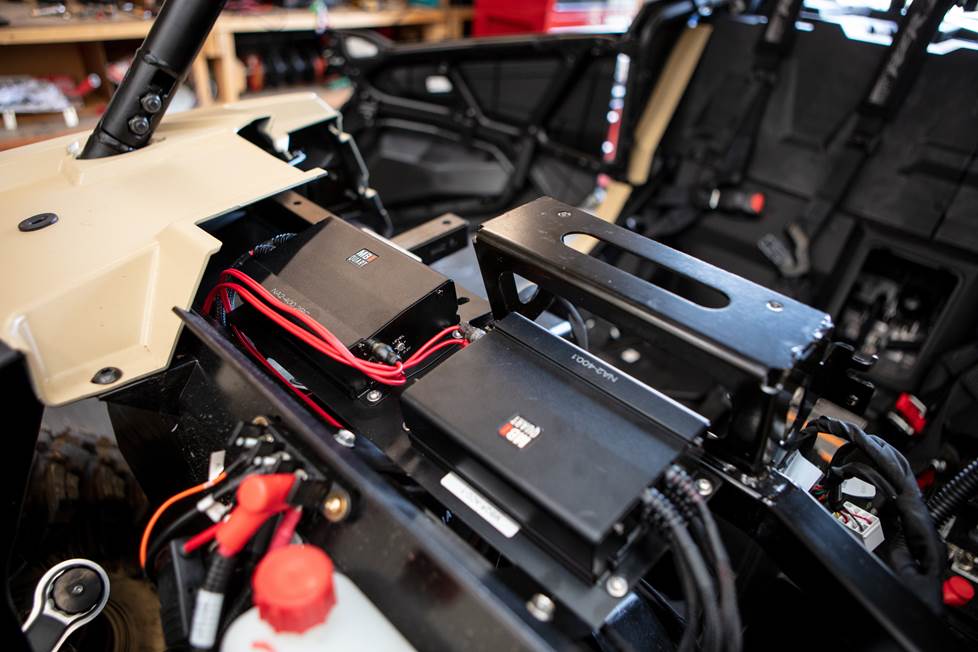
Here's something I thought was especially cool: our RZR features a power rail just under the hood, and MB Quart includes the harness needed to connect to it. So for power and ground, we just had to connect the proper wires to the rail, rather than running wire all the way to the battery. That alone saved a good amount of time and effort.
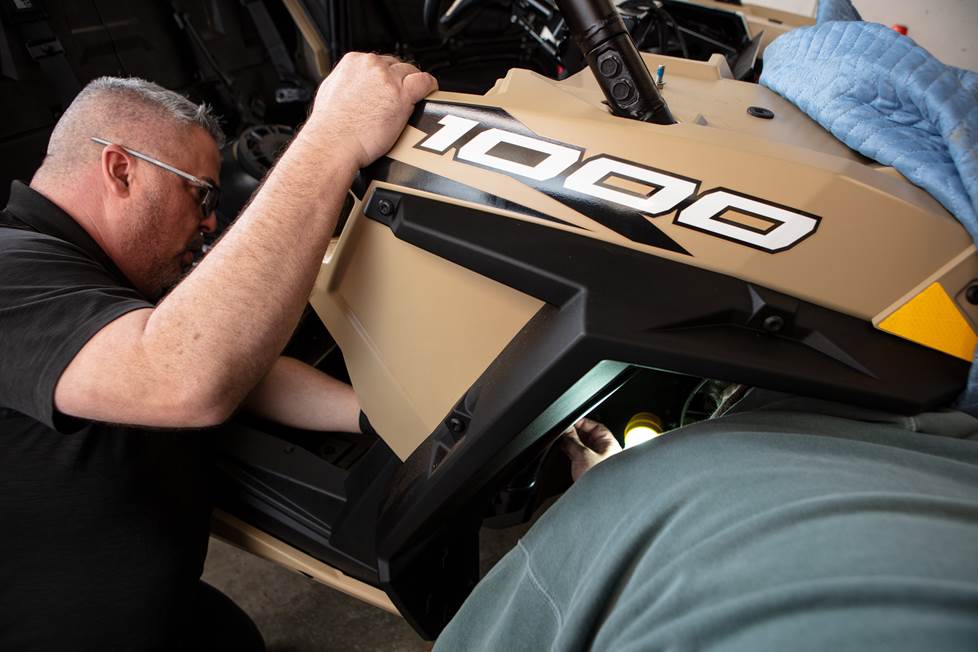
Step 3: Installing the subwoofer
With the amps loosely in place, we next turned our attention to the 10" subwoofer in its rugged, waterproof ABS enclosure. It takes the place of the RZR's glove box (so, yes, you lose some storage, but really how much were you planning to put in the glove box anyway?), and is molded to fit the contours of the upper part of the passenger-side footwell (don't worry, though; it leaves plenty of room for your feet).
The enclosure features a channel molded into the top, which cradles the square aluminum tube that houses the passenger grab bar. I nestled the sub against the tube, then used bolts and an aluminum bracket that's included with the kit to secure the sub in place. And it's surprisingly secure! Which it needs to be for offroading, of course.
The cone of the sub points toward the driver's side of the vehicle, and, once everything is put together, hides almost completely out of sight. The housing even lets you put the old glove box door back on to keep the styling intact (and technically, there is room for a pair of gloves in the teeny storage space you get when you fold down the glove box door).
The RZR glove box door latch is a bit too big for the sub house. But, in another nice little touch, MB Quart includes a replacement latch that simply bolts in place of the old one. This makes the attention-to-detail freak in me happy.
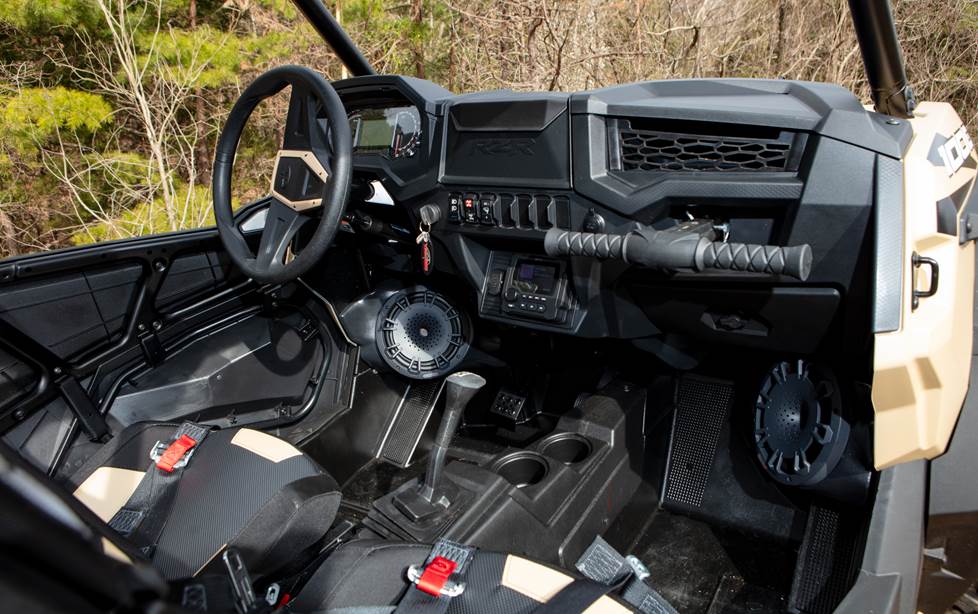
Step 4: Installing the cabin speakers
MB Quart did a great job designing the cabin speaker enclosures. They house massive 8" speaker cones, but hug the contours of each side's kick panels, so they leave plenty of footroom once they're installed.
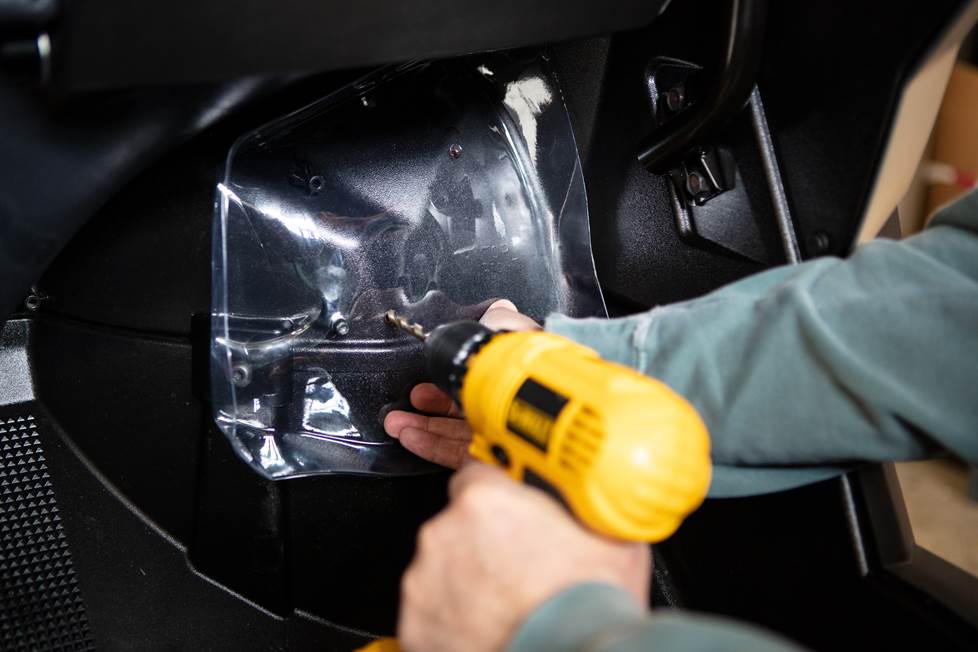
This section required the only permanent vehicle modification we had to do: to mount the enclosures, we had to drill holes in each footwell in order to secure them using bolts we pushed through from the wheel-well side of the RZR. MB Quart actually made this pretty straightforward, thankfully.
The enclosures come cradled in form-fitting, clear plastic panels that I originally assumed were to prevent scratching in transit, and almost tossed them. Good thing I didn't! Turns out, these are also the templates for drilling the holes for the speakers. I simply had to hold them against the mounting locations in the footwells, mark the holes, then drill away, and presto! One simple, yet effective mounting system.
I had Peter hold up the enclosures while I made sure the holes lined up, then threaded the bolts through and tightened them up.
To connect the speakers to the amp, we first plugged in the speaker wiring to a larger harness that MB Quart includes for both the front and the rear speakers. The amplifier that powers them is actually a 2-ohm stable 2-channel model. By connecting both pairs of speakers to the harness, then connecting that harness to the amplifier, we essentially wired both pairs in parallel (and thus presenting a 2-ohm load, which the amp handles with ease).

Peter ran the larger wiring harness from the amp to the front speakers, then through the RZR's now exposed center channel (where other wires for the vehicle run) back to the rear-speaker location.
Speaking of which...
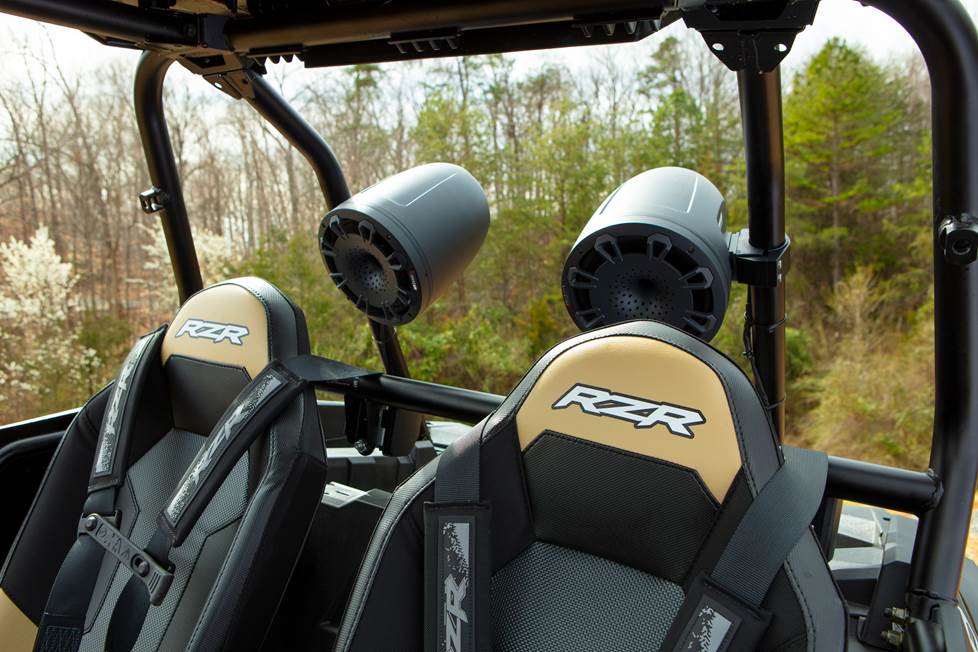
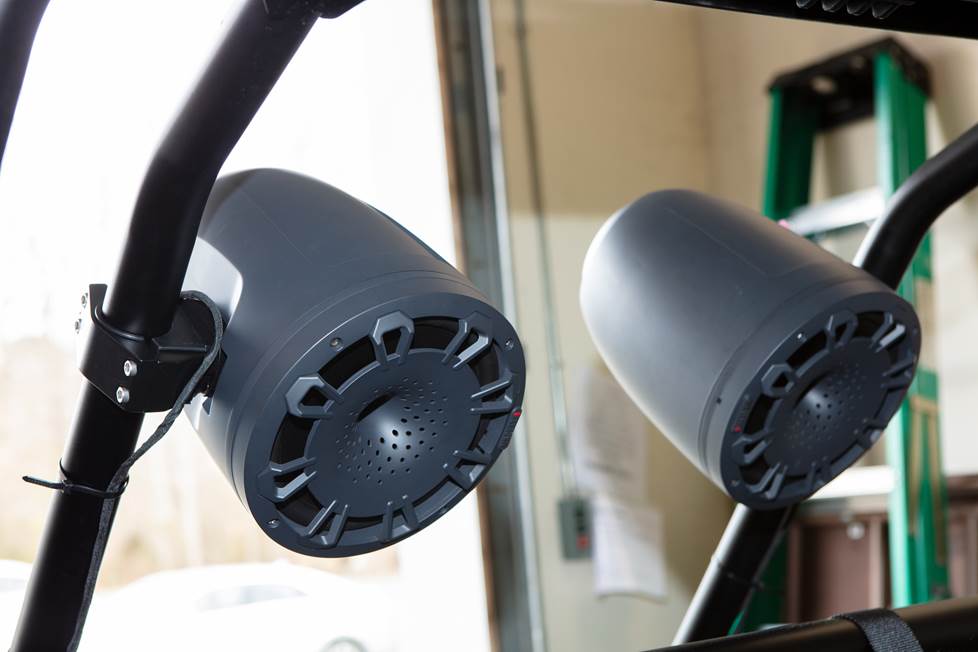
Step 5: Adding in the cage-mounted speaker pods
Installing the cage-mount pods with their 8" speakers was about as straightforward as it got. The package came with mounting clamps and rubber inserts designed to accommodate various bar diameters; finding the ones we needed was pretty easy. To mount the pods, I simply sandwiched the rollbar between the halves of each clamp, then inserted the included bolts from top to bottom and tightened them up.
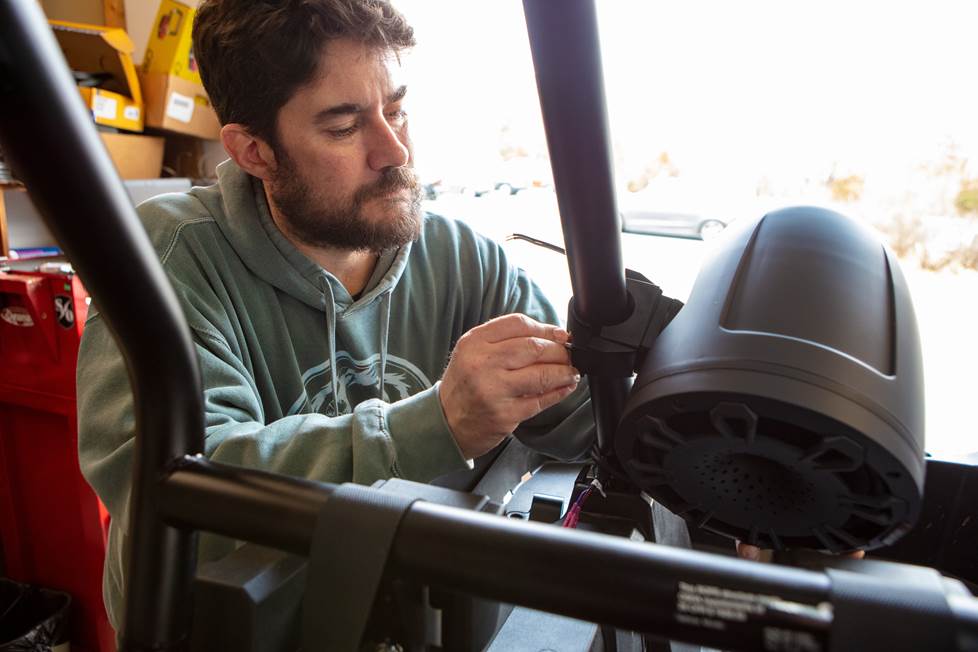
And yep, before you ask, I did measure the height on the bar of each speaker so that they'd be nice and even.
Once on, we were able to swivel the pods until we had them at the angle we wanted them: in our case, slightly tilted downward, towards the listener. But really, it's a matter of preference, and the option of aiming them exactly where you want them is a great thing.
To connect the speaker wires to the main harness, Peter used marine-grade crimp-and-shrink butt connectors to create a watertight seal. He just had to twist the wires together, slide the connector in place, then crimp in the middle and use a heat gun to shrink the ends and release the wire glue in the middle for a tight, snug connection.
Standard soldering and heat-shrink tubing would've worked just fine, but we figured we'd put in the extra effort to make it nice and tight, because we know this RZR will see its share of water, mud, and who knows what else!
Step 6: Mounting the multimedia receiver
The last step before we got to fire everything up was to mount the receiever in place. And once again, MB Quart's research and design proved pretty spectacular.
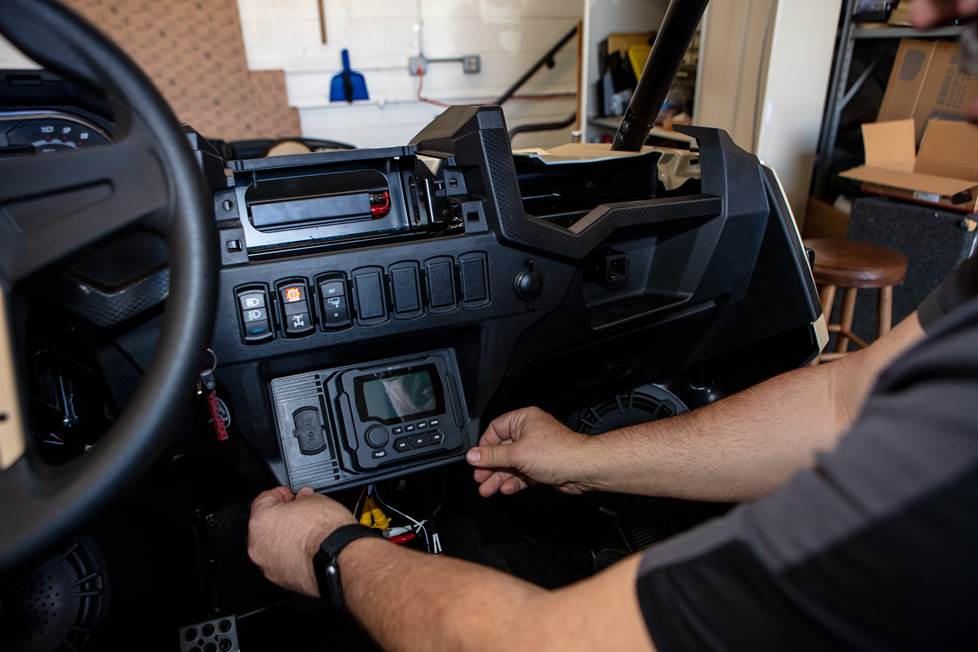
Right out of the box, the receiver is mounted in a custom dash panel (which includes a handy USB input!). To mount it, we simply had to slide it in place, then bolt it to the RZR's rear stabilizer (which had previously been used for the factory storage pocket).
The power and ground wires connected directly to the same harness we used to wire up the amplifiers, so again, we didn't have to run anything to the battery. I can't emphasize enough how much easier it is not to have to thread long runs of wire through a side-by-side. Well done, MB Quart.
Okay, enough about the work. How does it sound?
If I had to pick one word to describe the audio performance, it would be "powerful." After putting all necessary panels back in place, we reconnected the battery, turned the key, connected Peter's phone via Bluetooth...and rocked out.
The speakers and sub are loud...which is exactly what you want from a system like this! It's got plenty of giddyup to propel music over the sound of the motor and the rumble of the tires and the whoops and hollers of everyone on board as it tackles the trails. We should know: we have a set of trails behind our headquarters where we tried it out, and not once did the sound get drowned out by ambient noise.
And it sounds good, too! Sitting still, it might seem a little bright on the high end, but we know that that's necessary for vehicles like this, as a little something extra in the high end goes a long way towards keeping it audible when the vehicle's in motion. But the sound quality overall was pretty darn great. There's great detail across the spectrum, and the bass hits plenty hard. It's a treat to listen to.
Thoughts at the end of the day
For us, this was a fun and satisfying installation day. For you, we hope you are inspired to do something similar with your ATV. You don't have to get as fancy as we did. There are a lot of great audio products available for ATVs. You're sure to find just what you need.
Now it's your turn!
Here's Peter with a quick review of the gear we installed and what makes this such a great audio system. Give it a watch and you're sure to get some ideas for your own upgrades:
If you're ready to trick out your own side-by-side, you can enter its info in our vehicle fit tool to see what we've got for you, or give one of our advisors a call at 888-955-6000. We'll have you blasting down the trails in no time!


Tim Clark from Keene NH
Posted on 5/13/2020
Where did you find the black n yellow RZR? I saw it pictured on website while lookn for audio upgrade and love the color scheme. My dealer couldnt locate one.
Jon Paul from Crutchfield
on 5/13/2020