2014-2020 Chevrolet Impala
How to upgrade the stereo system in your Impala


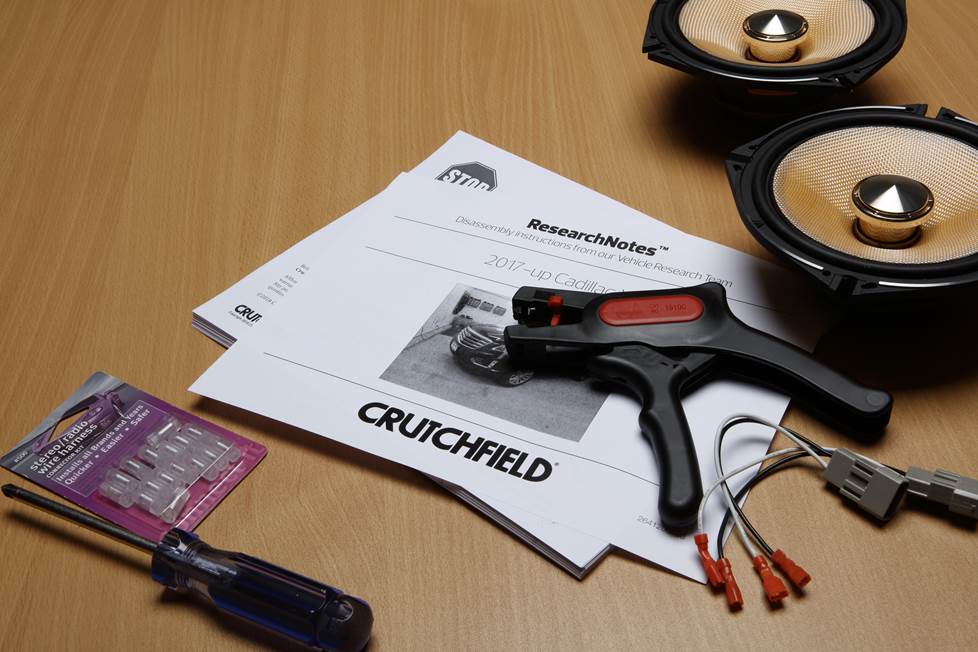
In brief: This Crutchfield Research Garage article gives you an overview of your Impala's stock stereo system and your aftermarket upgrade options. We'll tell you all about:
- The factory stereo system
- Removing the factory speakers
- Adding more bass
- Other options for your Impala
Then, use our vehicle selector to find the gear that will fit your Impala.
Overview of the Chevrolet Impala
The tenth-generation Impala is an excellent example of the "big ol' American sedan" in its most evolved form. There’s plenty of space for passengers inside, plenty of space for their stuff in the trunk, and plenty of power to get it all down the road.
The fact that this Impala also looks good and handles well is kind of a bonus, especially in a class where boring and mushy was long considered good enough. Lots of modern sedans look fine in the rental lot, but this one will actually look good in your driveway.
The stock stereo/infotainment systems are decent enough, which is good, since there’s currently not much that can be done to replace any of the factory receivers. You’ll want to focus on new speakers and other upgrades, and this article will tell you more about what you can do and how it’ll get done.
Note: Just in case you wound up here by accident, we should mention that the previous (ninth) generation Impala remained in production for a while as the 2014-2016 Impala Limited. These cars were intended for rental, fleet, and police use, and are covered separately in our database.
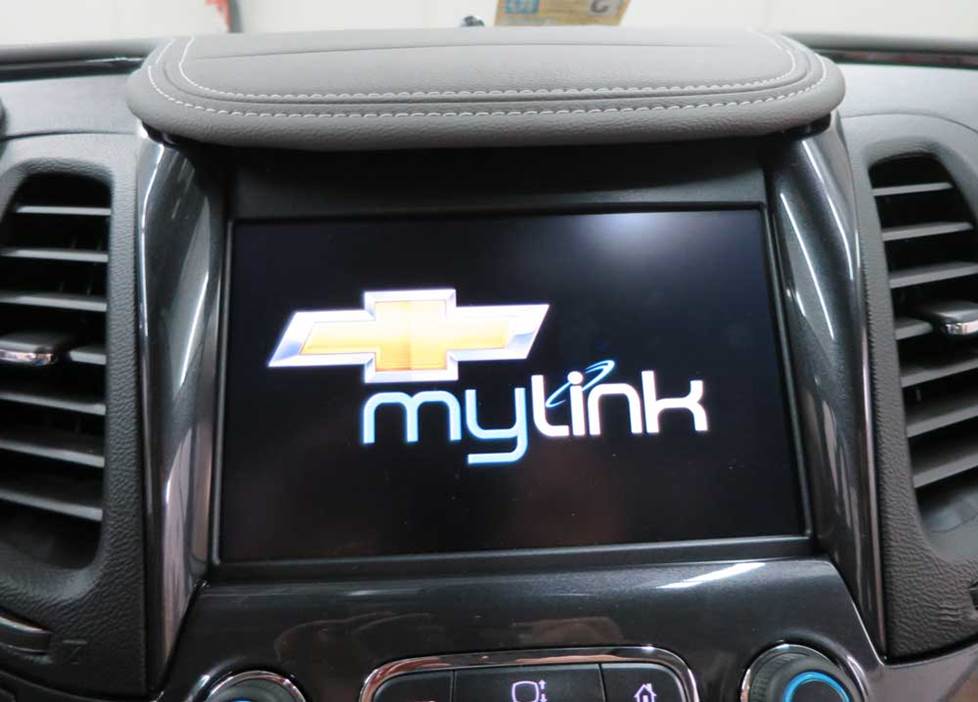
Unfortunately, replacing the Impala's factory radio is not recommended at this time (Crutchfield Research Photo)
The factory stereo system
The Impala's base receiver package was an AM/FM/SiriusXM/HD/CD with six speakers. In upper trim levels, the that system could also be had with a MyLink receiver and a factory amplifier. The top-of-the-line system was an AM/FM/SiriusXM/CD with an 11-speaker Bose® audio system.
Two LCD control displays were available in the Impala, a 4.2" base model and an 8" LCD touchscreen. You can’t replace the radio in any vehicle with the 4.2” factory radio or in any of the 2020 models.
Replacement options are very limited for the remaining vehicles. The good news is that a Direct Replacement package will fit right in without cutting or modification.
A Direct Replacement solution replaces your factory screen with a better-performing upgrade that mounts an 8" replacement screen in the same spot. You also get greater functionality, better sound, and improved expandability. Identify your specific Impala, and we'll show you the Direct Replacement stereos that'll work in yours.
Even if you're not replacing the stereo, there are still circumstances in which you might need to access the back of the stock receiver, and you’ll find complete instructions in the Crutchfield ResearchNotes™ included with your Crutchfield car audio purchase.
Detailed stereo and speaker removal instructions
The factory radio tuner is located under the passenger's side dash, and it’s pretty easy to access. The factory amp (if present) can be found behind a trim panel on the passenger’s side of the trunk.
Before you do anything with the stock system, set the parking brake and disconnect the negative battery cable to prevent any electrical short. You can refer to your Impala’s owner's manual for info on how to disconnect the battery.
If you want to improve the audio in your Impala, aftermarket speakers are the obvious way to go. Better speakers will give you better sound, even if you do have to stick with the factory “radio.” Adding an amplifier will add even more power and clarity to your music.
An aftermarket sound processor is the next step up. You might need to access the factory tuner/amp combo as part of this audio upgrade, and if you have questions about this, we can help you
To learn more about upgrading your sound while keeping the factory radio, check out this helpful guide to sound processors.
Hybrid note: If you own the hybrid version of the Impala, we don't recommend installing an audio system that exceeds a total 30-amp current draw. Give us a call if you have questions about this.
Replacing the stock speakers with new aftermarket models will really improve the sound in your Impala (Crutchfield Research Photo)
Removing the factory speakers
Since you’ll be sticking with whichever stock receiver your car came with, your best bet for improved sound will be a new set of aftermarket speakers. For the most part, the speaker removal/replacement process is very do-able for the average DIY-er, and the results will be well worth your time.
This article will touch on the basics of what you need to know to do the job, and all the step-by-step disassembly details will be found in the Crutchfield MasterSheet™ included with your speaker purchase.
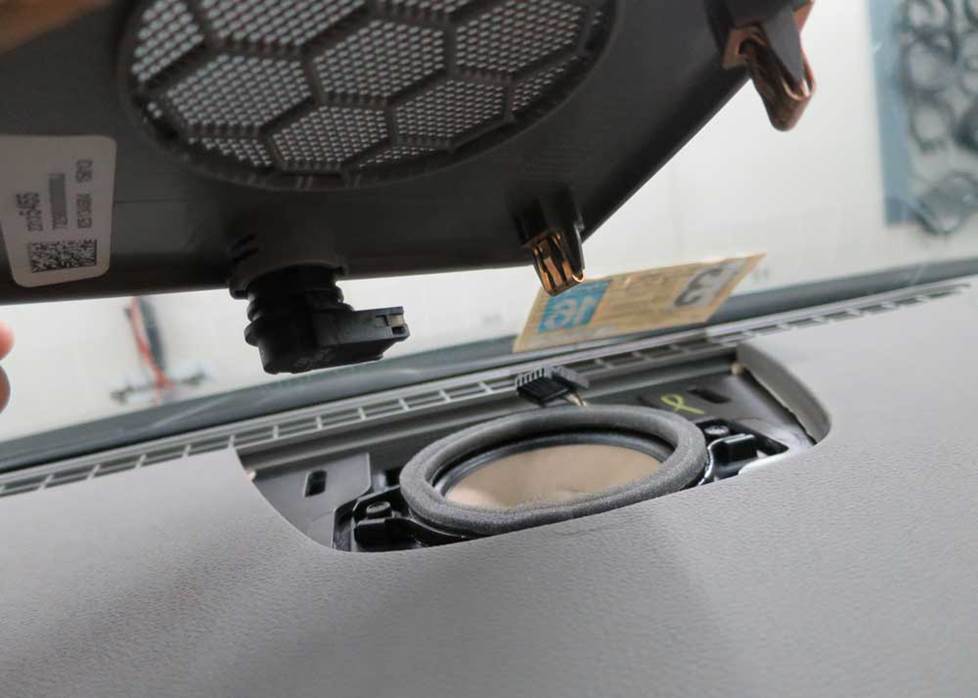
The center dash speaker is part of the Impala's premium Bose system (Crutchfield Research Photo)
Removing the center dash speaker
The center dash speaker, found only in the Bose system, is a 3-1/2" model that’s very easy to get to. Just use a panel tool to pry up the speaker grille to release four clips, then disconnect the wiring harness and remove the grille.
Remove the two 7mm screws securing the speaker, then pull it out, disconnect it, and remove it. Keep those screws handy because you’ll need them to secure the new speaker.
There’s no speaker wiring adapter available for this location, so you’ll need to splice, solder, or use Posi-Products speaker connectors to connect the new speakers to the car’s wiring.
Tools needed: Panel tool, 7mm socket, ratchet and extension
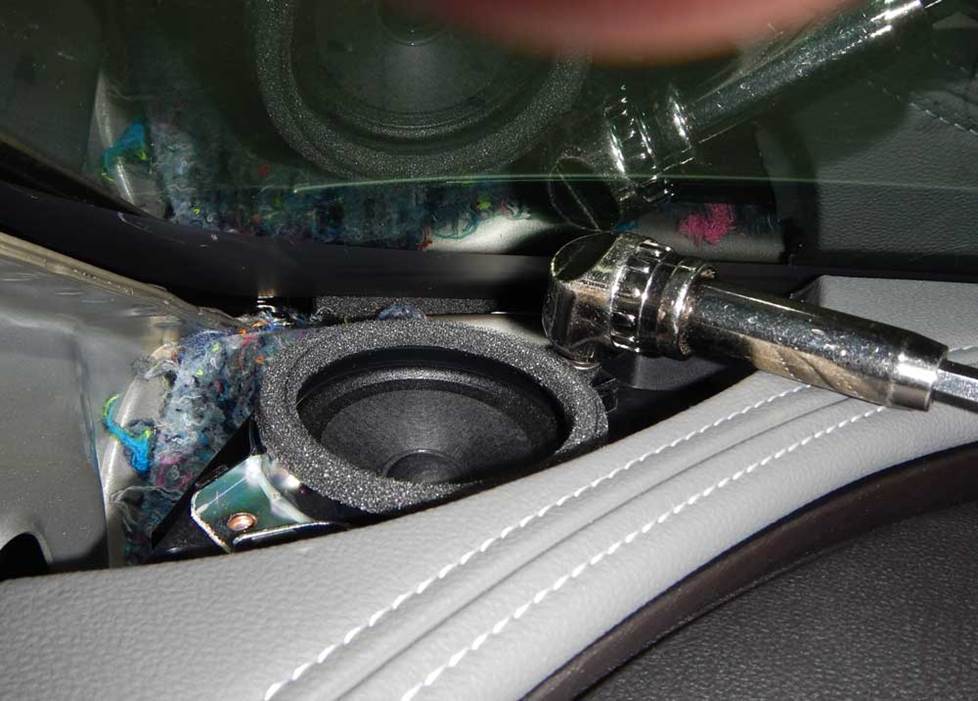
The Impala's corner dash speakers are reasonably easy to reach and replace (Crutchfield Research Photo)
Removing the corner dash speakers
All Impalas came with 2.229" corner dash speakers, and they’re pretty easy to deal with — for the most part.
Removing them is pretty simple, honestly, but there are no speaker wiring adapters available, so you’ll need to splice, solder, or use Posi-Products speaker connectors here.
You'll also need speaker mounting brackets to install your new speakers, and we’ll include them with your Crutchfield purchase. Thing is, though, those brackets only work with tweeters that can be flush-mounted, so you’ll need a hole-saw drill bit to make them fit into the brackets.
If you have questions about this (or anything else involved in your audio upgrade), remember that your Crutchfield purchase includes free tech support for the life of the gear. Our experts are right here in Virginia and ready to help.
Tools needed: Panel tool, 7mm socket, ratchet and extension, hole-saw drill bit
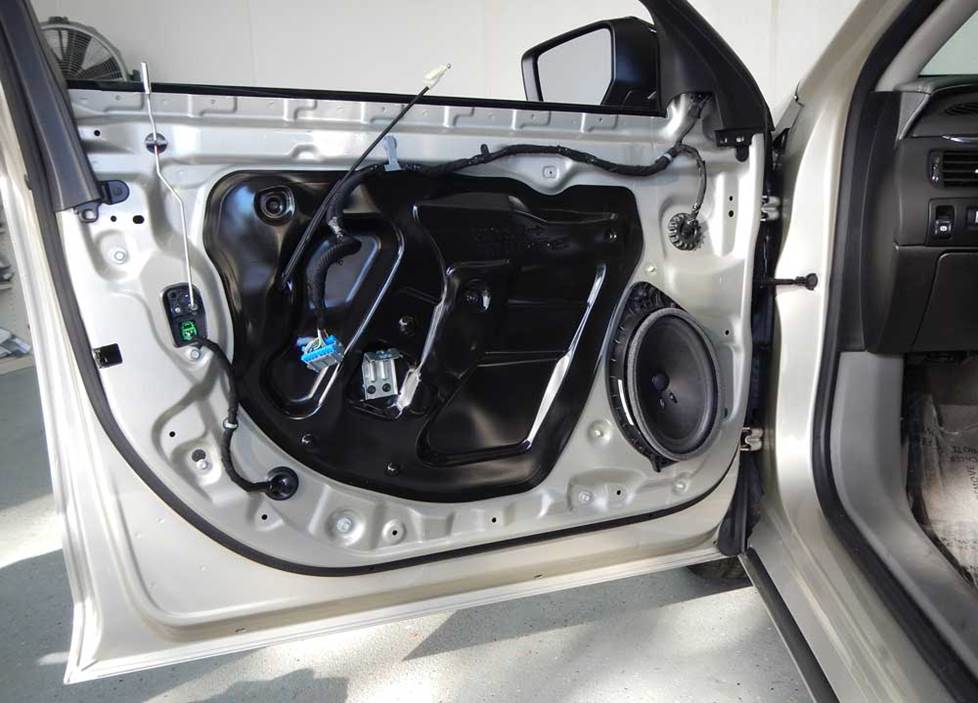
You'll need to remove the door panels to replace the stock front door speakers (Crutchfield Research Photo)
Removing the front door speakers
The Impala’s front doors are home to 6"x9" factory speakers, and you can replace them with a variety of same-size, 6-1/2", or 6-3/4" aftermarket speakers. There are also some GM-specific speaker sets from PowerBass that are designed to fit into this space with minimal effort. To see those and all the other speakers that fit your Impala, enter your vehicle information.
You’ll need to remove the door panels to replace these speakers, and the relevant step-by-step instructions can be found in your Crutchfield MasterSheet.
Do note that the stock speakers are low-impedance models, so you'll hear a loss of volume if you replace them with standard 4-ohm aftermarket speakers. We suggest using 2-ohm speakers here, and we’ll filter the list of speakers for 2- or 3 ohm models when you enter your vehicle info.
In some cases you'll need speaker mounting brackets to install your new speakers. And in some of those cases, you’ll need to remove the inner tabs on the aftermarket speaker brackets. This is easily done with a pair of pliers, and we’ll make sure you know if this is necessary before you order your new speakers.
Once your new speakers are installed, test them out to make sure they’re working. If they are, you can start putting the doors back together by reversing the disassembly steps. Check to make sure the wires aren’t messing up the window operation and also make sure the door lock/release functions are functioning.
Tools needed: Panel tool, small flat blade screwdriver, 7mm socket, ratchet and extension, drill with 1/8" bit
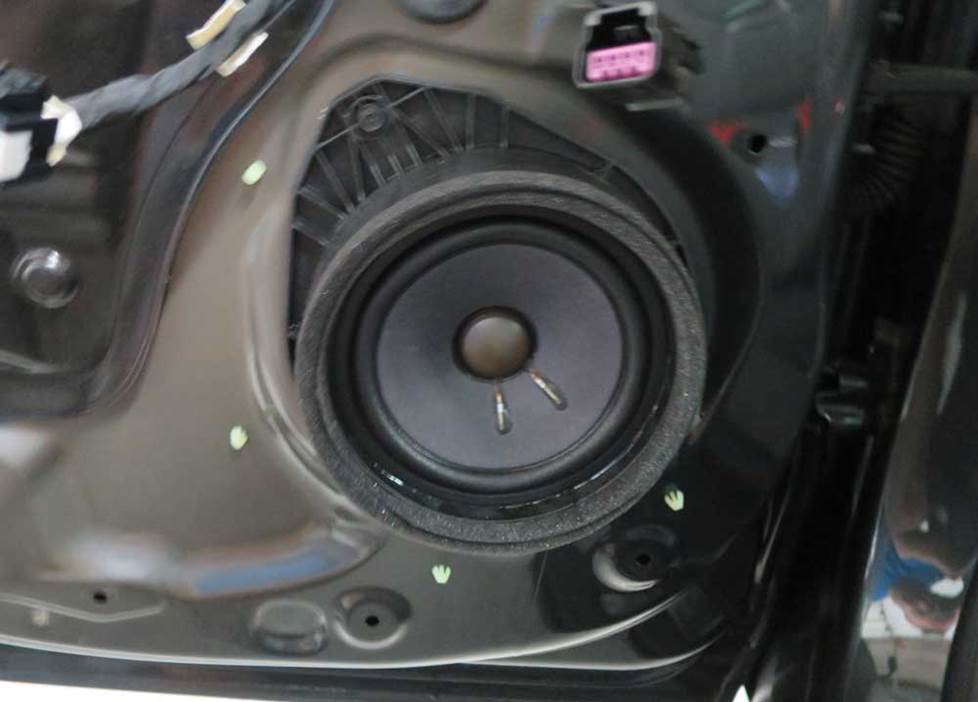
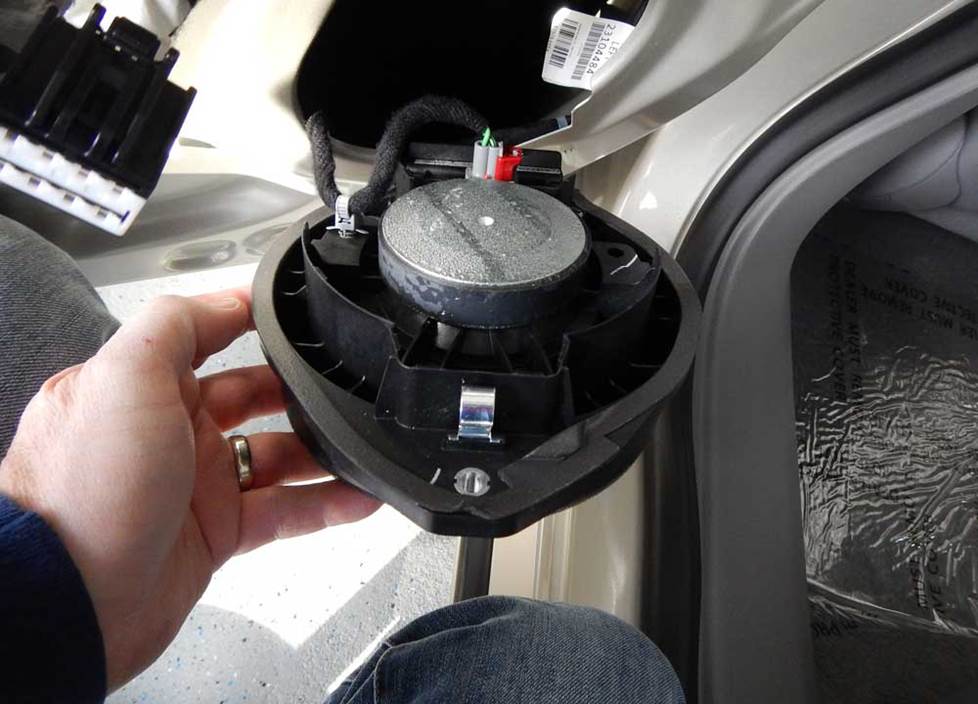
The 6-3/4" rear door speakers can be replaced by a wide selection of aftermarket models (Crutchfield Research Photo)
Removing the rear door speakers
The rear door speakers are 6-3/4" models, and you can replace them with same-size or 6-1/2" aftermarket speakers. As with the front doors, there are PowerBass speakers that are designed for this location.
You’ll need to remove these door panels, too, and all the instructions can be found in your Crutchfield MasterSheet™. The same caveats noted for the front speakers also apply for the non-Bose system back here, so mind your impedance figures when you’re shopping. Lower-impedance speakers will sound better.
Mounting brackets will be included with your speaker purchase, but you might need to remove the inner tabs on the aftermarket speaker brackets to get the new speakers to fit.
Tools needed: Panel tool, small flat blade screwdriver, 7mm socket, ratchet and extension
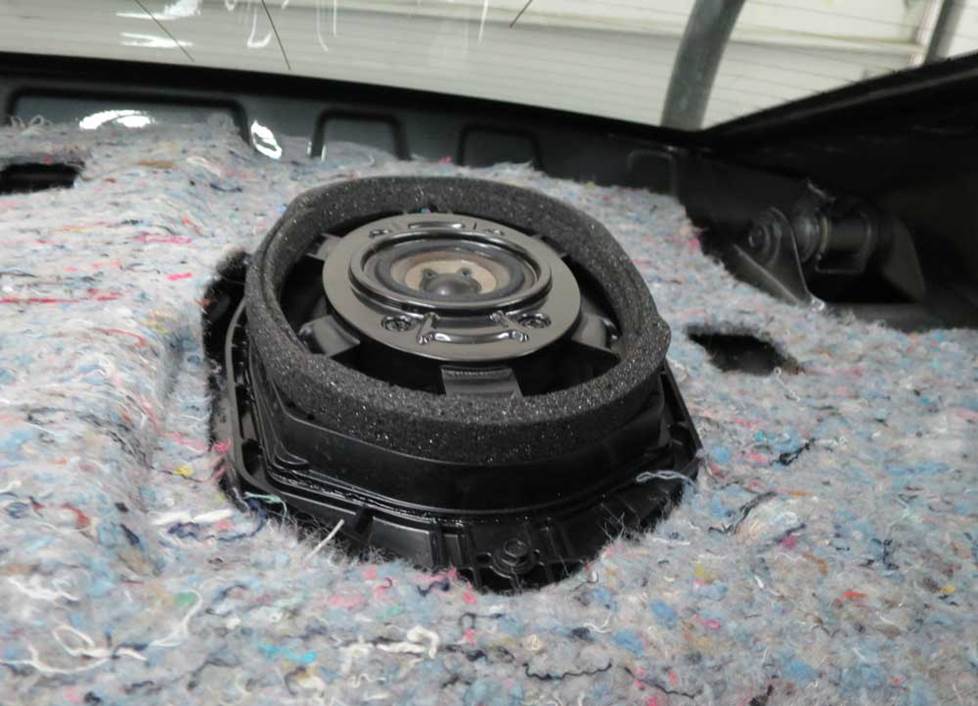
The rear deck tweeters are woofer/tweeter combo models (Crutchfield Research Photo)
Removing the rear deck speakers
In the rear deck, you’ll find a pair of bi-amped 6"x9" woofer/tweeter combo speakers. You’ll need to remove the rear deck panel to access these speakers and that’s going to take a bit of work.
This is a do-able DIY project, but you’ll need to mark off some time, work carefully, and stay organized. There are a lot of panels and pieces to keep track of, so keeping those straight will make the re-assembly process a lot easier.
There are no speaker wiring adapters for this location, so you’ll need to splice, solder, or use Posi-Products speaker connectors to connect the new speakers to the car’s wiring. And, since there are no mounting brackets available, you’ll need to fabricate a bracket or spacer to secure your new speakers.
You’ll want to test those new speakers before you put everything back together, of course. And you’ll also want to make sure the seats and seat belts are secured properly before you hit the road.
Tools needed: Panel tool, small flat blade screwdriver, 7mm socket, ratchet and extension
Shop for speakers that fit your Chevrolet Impala
Read our Car Speakers Buying Guide for more information.
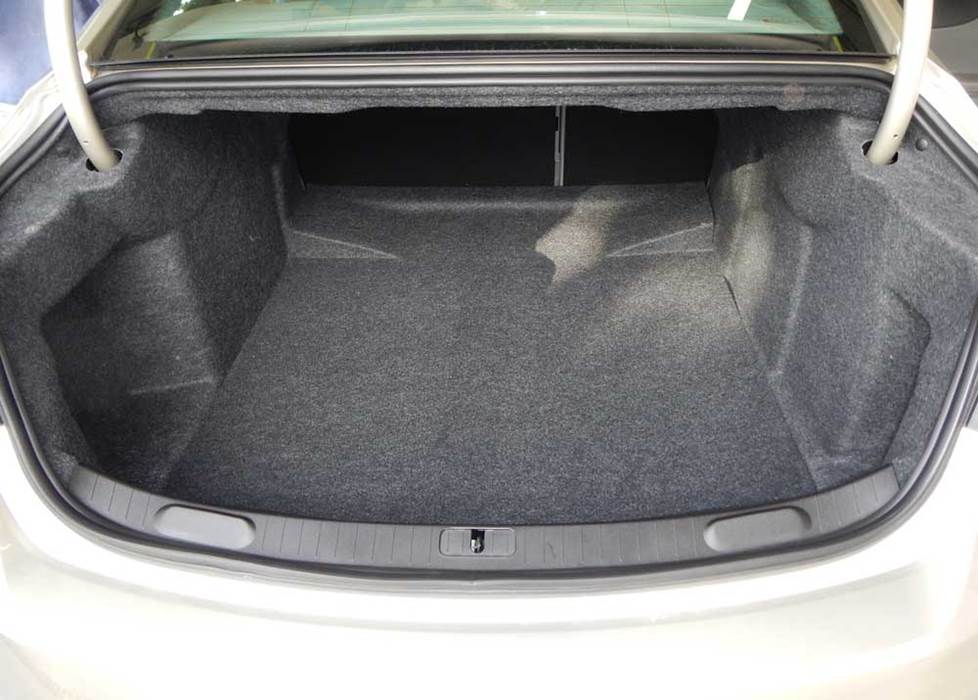
You'll find plenty of space for bass in the Impala's commodious trunk (Crutchfield Research Photo)
More bass in your Impala
One of the best parts of a big sedan is that you get a big trunk that’ll hold a lot of luggage and groceries and whatnot. In this case, whatnot refers to subwoofer boxes. If you want to go big on bass, you’ll have a 41"W x 21"H x 46"/32"D space to work with.
If you want to reserve some of that trunk space for the aforementioned luggage and groceries, you can always go with a more compact (but still impressive) powered subwoofer.
Learn more about building a bass system in our Car Subwoofer Buying Guide.
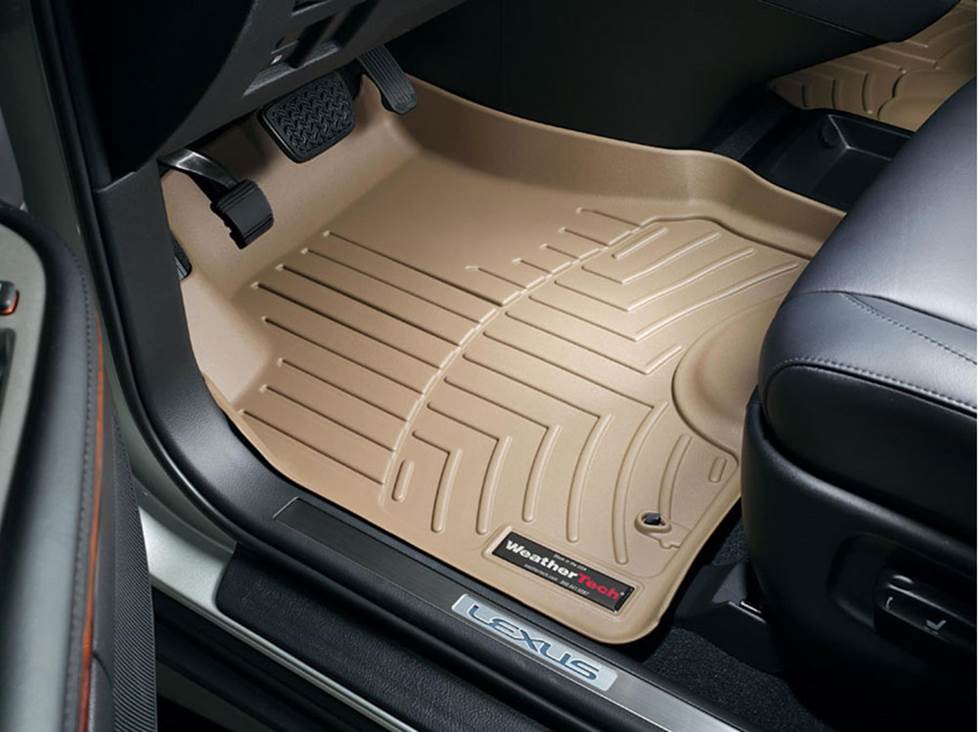
Keep your Impala's carpets looking good with a set of custom-fit WeatherTech floor liners
Other options for your Impala
There are plenty of other ways to improve the sound, safety, and comfort of your Impala. Here are some of the ways Crutchfield can help.
Protect your car's interior
The Impala is a very nice car, but the factory floor mats are just plain old factory floor mats. A set of custom-fit floor liners from WeatherTech will help protect your car's carpeting from dirt and damage.
Add an amp (or two)
A new 4-channel amplifier will help you get the most out of your Impala's new speakers. You'll get cleaner power (and a lot more of it), which will result in much, much better sound. A mono amp can provide the juice you need for a new subwoofer, too. But again, if you're working with a hybrid model, don't exceed a 30-amp current draw or 350-watt RMS power rating.
Dynamat
The Dynamat 10435 Xtreme Door Kit is the perfect way to seal in sound. This heavy-duty insulating material is easy to install, and it really makes a difference. One kit will take care of the front doors. If you install a big sub, you might want to line the trunk lid as well.
Remote start and security systems
Adding remote start capability to your vehicle lets you warm it up in the winter or cool it down in the summer. Ask a Crutchfield Advisor about adding remote start to your Impala.
You can also talk to your Crutchfield Advisor about a security system. They’re not as easy to install (we suggest letting a professional do the job), but we can help you shop for a system that’ll work in your vehicle.
Let's get started!
Ready to shop? Use our vehicle selector to find the gear that will fit your car or truck. If you have questions of your own, give us a shout via phone or chat.


Comments (0)