2022-up Hyundai Santa Cruz
How to upgrade the stereo system in your Santa Cruz

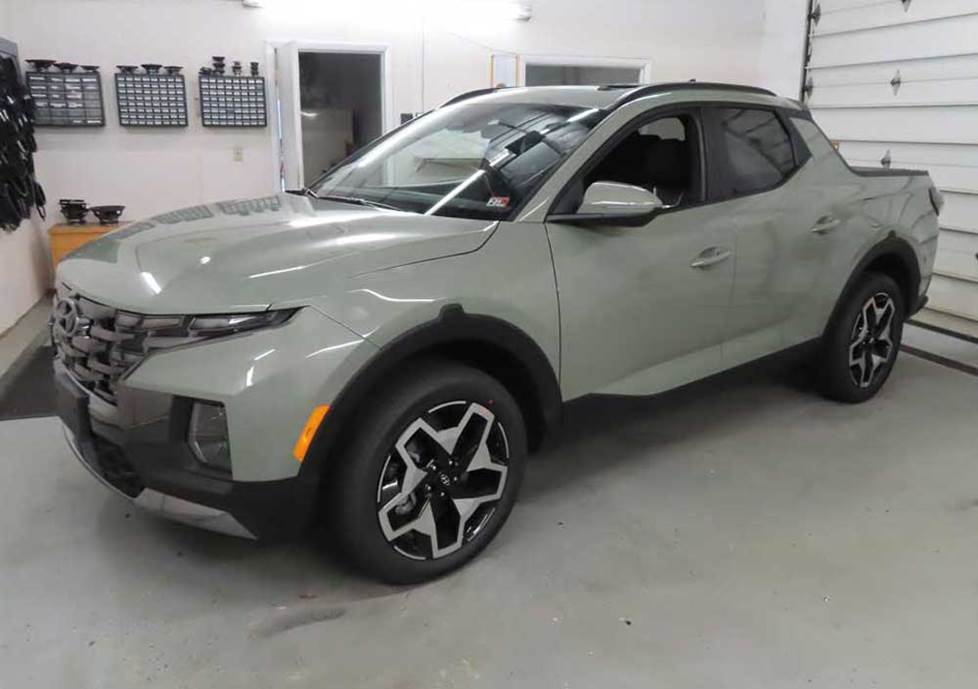
In brief: This Crutchfield Research Garage article gives you an overview of your Santa Cruz's stock stereo system and your aftermarket upgrade options. We'll tell you all about:
- The factory stereo system
- Removing the factory speakers
- Adding more bass
- Other options for your Santa Cruz
Then, use our vehicle selector to find the gear that will fit your Santa Cruz.
Overview of the Hyundai Santa Cruz
Depending on how you think about it, the Santa Cruz is either a very nice midsize truck or a very nice midsize SUV with an open-air cargo space. There is no wrong answer, because the Santa Cruz can do most of the pickup things you’d want it to do, plus most of the things you’d want an SUV to do. And it looks pretty cool doing any of it.
Because it’s based on the well-liked Tucson, the Santa Cruz brings SUV levels of comfort and amenities to the party. It’s not nearly as blocky as the average truck/SUV, and that, combined with Hyundai’s standard level of fit and finish, makes the interior a great place to enjoy some music. Upgrading the audio gear will make that experience even more enjoyable.
You’re pretty much stuck with the factory “receiver” (see below), but there are other ways to improve the audio in your Santa Cruz. Read on to learn more about what you can do and how to do it.
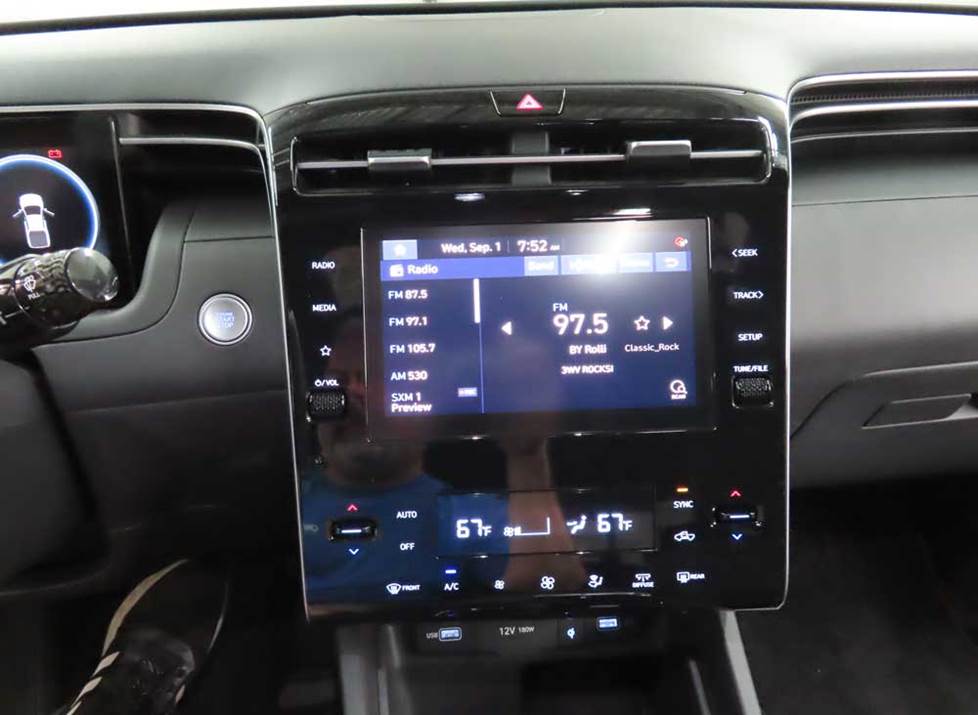
This unit is way more than a mere radio, so replacing it is pretty much impossible at this point (Crutchfield Research Photo)
The factory stereo system
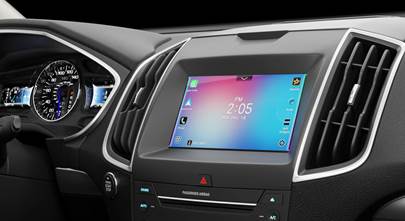
The Santa Fe’s stock stereo systems (say that three times fast) consist of a base system and a Bose® system. Receiver wise, the base model is an 8" LCD and the premium version is a 10.3" LCD. Apple CarPlay and Android Auto are standard, and the big receiver adds a navigation system.
We’re referring to them as “receivers” only out of habit. In reality, these units handle a whole lot more than music. Due to all the other things they do, it’s really not possible to replace them at the moment. Should the aftermarket figure something out, we’ll update this space. But until them, we’d advise music lovers to focus their energies on upgrading the speakers.
Detailed stereo and speaker removal instructions
You may need to access the Bose® system’s factory amplifier as part of your upgrade process. It’s located underneath the driver’s seat.
Before you do that or anything else with the stock system, you’ll need to set the parking brake and disconnect the negative battery cable to prevent any electrical short. Refer to the owner's manual for info on how to disconnect the battery.
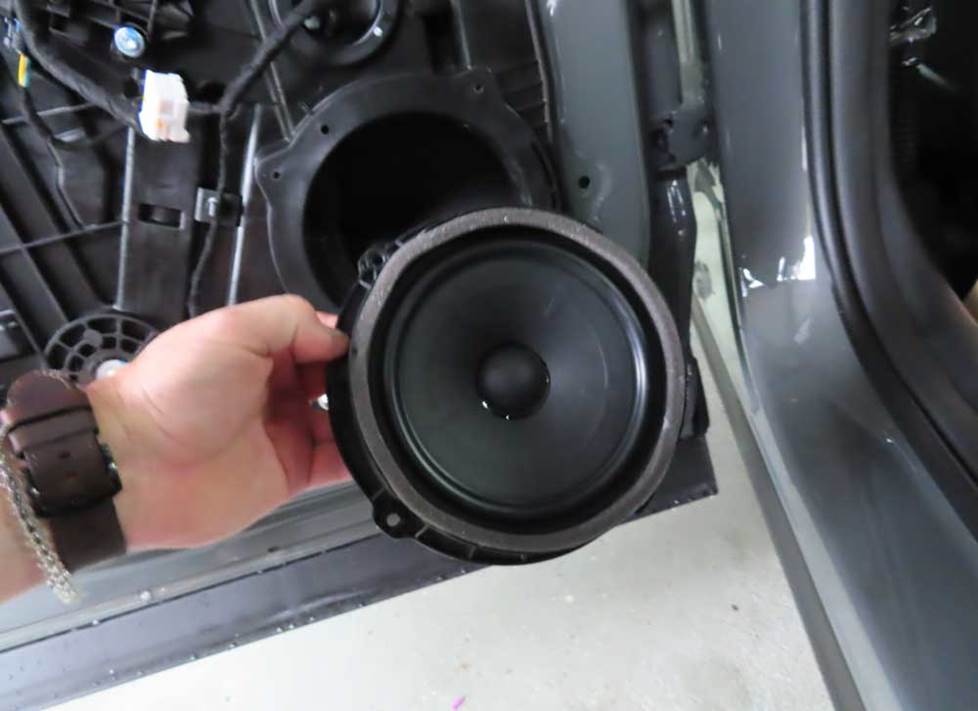
Upgrading the speakers will be the best way to improve the sound in your Santa Cruz (Crutchfield Research Photo)
Removing the factory speakers
Upgrading the speakers is, for the most part, reasonably uncomplicated in the Santa Cruz. Even if you’re new to car audio DIY, it’s a do-able job and our vehicle-specific instructions will give you the step-by-step guidance you need to get the job done. Your Crutchfield purchase also includes free tech support for the life of your gear, so if you hit a snag, our experts are right here in Virginia and ready to help.
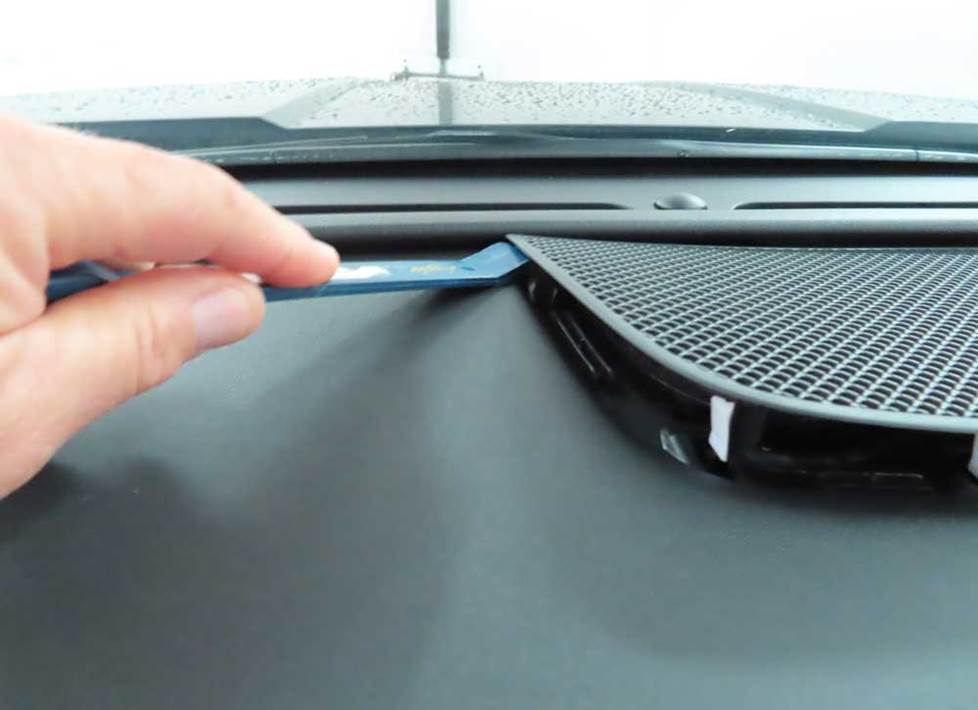
The factory Bose® system includes this center dash speaker (Crutchfield Research Photo)
Removing the center dash speaker (Bose® system only)
The Bose® system includes a 3-1/2" speaker in the center of the dash. To access this speaker, you’ll need to use a panel tool to pry up the center dash grille to release six clips, then remove the grille. Remove the two 8mm screws securing the speaker to the dash, then disconnect the harness and remove the speaker.
A wiring harness is not available for this location, so you'll have to splice, solder, or use Posi-Products speaker connectors to connect the speaker to the car’s wiring.
Tools needed: Panel tool, 8mm socket, ratchet and extension
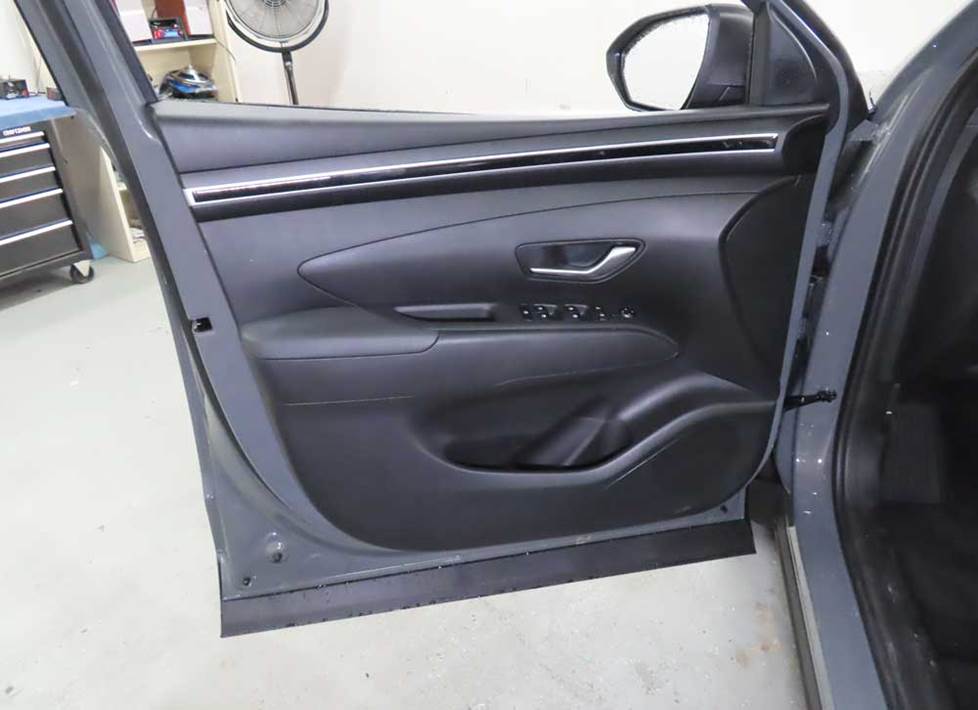
You'll need to remove the door panels to upgrade the front and rear door speakers (Crutchfield Research Photo)
Removing the front door speakers
Both factory systems include 1.382" sail panel tweeters and door-mounted 6-3/4" speakers, which are wired in parallel. You’ll need to remove some panels to get to them, but this really isn’t all that hard to do. A set of component speakers would be a nice choice for the front doors.
The tweeters are pretty easy to get to, and there are plenty of separate or component tweeters that’ll work here. A wiring harness is not available for the tweeters, so you’ll need to splice, solder, or use Posi-Products connectors here, too. There aren’t any mounting brackets either, so you’ll need to use hot glue, silicone, or our universal backstraps to secure your new tweeters.
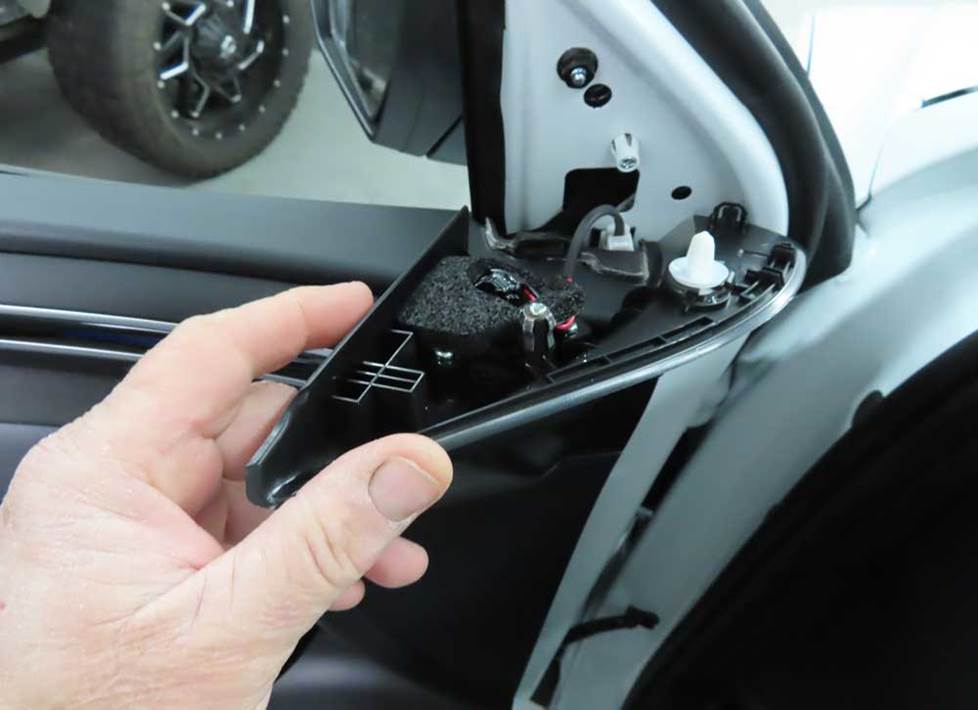
The front door tweeters are mounted in the sail panels (Crutchfield Research Photo)
Starting at top corner, pry off sail panel to release four (4) clips, disconnect harness and remove sail panel.
You’ll need to remove the door panels to get to the front door woofers, and that process isn’t terribly difficult. First, pry up the rubber mat inside the door pull cup, then remove one exposed Phillips screw. Next, pry out the screw cover on the rear edge of the door panel, then remove one exposed Phillips screw.
Starting at either lower corner, pry off the door panel to release twelve clips, disconnect the door release cable by pressing the release tab, disconnect the harnesses, then remove the door panel.
Finally, remove four Phillips screws securing the speaker to the door, disconnect the wiring harness and remove the speaker.
You’ll need speaker mounting brackets to install your new 6-1/2" or 6-3/4" speakers and we’ll include them with your speaker purchase. If you’re installing 6-3/4" models, you'll need to remove the inner tabs on the aftermarket speaker brackets.
Tools needed (tweeters): Panel tool, Phillips screwdriver
Tools needed (woofers): Panel tool, Phillips screwdriver, small flat blade screwdriver
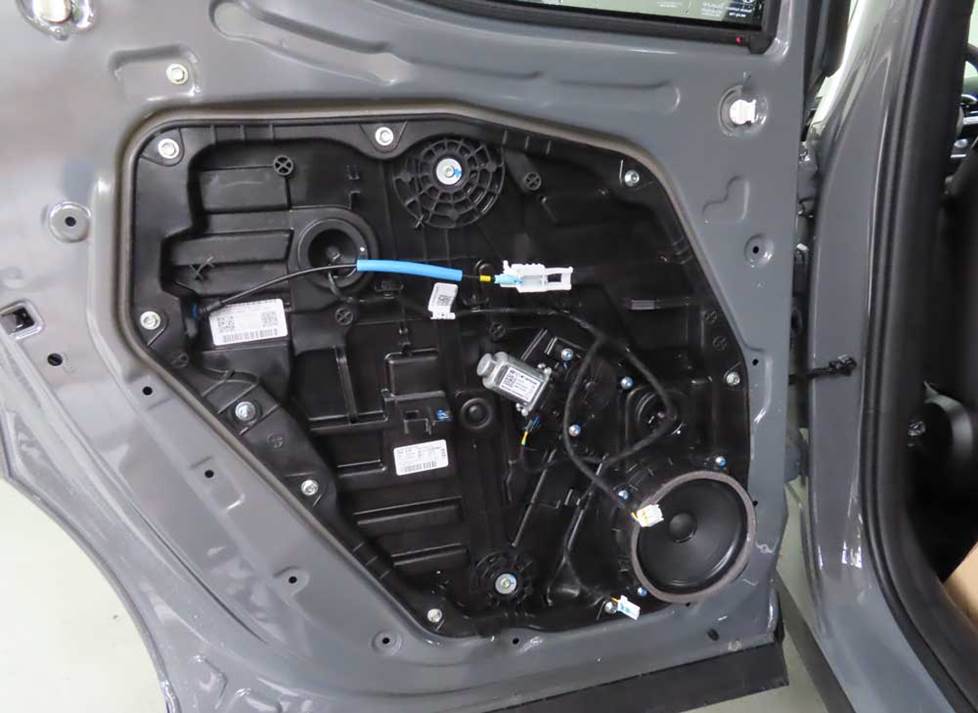
There are plenty of aftermarket speakers that'll fit the front and rear doors (Crutchfield Research Photo)
Removing the rear door speakers
The rear door speakers are also 6-3/4" models that can be replaced with 6-1/2" or 6-3/4" aftermarket speakers.
You’ll need to remove these door panels, too, a process that begins with using a panel tool to pry off the sail panel to release one retaining clip. Next, pry up the rubber mat inside the door pull cup, then remove the exposed Phillips screw.
Starting at either lower corner, pry out the sides and bottom of the door panel to release twelve clips, then disconnect the door release cable by pressing the release tab. Disconnect the harness, then remove the door panel and store it someplace clean and dry.
From here, just remove the four Phillips screws securing the speaker to the door, then disconnect the harness and remove the factory speaker.
As with the front doors, we’ll include the speaker mounting brackets you need to install your new speakers. You'll need to remove the inner tabs on the aftermarket speaker bracket if you’re installing 6-3/4" speakers.
Tools needed: Panel tool, Phillips screwdriver
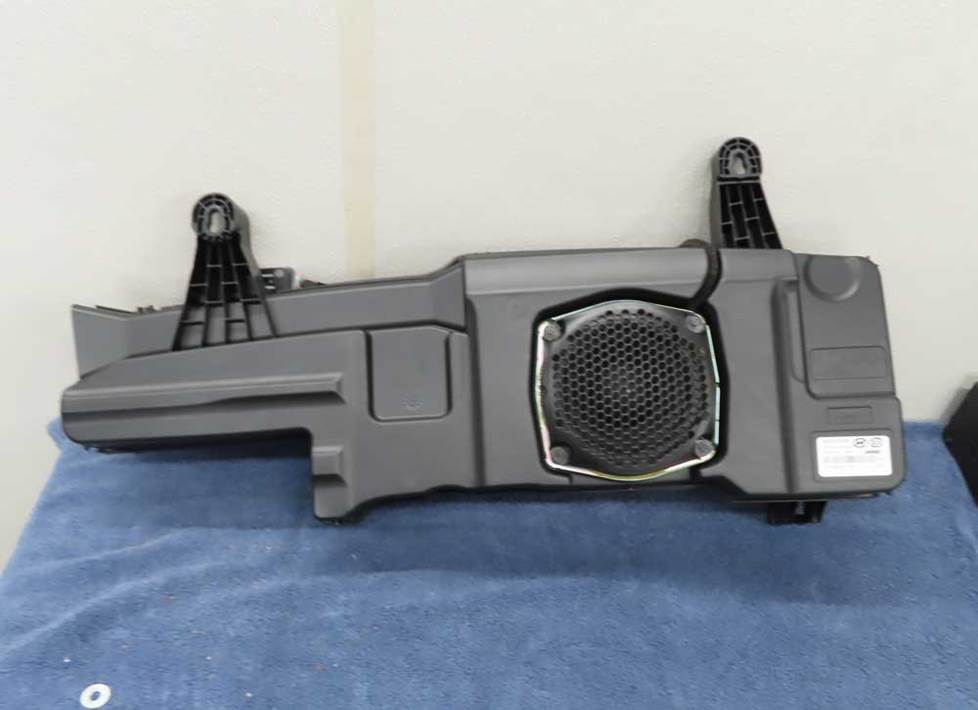
The factory Bose® sub is mounted in this enclosure (Crutchfield Research Photo)
Removing the rear wall subwoofer (Bose® system only)
The Bose® system includes a 6" subwoofer that’s mounted in an enclosure behind the rear seat. You can replace this sub with a variety of 5-1/4" aftermarket speakers, but because this is a low-impedance sub, we highly suggest choosing 2-ohm models.
None of the aftermarket speakers available will be an exact match for the speaker cavity in the enclosure. Depending on the speaker you choose, you may have to drill new screw holes or fabricate a speaker bracket.
To get to the enclosure, you’ll need to remove the back seat. This will take some time and effort, of course, and we’d suggest having an assistant around to help you schlep the seats. This is a thoroughly do-able DIY job, but in addition to having a helper, you’ll need to stay organized and work carefully.
Tools needed: Panel tool, small flat blade screwdriver, 7mm, 10mm and 14mm sockets, ratchet and extension
Shop for speakers that fit your Hyundai Santa Cruz
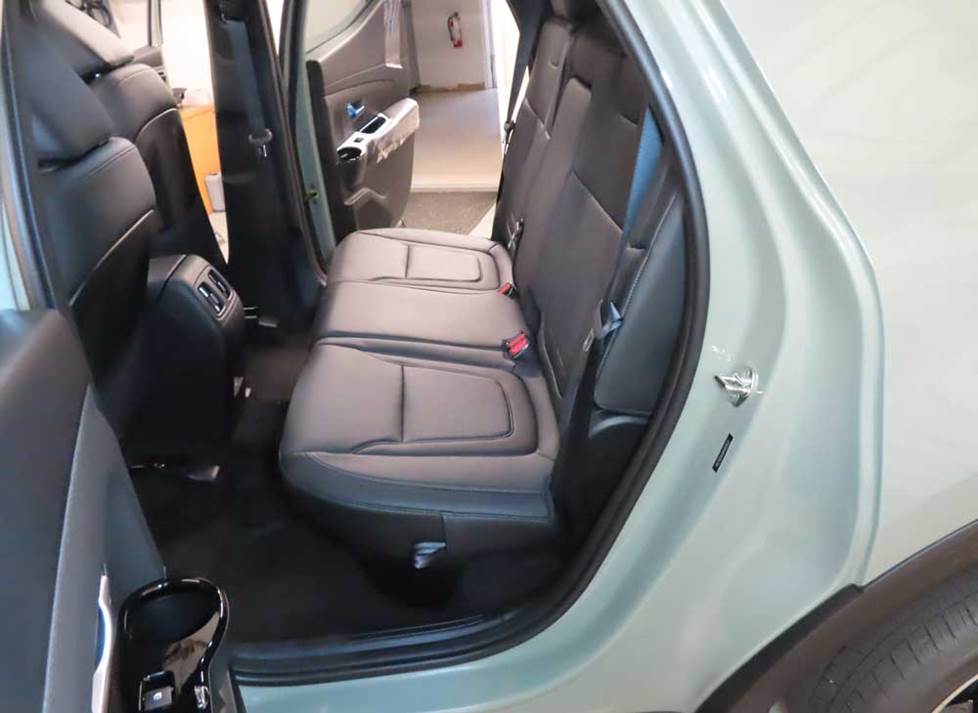
There's not much space for bass in the rear passenger compartment (Crutchfield Research Photo)
More bass in your Santa Cruz
Spacious though it is, the interior doesn't offer any real space for a subwoofer enclosure. If you really want more bass, you'll need to look into a more compact powered sub.
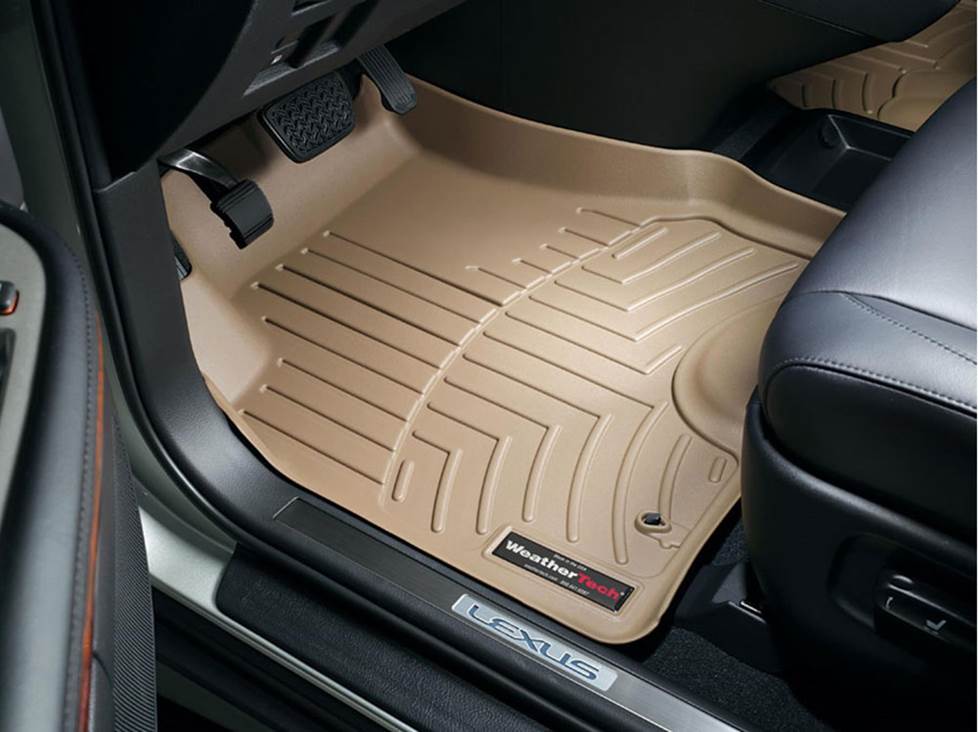
Keep your carpets looking sharp with a set of custom-fit WeatherTech floor liners
Other options for your Santa Cruz
Here are some other smart ideas for your Hyundai Santa Cruz.
Sound damping to block road noise
There's no way to totally eliminate wind and road noise from any truck, even one as comparatively slick as the Santa Cruz. That said, installing some Dynamat in the doors can reduce the roar and really seal in sound.
Protect your carpeting with custom-fit floor liners
Driving a Santa Cruz will eventually lead to doing truck-type things, and those things will take a toll on your truck's carpeting. WeatherTech floor mats and liners will help protect your floors from dirt and damage.
Security systems and remote start
Installing a security system in your Santa Cruz won't be easy (security systems rarely are), but it's definitely a good idea if you're travelling and stop overnight. Our Crutchfield Advisors can help figure out what you need to get the job done, but we usually recommend taking your truck to a professional installer.
Let's get started!
Ready to shop? Use our vehicle selector to find the gear that will fit your car or truck. If you have questions, give us a shout via phone or chat.



Comments (0)