First car, first stereo system installation
Daniel tackles his first installation in his first vehicle

Some new audio gear for a “new” first car
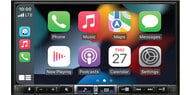
Your first car. It means independence and a chance to make something your own. For Ruckersville, Virginia, native Daniel, “new” meant a 1993 Honda Accord he bought for his senior year of high school. Unluckily for Daniel, the factory stereo completely quit working as he was driving the car home for the first time. Luckily, his neighbor is J.R., a long-time Crutchfield advisor, who convinced Daniel that he could install a new radio and speakers himself. With the help of the installation gear and guides we offer, Daniel got to work installing a Kenwood KDC-X597 receiver and four Kenwood KFC-1664S speakers. Here’s an overview of the installation.
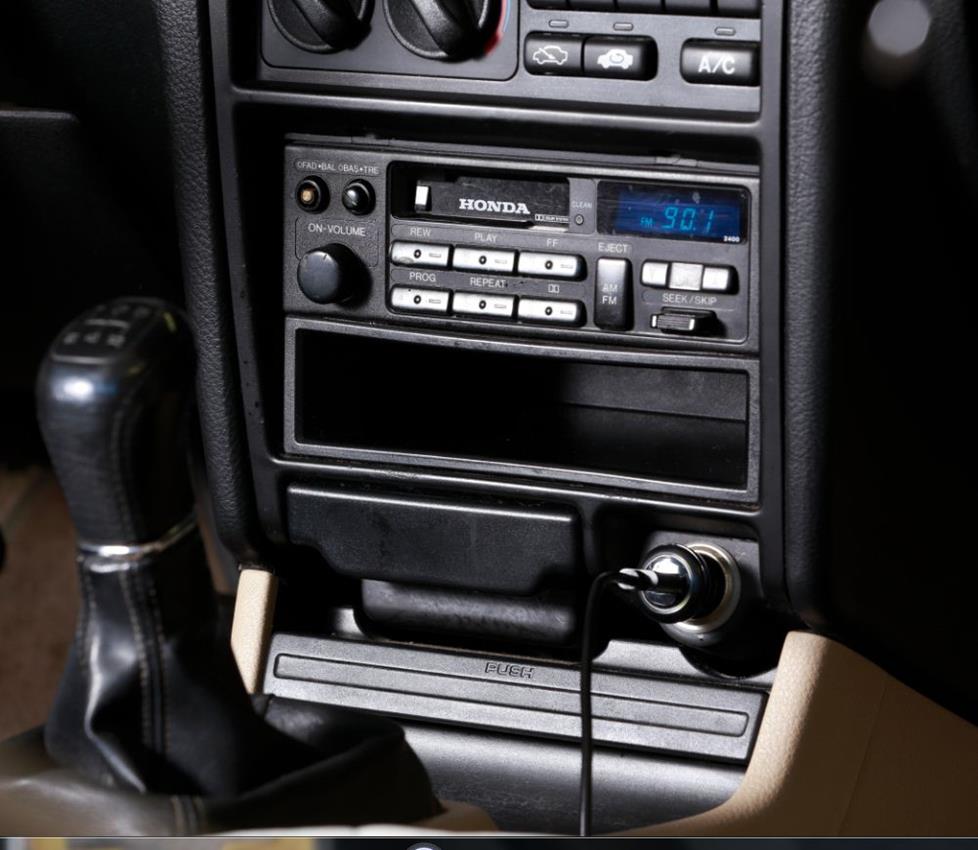
This factory relic had deprived Daniel of his music for a year.
Out with the very old radio...
1. After disconnecting the negative battery cable to protect his electrical system, Daniel began by removing the factory radio from the dash using the vehicle-specific MasterSheet™ instructions he received from Crutchfield. Using a Phillips screwdriver, he unscrewed the 2-piece center console and rotated the front of it to get the access he needed in the dash.
2. He then took the ashtray out and unscrewed the ashtray bracket, so he could get at the factory radio bracket. Once the radio bracket screws were removed, the factory radio slid right out. Good riddance!
...in with the very new radio
1. Daniel connected the wiring harness adapter Crutchfield supplied to his new Kenwood’s wiring harness using Posi-Product connectors. The adapter included a wire code listing, so he matched the colored wires to the wires on the Kenwood.
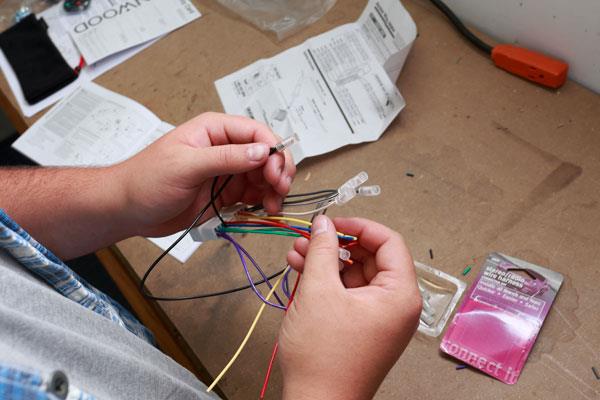
Daniel uses Posi-Products connectors to attach the adapter to the Kenwood wiring harness.
Daniel also installed the Bluetooth microphone for his car stereo on his dash using the included adhesive strip. He placed it in the lower right corner of his dash, in front of his instrument cluster without blocking any gauges. He secured the microphone wire under the trim and left the connector in the stereo compartment, so he could connect it to the back of the Kenwood stereo when it was installed.
2. Daniel removed the mounting bracket from the factory radio, since it is reused with the installation kit that he got from Crutchfield. This kit included two pieces that connect to the factory bracket, and the new car stereo will slide into this new assembly.
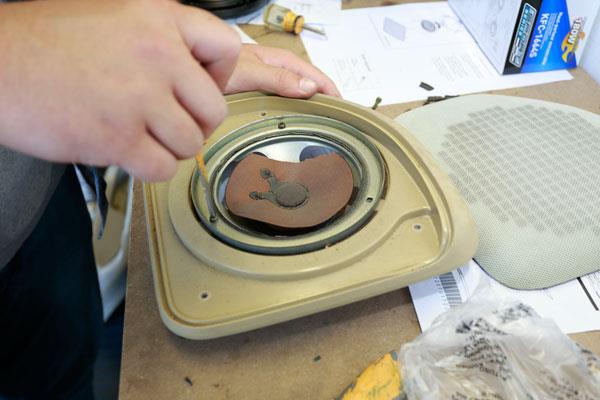
3. Next, Daniel inserted the metal DIN sleeve included with the Kenwood stereo. He bent the tabs to lock it into place inside the kit. Feeding the completed wiring through the opening, he then slid the radio into the DIN sleeve until it locked into place. He mounted the bracket in the dash of the Honda, plugged the wiring harnesses together, and the slid the entire assembly into the dash.
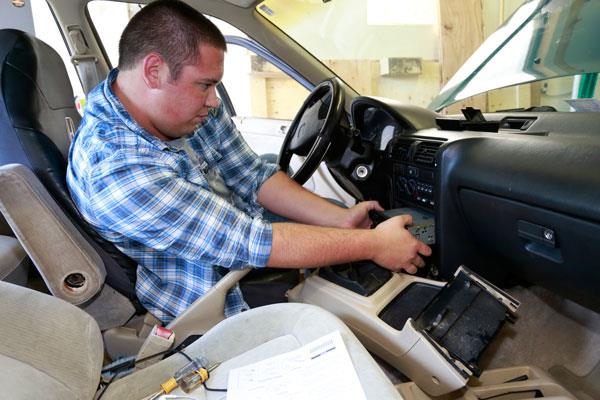
Daniel slides his new Kenwood into the dash.
4. After replacing the screws for the radio mount, he reattached the ashtray bracket, inserted the ashtray, and realigned and fastened the center console.
On to the speakers
1. Daniel turned his attention to the 20-year old speakers in the Accord. He started up front, where he removed the door panels following the instructions in his MasterSheet.
2. Many Hondas, like Daniel’s Accord, included mounting cups for the stock speakers. There usually was not enough mounting depth for new speakers, so the back of this cup had to be cut out. However, Daniel found that the slim Kenwood speakers actually fit in the stock locations without the modification.

Sometimes this mounting cup needs to be removed in order for new speakers to fit.
3. Surprisingly, Daniel found no factory speaker on the driver side, which meant there was no factory bracket either. He had some concerns, but the versatility of the Kenwood speakers came through again. He was able to drill some screw holes in the stock location, and the new speaker fit with plenty of clearance for the window to roll down.
Daniel screws the new Kenwood speakers into the front doors.
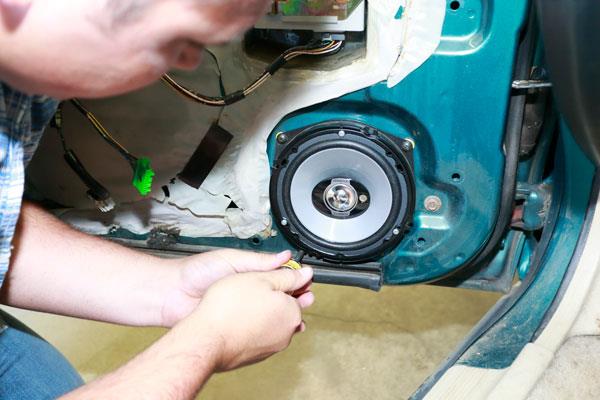
4. The rear deck speakers were a cinch. Daniel hopped in the trunk and removed the screws holding the factory speaker enclosures. He then unscrewed the factory speakers from the grille assembly, and removed the speakers.
Moving to the back, Daniel removes these tired Honda speakers from the rear deck grille assembly.
5. He screwed the new speakers into the grille assembly and screwed the housing back into the rear deck locations. All of the speakers plugged into the Honda connectors using the included wiring harness adapters from Crutchfield.
The final results
Daniel was psyched to have music after suffering through a year without it, exclaiming “This is awesome!” His new car stereo gives him a variety of music options, including Bluetooth® audio streaming, a direct iPod® connection, and a USB input to plug in a thumb drive filled with his favorite songs. The new speakers give him a new level of clarity and depth, which he started enjoying as soon as he turned it on.

Daniel is all smiles after finishing the installation and cranking up his new system.
Check out Daniel's installation video
Let Daniel tell you the story in his own words:
Vehicles in the Custom Car Showroom are submitted by customers and fans, and edited by Crutchfield writing staff. You can find more of these articles on the Showroom main page.


Alexander Hrabe from Crutchfield
Posted on 9/8/2015
Bill, we carry one car stereo that plays cassettes. You can use our vehicle selector to confirm if it will fit your car and get some info on what else is needed for the installation.
Bill Polisson from salem, oregon
Posted on 9/6/2015
Will this unit fit my 2010 Honda Accord LX Currently has AM/FM with a single play CD player. I have listened to CD player only a couple of times in 5 years! I have over 175 90 minute cassette tapes I recorded over the years. I miss my cassette deck terribly from my other car! Is it possible to get this to work without chewing up the dashboard? I will seek professional installation from a local place here in Salem Oregon if possible!