2008-2013 Cadillac CTS sedan
How to upgrade the stereo system in your CTS sedan

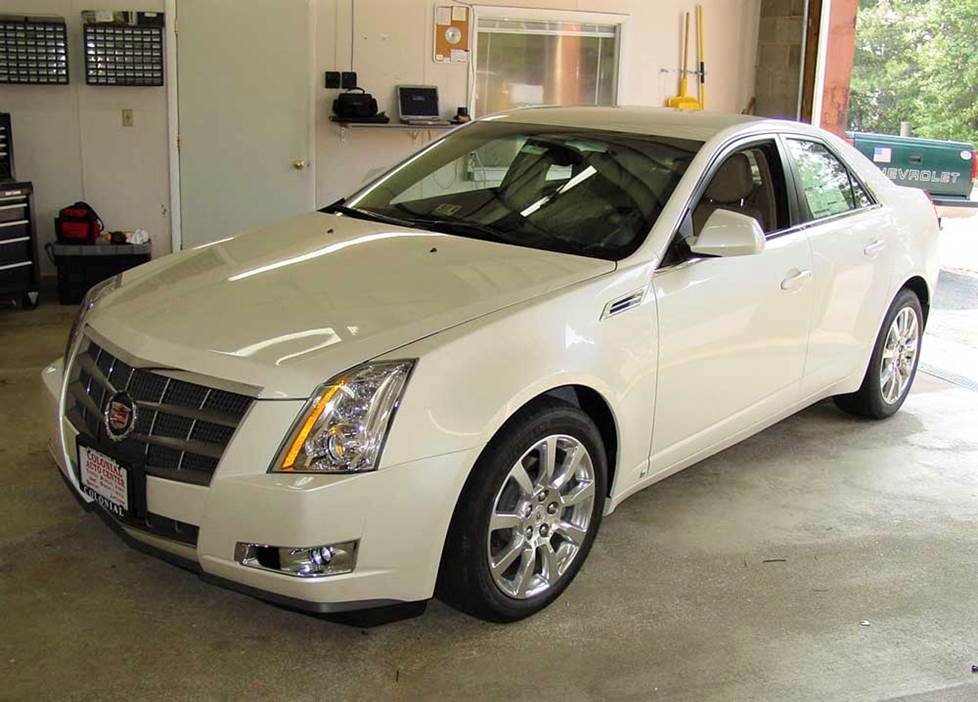
In brief: This Crutchfield Research Garage article gives you an overview of your Cadillac's stock stereo system and your aftermarket upgrade options. We'll tell you all about:
- The factory stereo system
- Removing the factory radio
- Removing the factory speakers
- Adding more bass
- Other options for your CTS sedan
Then, use our vehicle selector to find the gear that will fit your CTS sedan.
Overview of the Cadillac CTS sedan
The first-gen Cadillac CTS was (and still is) a very impressive piece of machinery. Both the styling and the handling were razor-sharp, plus there was more than enough horsepower to keep the driver entertained. The second-gen CTS gives you all that good stuff and more of it.
With a design that somehow still looks fresh after all these years, plus a more refined chassis, a very healthy engine, and a vastly improved interior, this car is yet another reminder that GM is very serious about making Cadillac the “Standard of the World” (or thereabouts) once again.
Those efforts extended to the stock stereo systems, which came from the very smart people at Bose®. That said, it’s been a few years since your car’s stereo was anywhere near new, so if you care about sound, it might be time for an upgrade. This article will discuss what can be done and give you some tips on how to do it.
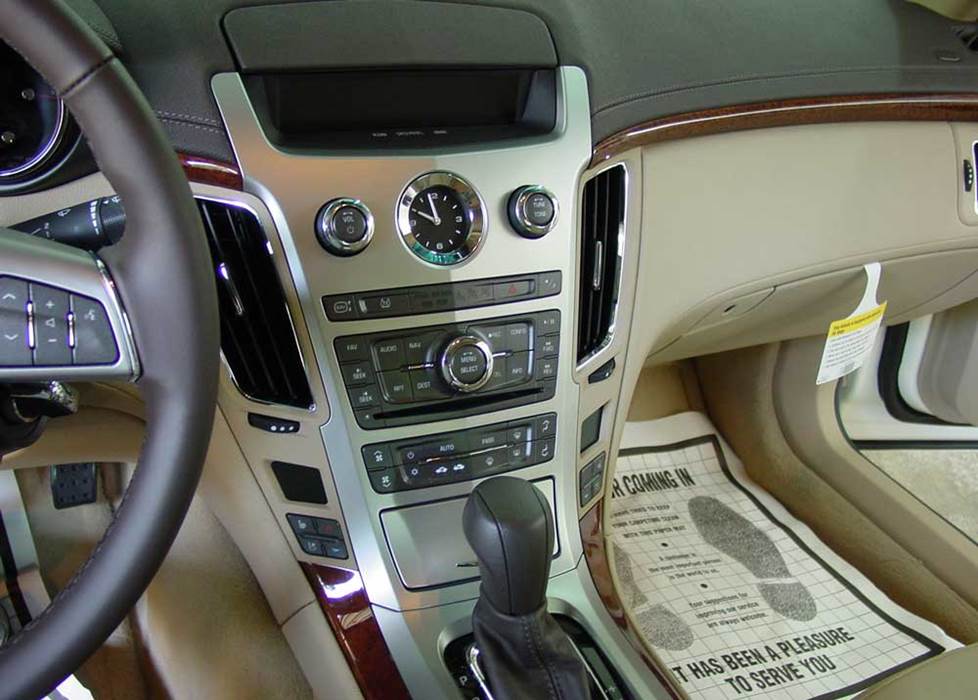
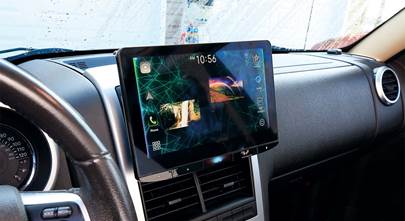
A new radio will bring better sound and functionality to your CTS sedan (Crutchfield Research Photo)
The factory stereo system
The CTS sedan’s factory systems consist of an 8-speaker Bose stereo system, and the top shelf 10-speaker Bose 5.1 surround system. As noted, neither of them are exactly bad, but at this point, they’re getting a bit dated. If you want to bring better sound to your car, you’ll need add some aftermarket gear.
Whether you’re starting with the Bose stereo or surround system, new aftermarket gear will give you more power, more clarity, and better performance overall. The project can be done in stages or all at once, and if you’re doing it yourself, Crutchfield’s legendary disassembly instructions and free tech support will help you get the job done right.
Before you start your project, make sure you set the car’s parking brake and disconnect the negative battery cable to prevent any electrical short. You’ll need to refer to the car's owner's manual for information on disconnecting the battery.
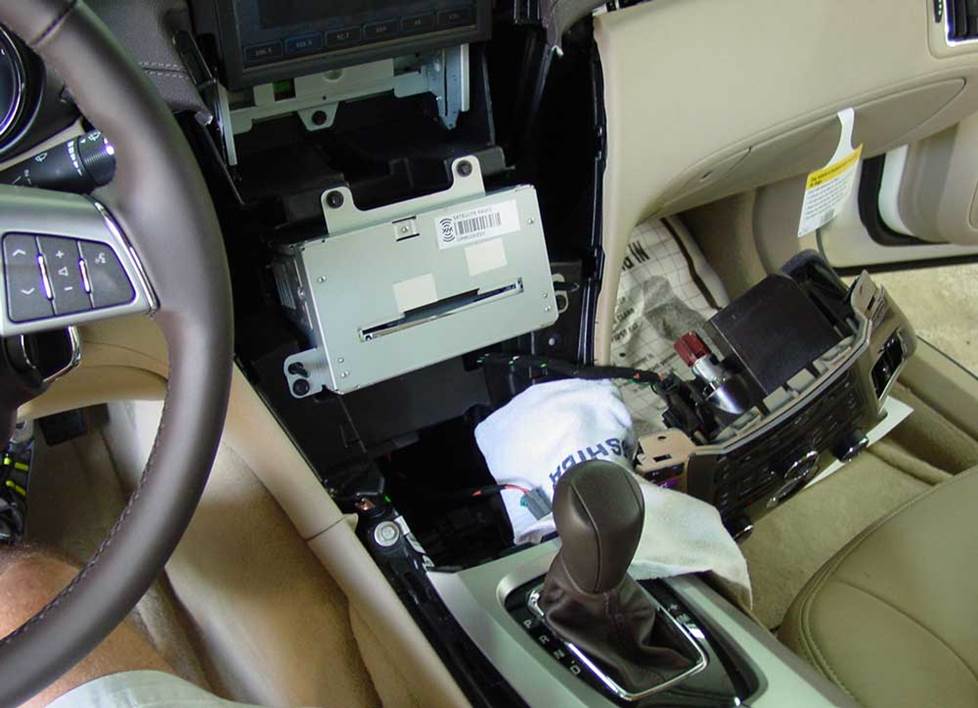
You'll save money on the dash kit and wiring harness adapter when you buy your new stereo at Crutchfield (Crutchfield Research Photo)
Removing the factory radio
You can replace your CTS sedan’s stock radio with a nice variety of aftermarket single-DIN (2" tall) or double-DIN (4" tall) aftermarket models. You’ll save a bit of money on the dash kit /wiring harness combo you’ll need to install the new piece when you order from Crutchfield, too. You may need to make a few minor modifications to get the new receiver to fit properly in the dash kit, but the mods are minor and totally do-able for the DIY-er.
Detailed stereo and speaker removal instructions
The aftermarket interface will retain your car’s Bose and OnStar® features, including the warning chimes. Before you order, though, check the sticker located under the car’s spare tire cover. If you see the RPO code "UQS," your vehicle has a digital amplifier and you’ll lose fader and balance functions when you replace the factory radio. If you don’t see that particular code, you'll retain those functions.
Tools needed: Panel tool, 7mm socket, ratchet and extension, clean shop rag
Read our Car Stereo Buying Guide for shopping tips and advice.
Shop for car stereos that fit your Cadillac CTS
Steering wheel audio controls
In most cases, it's reasonably easy to retain your car's steering wheel audio controls when you install a new stereo. When you enter your vehicle information, our database will choose the adapter you need to make your factory steering wheel controls work with a compatible aftermarket receiver.
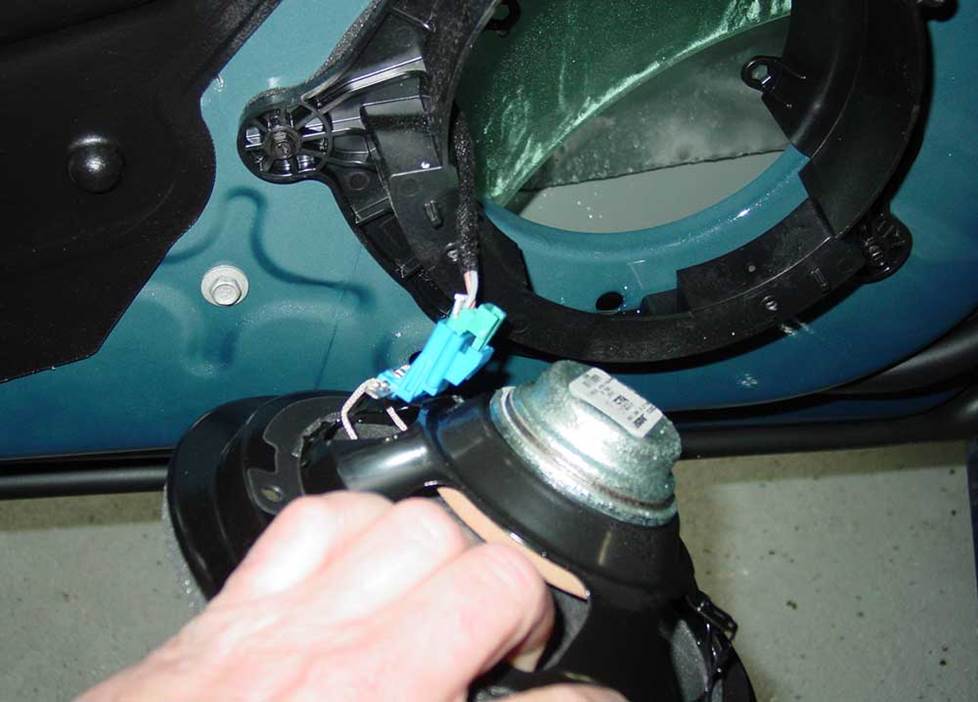
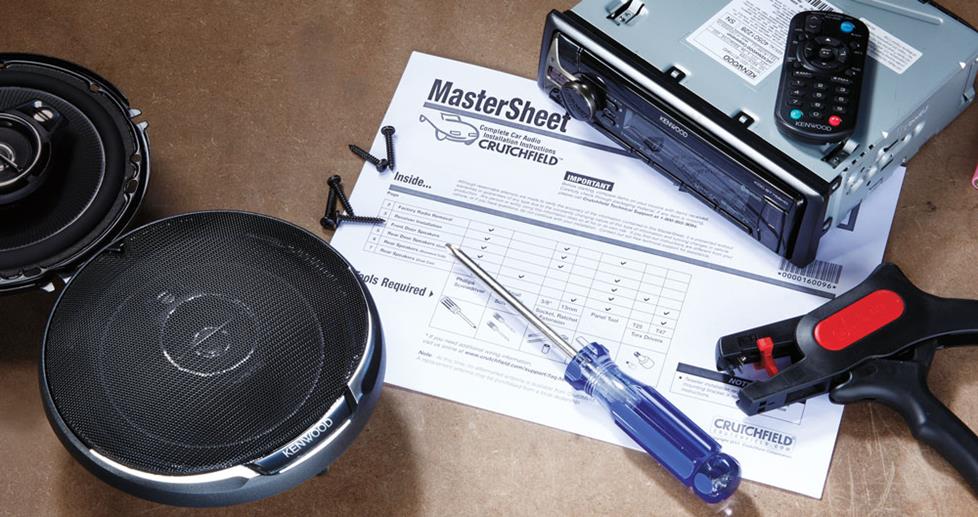
Want better sound? Replace those aging speakers with aftermarket models (Crutchfield Research Photo)
Removing the factory speakers
Even if you decide to keep the factory radio, you can improve your car's sound with new speakers all around. The work isn't always easy in the CTS sedan, but Crutchfield’s illustrated disassembly instructions will help you get it done.
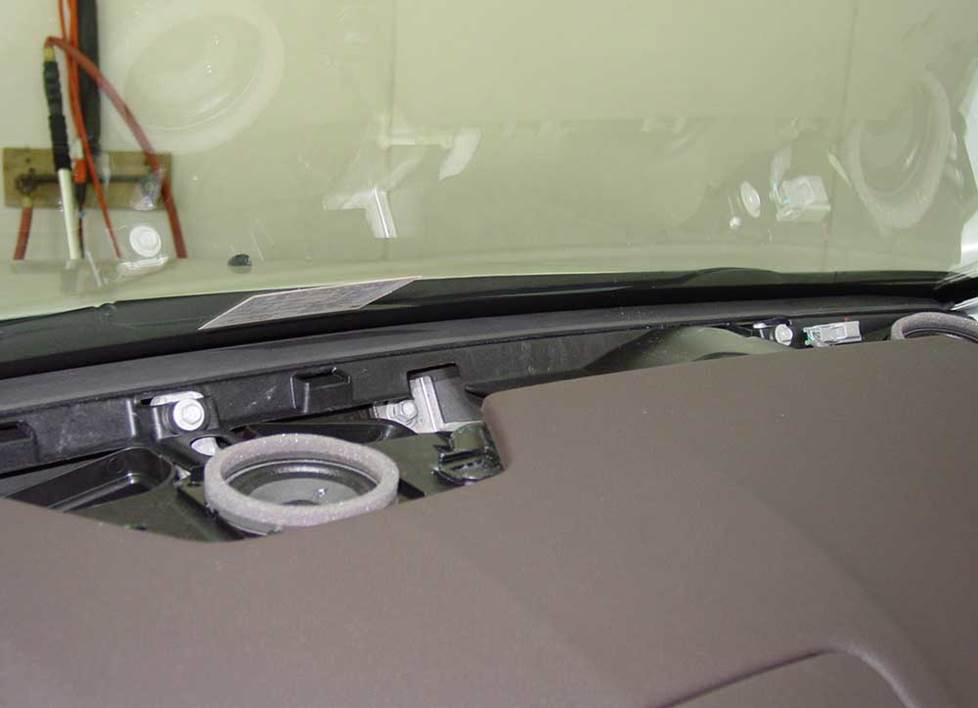
The center dash is easy to get to, and there are aftermarket replacements available (Crutchfield Research Photo)
Removing the center dash speaker
All CTS sedans, regardless of the stock system, have a 3-1/2-inch center dash speaker that’s pretty easy to reach and replace. Starting at the top edge, use a panel tool to pry out the pillar trim panel and release two clips. Push the retainer strap in to release it, then lift the trim panel and remove it. Next, you’ll repeat these steps on the opposite side of the vehicle.
Pry up along the rear edge of the grille/vent panel on top of the dash to release ten clips, then disconnect the harness and pull the panel toward the rear of the car to remove it. Remove the two 7mm screws securing the speaker to the dash, then disconnect the harness and the remove speaker.
You can use the factory speaker grille to cover the new speaker, but a wiring harness is not available. You'll need to splice, solder, or use Posi-Products speaker connectors to connect the new speaker to the car’s wiring.
Tools needed: Panel tool, 7mm socket, ratchet and extension
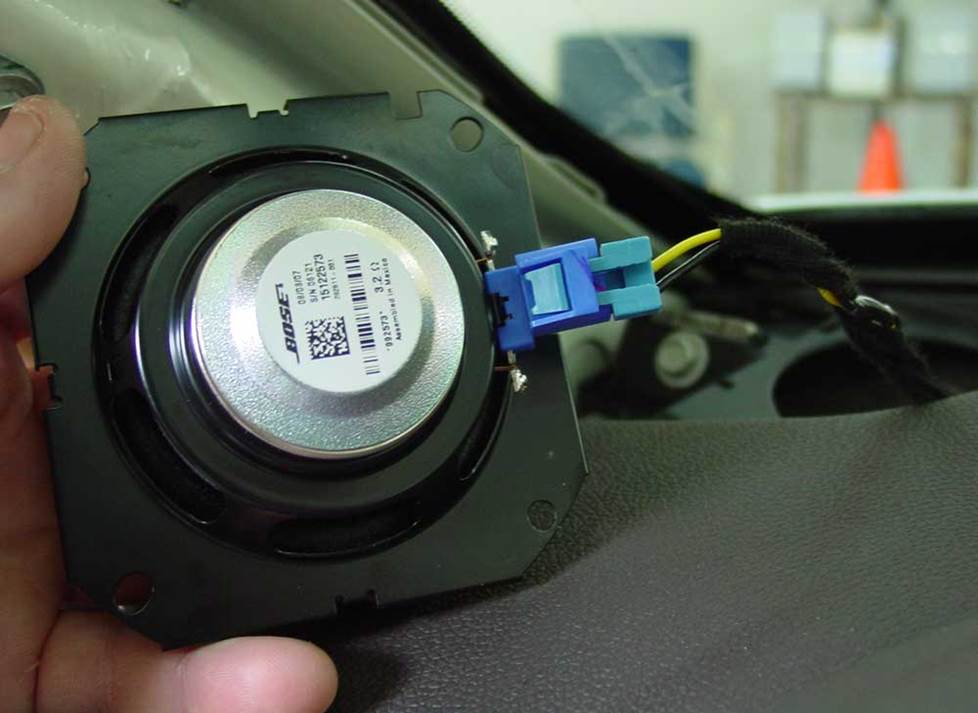
If you;re replacing the center dash speaker, you might as well replace the corner speakers, too (Crutchfield Research Photo)
Removing the corner dash speakers
The Bose stereo system sports a pair of small corner dash tweeters, while the Bose 5.1 system ups the ante with a pair of 3-1/2-inch speakers. Getting to these speakers is pretty easy, and if you decided to replace the center dash speaker, you’re already most of the way there. Once that dash panel is out of the way, all you have to do is remove the two 7mm screws securing the speaker, disconnect the harness, and remove the speaker.
Regardless of what you’re replacing, the factory locations will accept 3-1/2-inch speakers. If you’re installing new tweeters, you might be able to get away with modifying and reusing the stock brackets, but you’ll probably need a set of our universal backstraps. They’re not at all expensive, so it’s probably best to toss a set into your cart just in case. They have other uses, too!
If you’re upgrading the corner speakers in a CTS equipped with the Bose 5.1 system, there’s no wiring harness available, so you’ll need to splice, solder, or use some more Posi-Products speaker connectors.
Tools needed: Panel tool, 7mm socket, ratchet and extension, hole saw bit (if modifying stock brackets only)
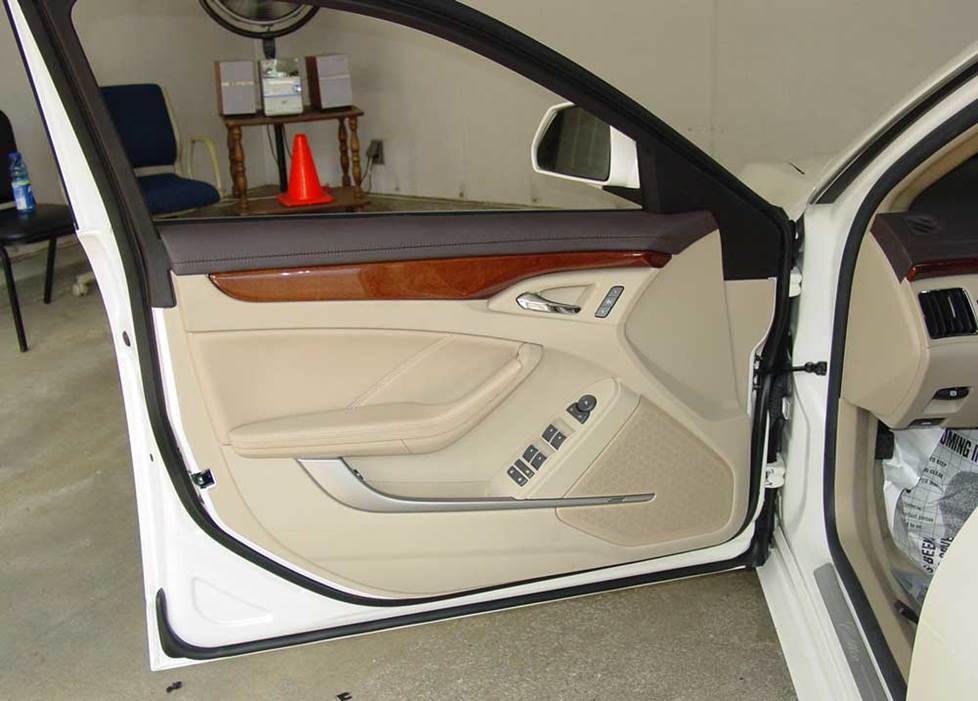
The Bose systems have woofers in the front doors (Crutchfield Research Photo)
Removing the front door woofers
Both of the factory Bose systems includes woofers in the front doors. These speakers can be replaced by a variety of 5-1/4-inch or 6-1/2-inch speakers; but be advised that these speakers only receive bass frequencies from the stock amplifier. If you plan to use the factory amp going forward, anything you install here will only reproduce bass frequencies.
You’ll need to remove the door panels to access these speakers, and while that’s not hard, there are some minor process differences depending on what you’re starting with. You can find all the details in your Crutchfield disassembly instructions.
With the Bose 5.1 system, you’ll need to use mounting brackets to install the new speakers, and you’ll need to drill new mounting holes for the brackets. This isn’t hard, but work carefully, know what you’re drilling into, and definitely wear eye protection.
Once your speakers are connected and secured, you’ll want to test them before you put the doors back together. Also, check that the wires do not interfere with window operation and also test the door lock and release operation. If all is well, start putting the doors back together.
Tools needed (Bose 5.1): Panel tool, #3 Phillips screwdriver, 7mm socket, ratchet and extension, drill and 1/8-inch bit
Tools needed (Bose stereo): Panel tool, #2 and #3 Phillips screwdrivers, small flat blade screwdriver, 1/4-inch and 7mm sockets, ratchet and extension, pliers
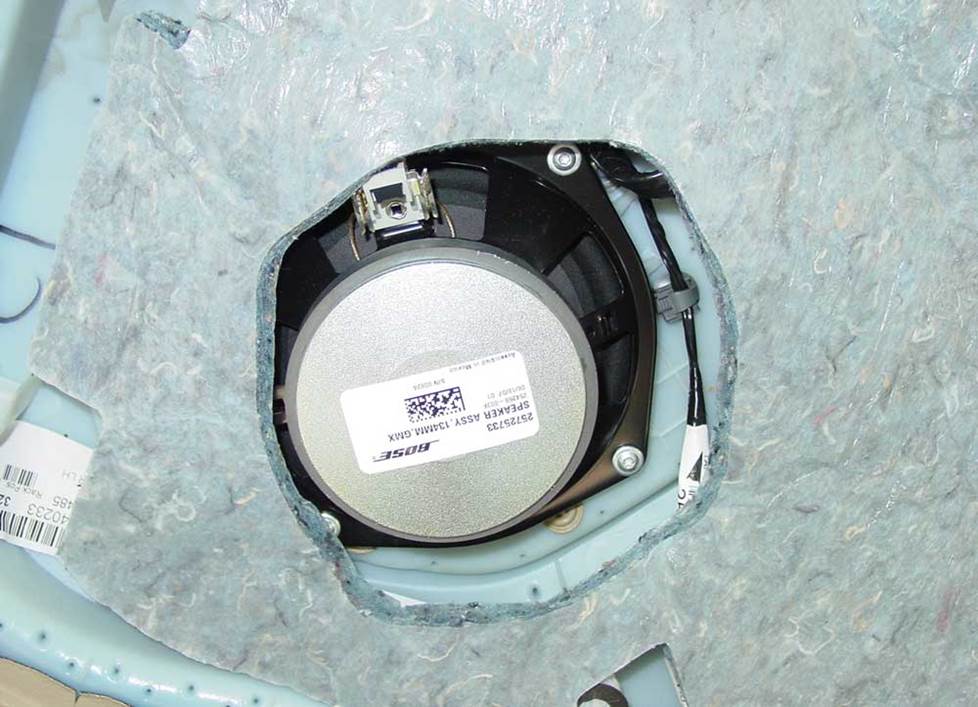
The rear door speakers are attached to the door panels (Crutchfield Research Photo)
Removing the rear door speakers
In the rear doors, you’ll find 5-1/4-inch speakers in the door panels. To remove them, you’ll start by prying out the screw cover behind the door release handle. This will expose a #2 Phillips screw, which you’ll need to remove.
Pry off the door pull handle cover, then remove two exposed #3 Phillips screws. The door pull handle cover will remain tethered to door panel while you’re doing this, by the way.
Pry out the sides and bottom of the door panel to release the retaining clips, then disconnect the release cable, remove the door panel. Store it someplace safe and dry while you keep working.
Finally, you’ll remove the four Torx T15 screws securing the speaker to the door panel, then disconnect the harness and remove the speaker.
Once the new ones are connected and secure, test them out before you put the doors back together. Make sure the doors, locks, and windows are working properly before you finish up.
Tools needed: Panel tool, #2 and #3 Phillips screwdrivers, small flat blade screwdriver, Torx T15 driver, needle-nose pliers
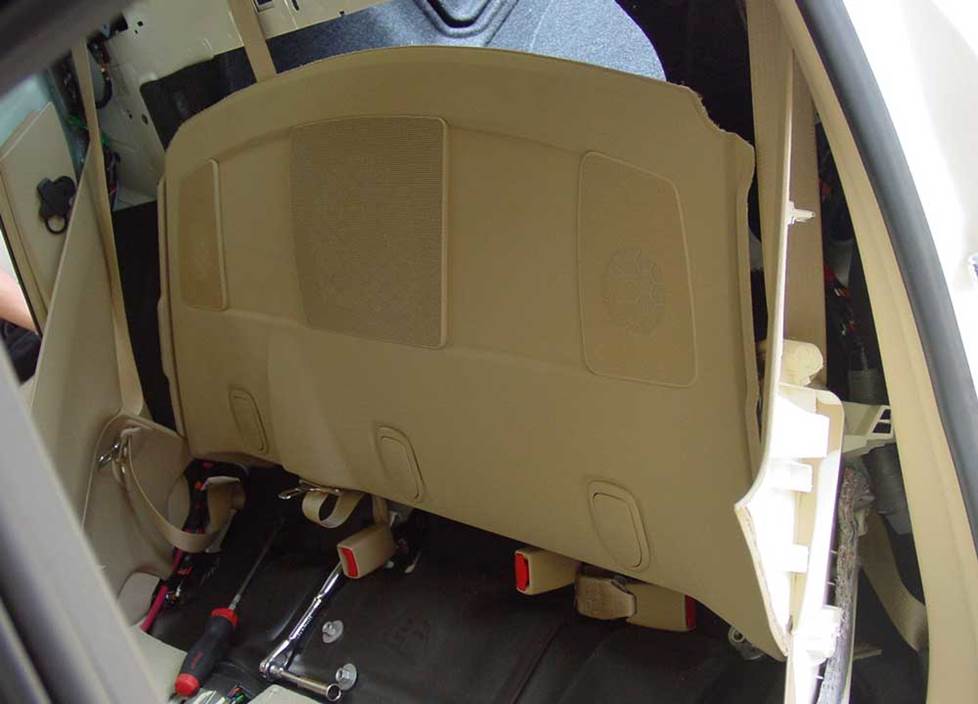
Getting to the rear deck speakers is not the work of a moment (Crutchfield Research Photo)
Removing the rear deck speakers
Both the Bose stereo system and the Bose 5.1 surround system include a subwoofer in the rear deck. The 5.1 surround system adds 3-1/2-inch tweeters in the deck corners. Getting to these speakers is somewhat challenging, since you’ll be removing a fair number of panels, screws, and yes, the rear seat bottom.
None of the individual steps are all that hard, but there are several of them, which will make this a somewhat time-consuming project. You can do it yourself, but you’ll want to work patiently, stay organized, and maybe even ask/bribe a friend or family member to help.
The stock sub is close to a 12-inch model and there aren’t any direct-fit replacements, so you’ll need to drill new mounting holes for your aftermarket subwoofer. This isn’t all that hard, of course, but you are drilling a hole into your car, so you’ll want to work carefully, know what you’re drilling into, and wear eye protection. There’s also no wiring harness adapter for the sub, so you’ll need to splice or solder the wiring connection.
Once your new speaker(s) are installed, you’ll definitely want to test them out before you put everything back together. If they’re working as they should, you can start reversing the disassembly steps. Make absolutely sure the seatbelts are secured and working properly.
Tools needed: 7mm and 15mm sockets (deep socket), 10mm socket (deep socket), ratchet and extension, right-angle Phillips screwdriver, small flat blade screwdriver
Read our Car Speakers Buying Guide for more information
Shop for speakers that fit your Cadillac CTS
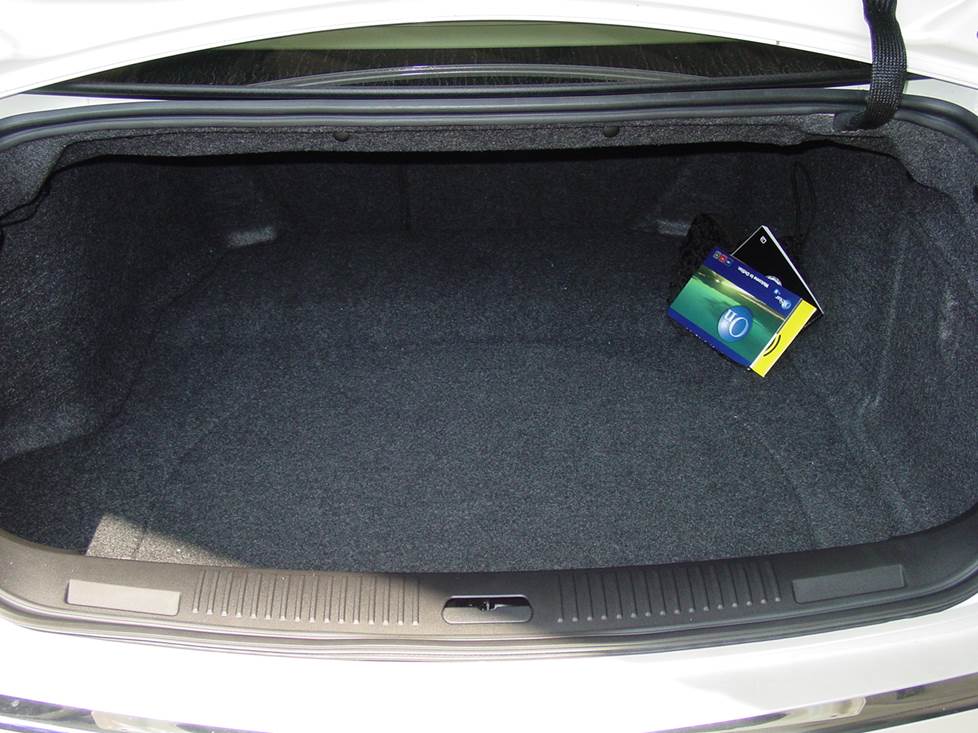
There's ample space for a subwoofer in the CTS sedan's trunk (Crutchfield Research Photo)
More bass in your CTS
If you want to go big on bass, the CTS sedan gives you some room to work with. We measured the usable space as 39 W x 15 H x 35/39 D (in inches), which should be plenty of room for a subwoofer enclosure.
If you want better bass, but still want to hang onto as much cargo space as you can, a more compact powered subwoofer might be the solution you need in your CTS sedan.
Learn more about building a bass system in our Car Subwoofer Buying Guide.
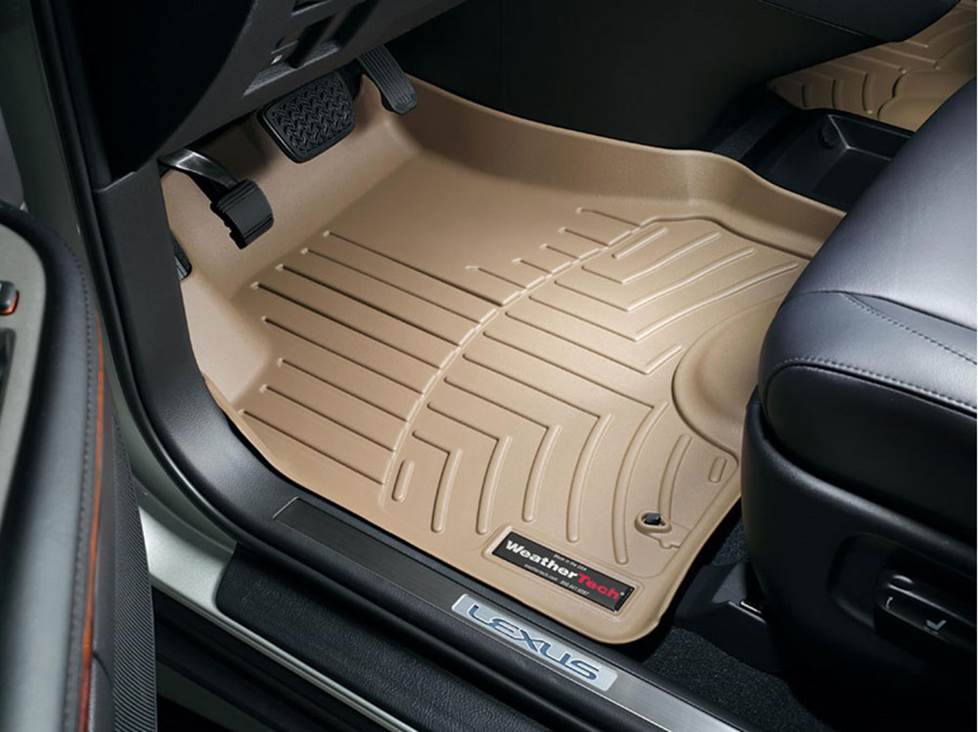
Keep your car's carpeting looking sharp with a set of WeatherTech FloorLiners
Other options for your CTS sedan
There are plenty of other ways to improve your CTS. Here are just a few of them:
Protect the carpeting with floor mats
It's easier than you think to mess up your Caddy's comfy interior while you're going about your daily business. Floor mats from WeatherTech will help protect your floors from dirt and damage.
Add an amp (or two)
A new 4-channel amplifier will help you get the most out of your new speakers. You'll get cleaner power (and a lot more of it), which will result in much, much better sound. A mono amp can provide the juice you need for a new subwoofer, too. You can learn more about adding amps to your Cadillac's system in our Car Amplifier Buying Guide.
Dynamat
The Dynamat 10435 Xtreme Door Kit is the perfect way to seal in sound. This heavy-duty insulating material is easy to install, and it really makes a difference. One kit should take care of the front doors. If you install a big sub, you might want to line the trunk lid as well.
Remote start and security systems
You can also talk to your Crutchfield Advisor about a security system. They’re not as easy to install (we usually suggest letting a professional do the job), but we can help you choose a system that’ll work in your vehicle.
Let's get started!
Ready to shop? Use our vehicle selector to find the gear that will fit your car or truck. If you have questions of your own, give us a shout via phone or chat.






Comments (0)