2016-2023 Nissan Maxima
How to upgrade the stereo system in your Nissan Maxima

In brief: This Crutchfield Research Garage article gives you an overview of your Maxima's stock stereo system and your aftermarket upgrade options. We'll tell you all about:
- The factory stereo system
- Removing the factory radio
- Removing the factory speakers
- Adding more bass
- Other options for your Maxima
Then, use our vehicle selector to find the gear that will fit your Nissan.
Overview of the Nissan Maxima
There are "sport sedans" and then there are "sporty sedans." The Nissan Maxima is much more the latter than the former, and that’s part of its charm. While cars on the sportier side of things might excel on a nice, smooth skid pad, they tend to be a bit rough in everyday use. The Maxima handles well enough, but it’s really designed for comfort and composure. For most people (and there are a lot of people who own Maximas), that’s just fine.
With a sleek, distinctive body, a roomy, luxurious interior, and all the tech you’d expect to find in a modern car, the Maxima brings a lot to the party. It also brings a six-pack, as in the muscular 6-cyinder engine that ensures you’ll have all the power you need to get through the cut and thrust of your daily commute. All in all, it’s a very solid package.
The stock stereos, while not bad as such things go, still don’t do all they can to fill the Maxima’s interior with music. If you want to max out your sound quality, this quiet car will make a great home for an aftermarket stereo system.
Replacing the radio is reasonably easy in most Maximas. You'll save on the dash kit and wiring harness adapter when you buy your new stereo at Crutchfield. (Crutchfield Research Photo)
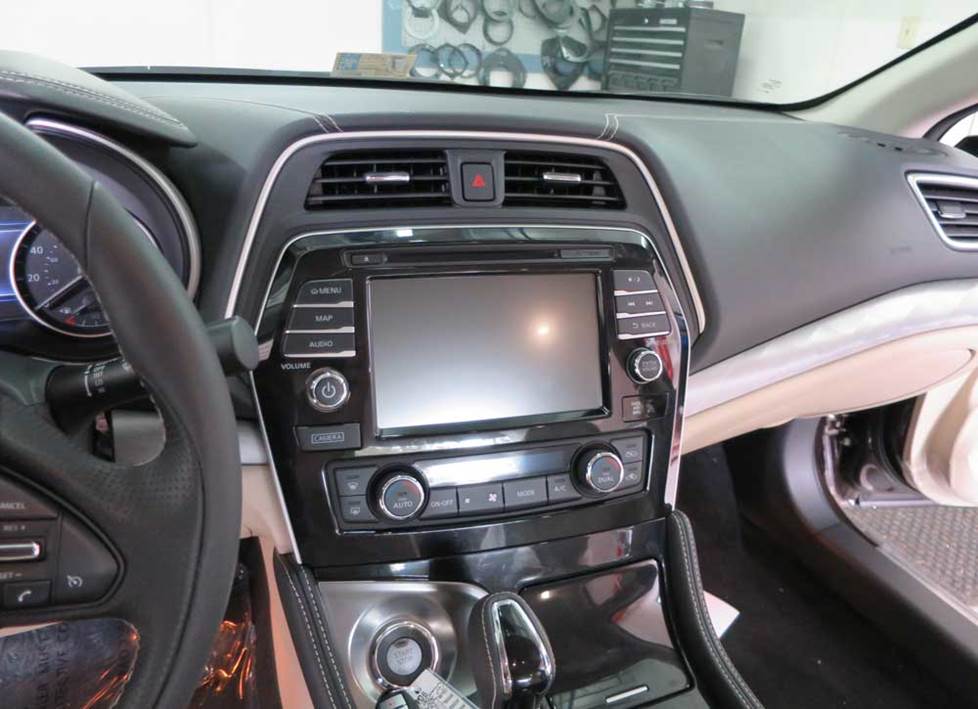
The factory stereo system
The Maxima’s base stereo was a thoroughly okay AM/FM/SiriusXM/CD receiver with 8 speakers, while the upgrade was a very nice AM/FM/SiriusXM/CD/MP3/WMA receiver with an 11-speaker Bose® Audio system.
The stereo removal process is reasonably uncomplicated in the Maxima, and it’s the same for both base and Bose in 2016-2020 cars. The process is also the same for 2021-2023 base and Bose cars.
When you replace your car’s stock radio, you’ll have a nice assortment of single-DIN (2" tall) and double-DIN (4" tall) aftermarket receivers to choose from. You’ll need a dash kit and a wiring integration adapter to install the new stereo, and you’ll get a nice discount on them when you buy your new stereo at Crutchfield.
Before you begin your audio upgrade project, hit the eject button and make sure you didn’t forget about the last CD you listened to on the road. You’ll also want to set the parking brake and disconnect the negative battery cable to prevent any electrical short. Safety first.
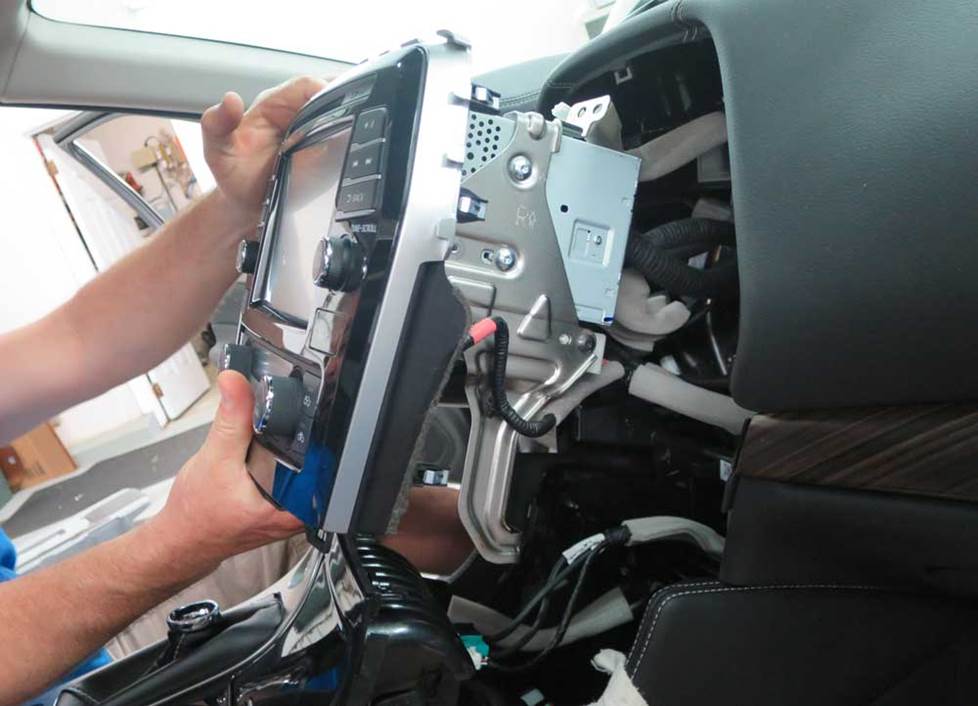
Radio replacement is not recommended for 2021-2023 Maximas with the Bose system, but other than that, you're good to go. (Crutchfield Research Photo)
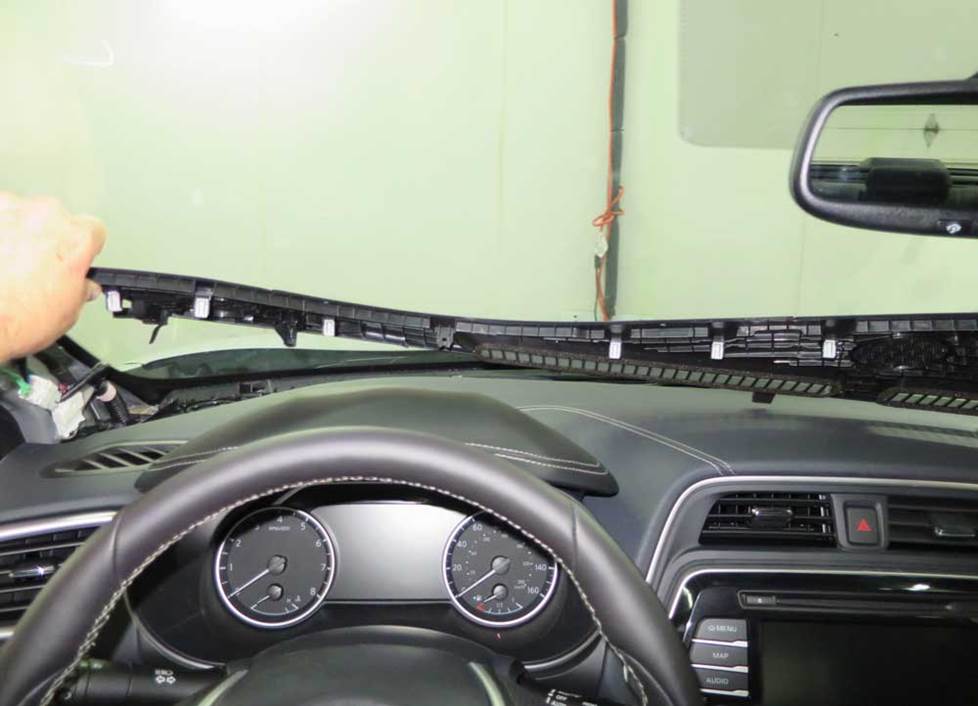
Removing the Maxima's factory radio
To remove the factory radio, you’ll start at the lower corners and use a panel tool to pry out the center dash vent panel and release the retaining clips. Disconnect the wiring harnesses, remove the vent panel, and remove the two now-exposed Phillips screws.
Pull down the gear shift boot at the collar, then pull out the "C" clip, lift the shifter knob, and remove it. Next, open the center console storage compartment lid. Starting at the rear edge of the console trim panel, pry it up to release the clips, then pull it toward the rear of vehicle and remove it. Tempting though it may be, do not disconnect the wiring harnesses on the console trim panel.
Detailed stereo and speaker removal instructions

Remove the two exposed Phillips screws, then pull the radio/climate control panel assembly toward the rear of vehicle to release the clips. Disconnect the wiring harnesses and remove the assembly.
To install the new receiver, follow the instructions included with the dash kit and wiring harness adapter. Once the new receiver is secure, test it out before putting everything back together.
Tools needed: Panel tool, Phillips screwdriver
Read our Car Stereo Buying Guide for shopping tips and advice.
Shop for car stereos that fit your Nissan Maxima
Steering wheel audio controls
It's relatively easy to retain your Maxima's steering wheel audio controls when you install a new stereo. When you enter your vehicle information, our database will choose the adapter you need to make your factory steering wheel controls work with your new receiver.
Upgrading the speakers is a great way to improve the sound in any Maxima (Crutchfield Research Photo)
Removing the factory speakers
Whether you upgrade the receiver or not, new speakers will bring out the best in your music. The Bose rear deck subs are a bit of a challenge, but the rest of the Maxima's speakers are reasonably easy to deal with.
All the Maxima's dash speakers can be found under the same panel (Crutchfield Research Photo)
Removing the dash speakers
All Maximas have 2.412" speakers in the dash corners, while the Bose system adds a 3-1/2" center dash speaker. They’re all conveniently located under the same dash panel, so they’re not too hard to reach and remove. All the illustrated, step-by-step details can be found in the vehicle-specific Crutchfield MasterSheet included with your car audio purchase.
Installing the new ones will involve a bit more effort, but it’s nothing you can’t handle. There are no speaker wiring adapters available for any of these speaker locations, so you’ll need to splice, solder, or use Posi-Products speaker connectors to connect to the car’s wiring.
There aren’t any mounting brackets for the center dash speaker, so you’ll need to use hot glue, silicone, or our universal backstraps to secure the new speakers. As for the corner speakers, you'll need a hole-saw drill bit to flush-mount the tweeters into the brackets included with your order. Those brackets only work with tweeters that can be flush-mounted, so shop accordingly.
Tools needed: Panel tool, needle-nose pliers, 8mm socket, ratchet and extension
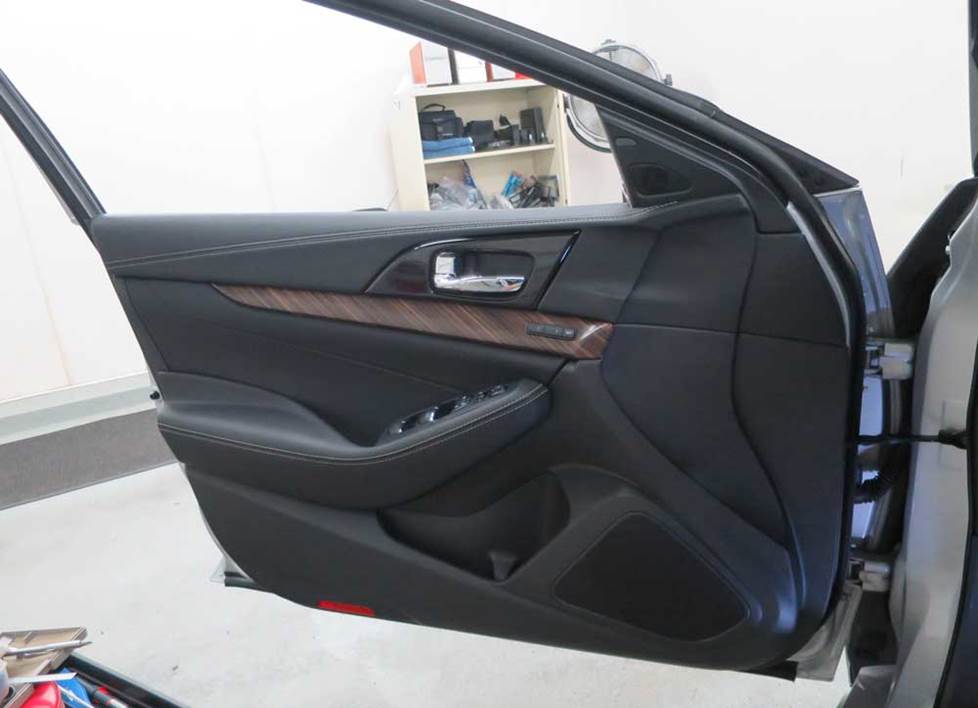
You'll need to remove the door panels to access the woofers. The tweeters are in the sail panels. (Crutchfield Research Photo)
Removing the front door speakers
The Maxima’s front doors sport two speakers apiece, 6"x9" woofers and 1.413" sail panel tweeters. You’ll need to remove the door panels to get to these speakers, and that’s a job that’s well within the capability of the average car audio DIY-er.
Pry out the screw cover behind the door release handle and remove one 10mm screw, then pry out the screw cover inside the door pull cup and remove one 10mm screw. Starting at the rear edge, pry up the power options switch panel to release those clips. Disconnect the wiring harnesses and remove the switch panel.
Pry out the courtesy light assembly to release the clips, then disconnect the wiring harness and remove the assembly. Pry out the sides and bottom of the door panel to release nine clips, then disconnect the wiring harness and the door lock and release cables. Remove the door panel and store it someplace clean and dry until it’s time to put it back.
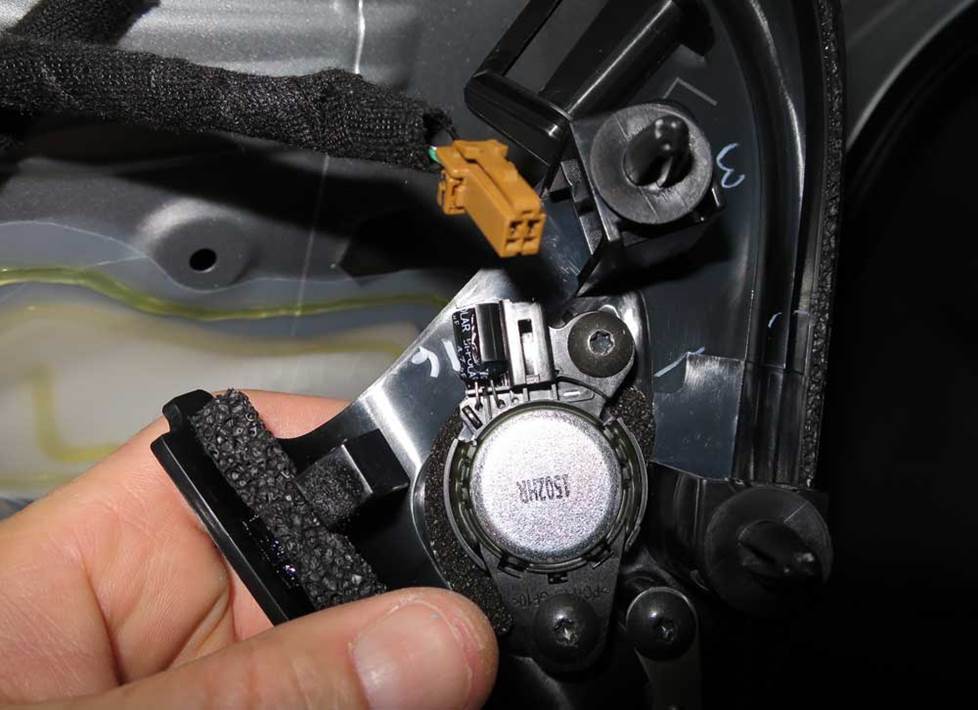
The sail panel tweeters are pretty easy to get to (Crutchfield Research Photo)
To remove the tweeter, pry off the sail panel/grille assembly to release two clips. Disconnect the wiring harness and remove the assembly, then remove the two Torx T20 screws securing the tweeter. There are no speaker wiring adapters available for the tweeters, so you’ll need to splice, solder, or use Posi-Products speaker connectors here. There aren’t any mounting brackets either, so you’ll need to use hot glue, silicone, or our universal backstraps.
With the woofers exposed, all you need to do is remove the four 8mm screws securing the speaker., then pull it out, disconnect it, and remove it. There is a speaker wiring harness for this location, which is nice. Depending on the aftermarket speakers you choose, you may need to use a pair of pliers to break off the alignment tabs on the factory brackets.
Be sure to test the speakers and then the door lock and release operation, before putting the door back together. We also recommend testing the window operation.
Tools needed: Panel tool, 8mm and 10mm sockets, ratchet and extension, small flat blade screwdriver
The rear door speakers are mounted on the door panels (Crutchfield Research Photo)
Removing the rear door speakers
The rear doors are home to 3-1/2" speakers that are attached to the door panels. You’ll need to remove these panels, too, and the process is quite similar to what you did up front. All the details can be found in your Crutchfield MasterSheet.
A variety of 3-1/2" aftermarket speakers will work here, but there are no speaker wiring adapters available. You’ll need to splice, solder, or use Posi-Products speaker connectors back here, too.
Once the new speakers are installed, test them out to make sure they’re working. You’ll also want to check the windows and the door lock and release operation before putting the door back together.
Tools needed: Panel tool, 10mm socket, ratchet and extension, small flat blade screwdriver, Phillips screwdriver
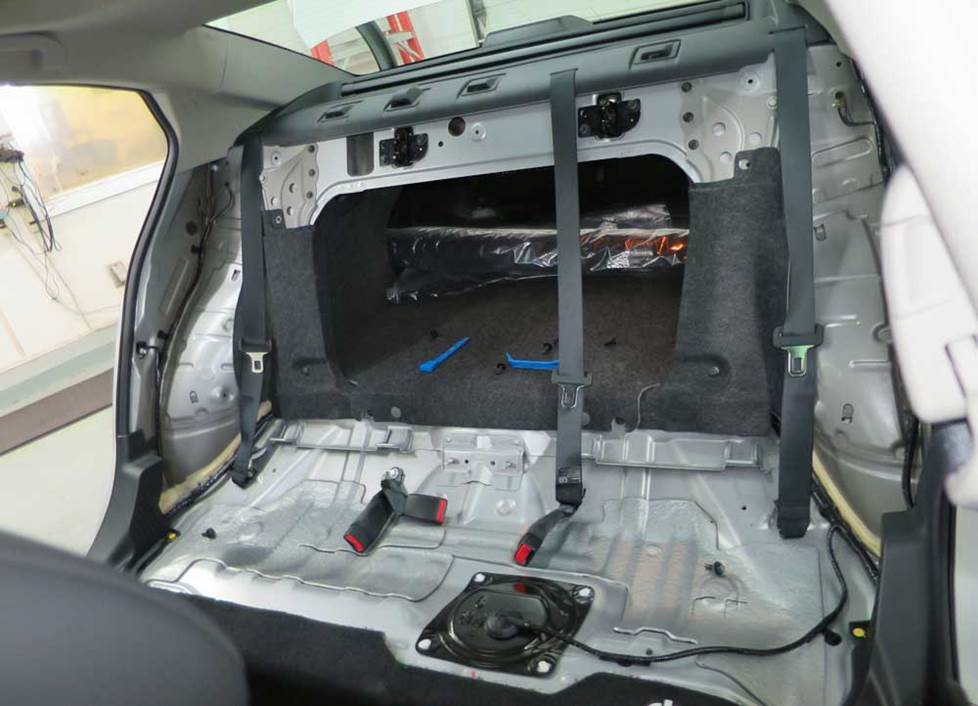
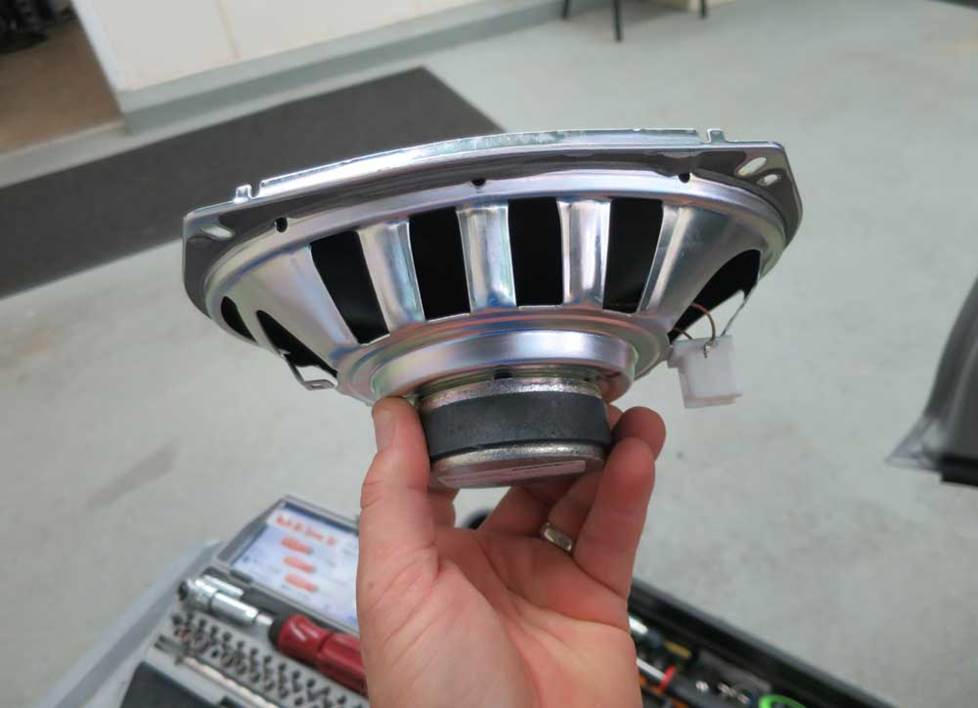
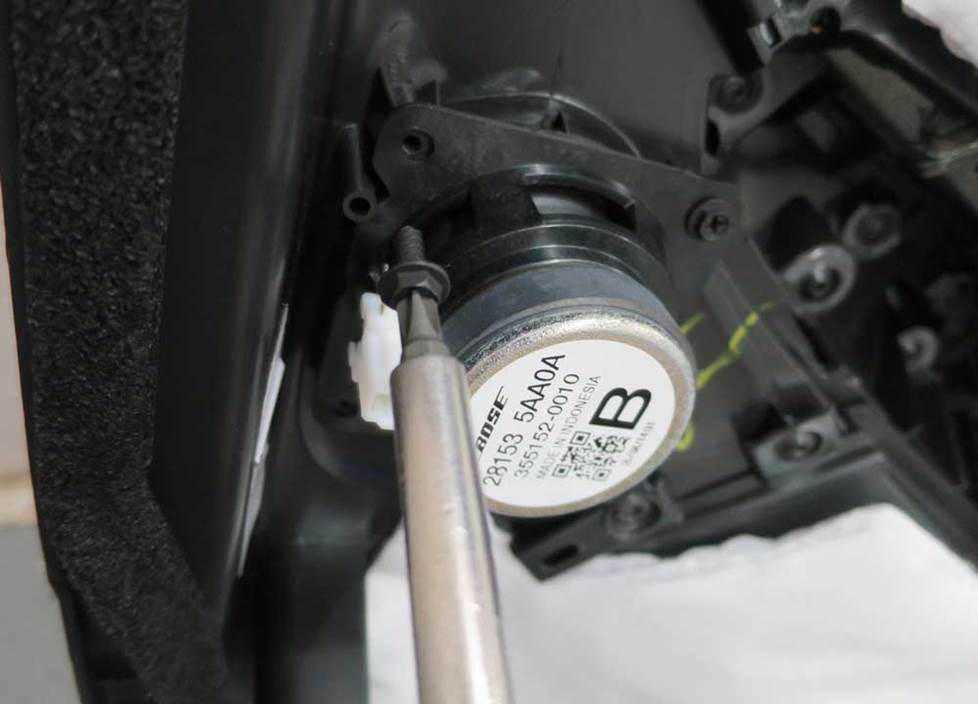
Getting to the Bose rear deck subs is not the easiest thing you'll do all year (Crutchfield Research Photo)
Removing the rear deck subs (Bose only)
The Bose system includes a pair of 6"x9" subwoofers in the rear deck. You can upgrade them with a variety of aftermarket speakers in various sizes, and when mounting brackets are necessary, we’ll include them with your purchase.
The challenge is getting to these speakers. You’ll have to dismantle a fair amount of the back seat and rear deck area, and while none of the individual steps are all that hard, there are a lot of steps. You can do this, but it’ll take time, patience, and organization. And maybe a friend to help you with the project.
All the details can be found in your Crutchfield MasterSheet, and if you have questions, your purchase also includes free tech support for the life of your gear. Our experts are right here in Virginia and ready to answer your questions if you get into a jam.
The bolt pattern of your new speakers will not line up with the factory screw holes, so you’ll need to re-use the factory screws and secure the new speaker by its flange. Also, you may need to trim the back of the factory speaker grille to get the new speaker to fit properly.
Once the new speakers are secure, test them to make sure they’re working properly. If they are, you’re ready to start putting it all back together again. Make sure the seats and seat belts are secure, and also check that the third brake light is working.
Tools needed: Panel tool, 10mm, 13mm, and 16mm sockets, ratchet and extension, small flat blade screwdriver, drill & 1/8" bit
Read our Car Speakers Buying Guide for more information.
Shop for speakers that fit your Nissan Maxima
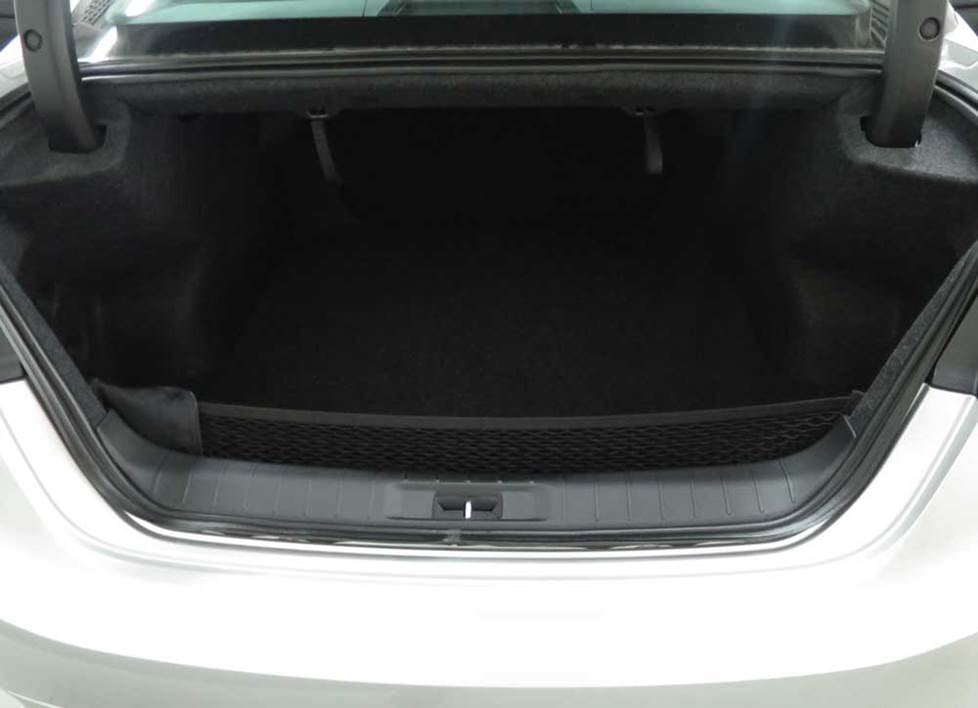
There's a decent amount of space for bass in the Maxima's trunk (Crutchfield Research Photo)
More bass in your Maxima
If you’re thinking about a subwoofer enclosure, you have some room to work with in the Maxima's trunk. We measured the available area at 40"W x 17"H x 29"/37" D, so you could get pretty boomy back here. If you do, we suggest lining the trunk lid with Dynamat.
If you need to retain some of that space for everyday cargo hauling duties, a smaller box or a more compact powered subwoofer will enhance your bass without eating up so much of your trunk space.
Learn more about building a bass system in our Car Subwoofer Buying Guide.
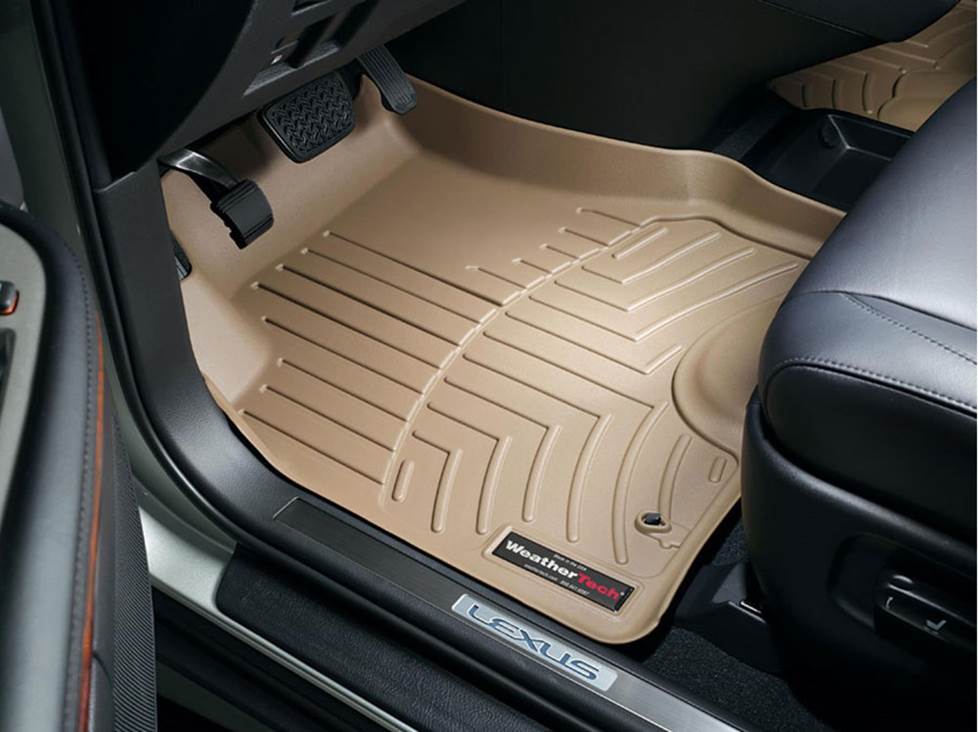
Keep your carpets looking sharp with a set of custom-fit WeatherTech floor liners
Other options for your Maxima
Here are a few other smart ways to improve the sound in your Maxima.
Add an amp (or two)
A new 4-channel amplifier will help you get the most out of your new speakers. You'll get cleaner power (and a lot more of it), which will result in much, much better sound. A mono amp can provide the juice you need for your new subwoofer, too.
Protect the carpets with WeatherTech floor liners
It's easier than you think to mess up your Maxima's comfy interior while you're going about your daily business. Floor mats and liners from WeatherTech will help protect your floors from dirt and damage.
Clean up the audio signal with a sound processor
If you choose to (or have to) stick with the factory radio, install a sound processor to send a clear, clean signal to your new amplifier. Sound processors remove any limitations on the signal imposed by the factory radio, and the better the signal, the better the sound. Read our article explaining factory sound processors to learn more.
Security systems and remote start
Installing a security system in your Nissan won't be easy (security systems rarely are), but it's definitely a good idea. Our Crutchfield Advisors can help figure out what you need to get the job done, but we usually recommend taking your car to a professional installer.
Let's get started!
Ready to shop? Use our vehicle selector to find the gear that will fit your car or truck. If you have questions, give us a shout via phone or chat.


Comments (0)