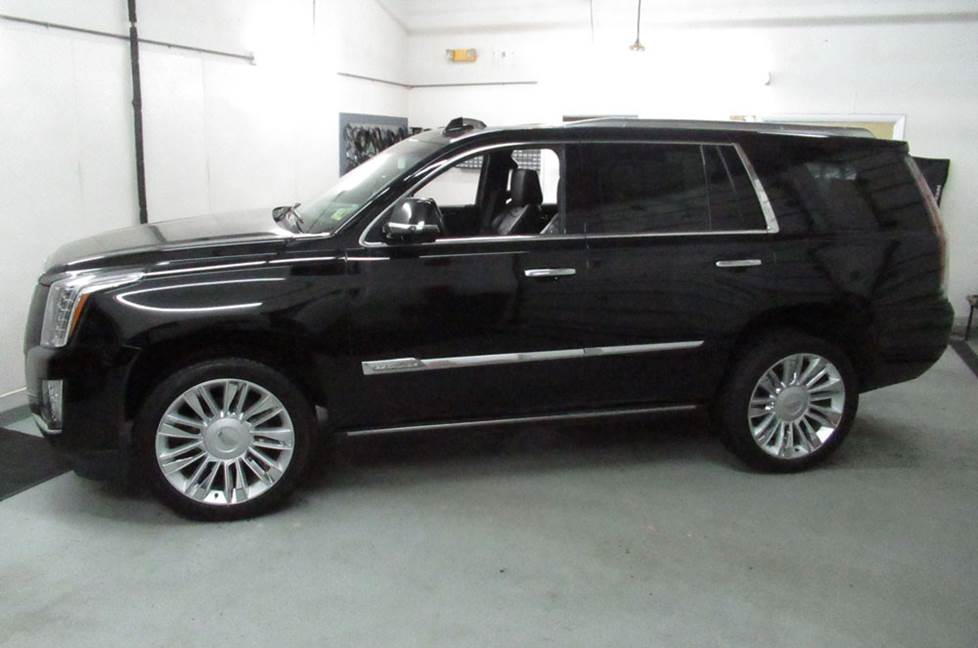
2015-2020 Cadillac Escalade
How to upgrade the stereo system in your Escalade

In brief: This Crutchfield Research Garage article gives you an overview of your Escalade's stock stereo system and your aftermarket upgrade options. We'll tell you all about:
- The factory stereo system
- Removing the factory speakers
- Adding more bass
- Other options for your Escalade
Then, use our vehicle selector to find the gear that will fit your Cadillac.
Overview of the Cadillac Escalade
The Cadillac Escalade has long been one of the era’s quintessentially American vehicles. Nothing this big should be this fast, nothing this capable should be this luxurious, and nothing this simple should have this much tech. But this is still America and not only do we make things like this, we really love them.
The Escalade isn’t just an iconic SUV, it’s a arguably big reason why we still have Cadillac around at all. Sometimes it takes an over-the-top vehicle to keep a storied marque from going six feet under. The automotive world is better for having Cadillac in it, so if you’re driving an Escalade, we car nuts owe you a debt of gratitude.
The stock audio system is pretty decent, but if you settled for "decent" in your life, you’d be driving a Chevy. Installing an aftermarket radio in your Escalade or Escalade ESV isn’t advisable, but there are plenty of cool things you can do to upgrade the sound with better speakers, amps, and subs. Read on to learn what you can do and how it gets done.
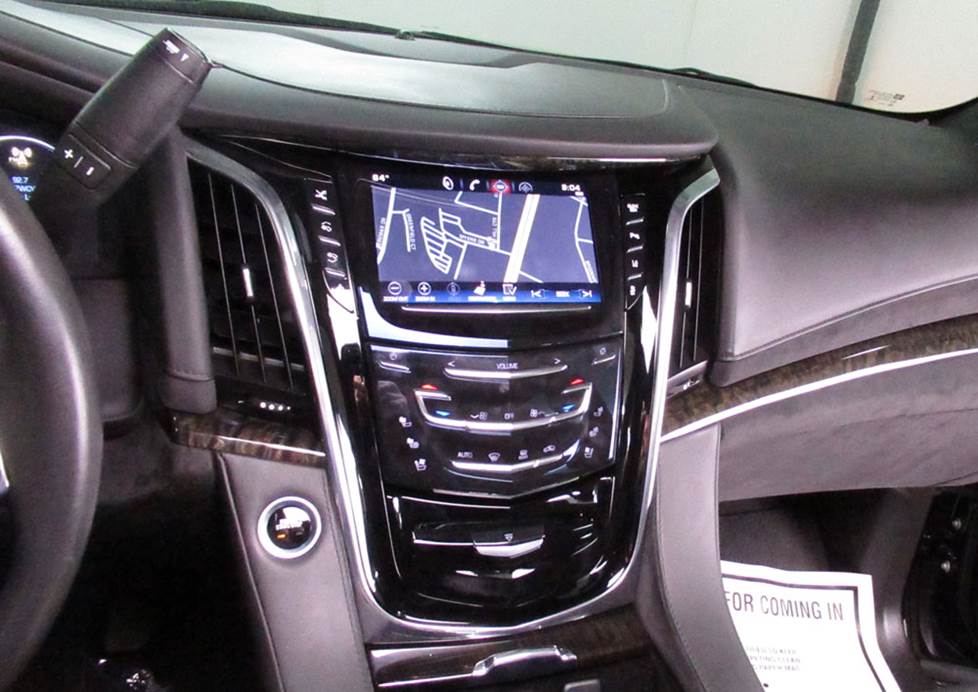
The factory radio is pretty decent. That's good news, because there's really no way to replace it with an aftermarket model. (Crutchfield Research Photo)
The factory stereo system
The Escalade’s factory audio system features an AM/FM/SiriusXM/CD/DVD/Blu-Ray/MP3 receiver and a 16-speaker Bose Centerpoint Audio System. There's really no way to replace this receiver, so most people will probably skip straight ahead to upgrading their speakers.
If you want to improve the audio in your Escalade, aftermarket speakers are the obvious way to go. Better speakers will give you better sound, even if you do have to stick with the factory “radio.” Adding an amplifier will add even more power and clarity to your music. Learn more about adding amps to your system in our Car Amplifier Buying Guide.
An aftermarket sound processor is the next step up. You might need to access the factory tuner/amp combo as part of this audio upgrade, and you'll find step-by-step disassembly info in the vehicle-specific instructions included with your Crutchfield car audio purchase.
To learn more about upgrading your sound while keeping the factory radio, check out this helpful guide to sound processors.
One thing to know is that when you add an aftermarket amplifier, processor, or subwoofer, you'll need to disable the factory Active Noise Cancellation system. If you need to get to the rear of the factory receiver, your Crutchfield disassembly instructions include all the step-by-step details you'll need to remove it.
If you buy your new gear from us, our Tech Support team is right here in Virginia and ready to take your call if you have questions.

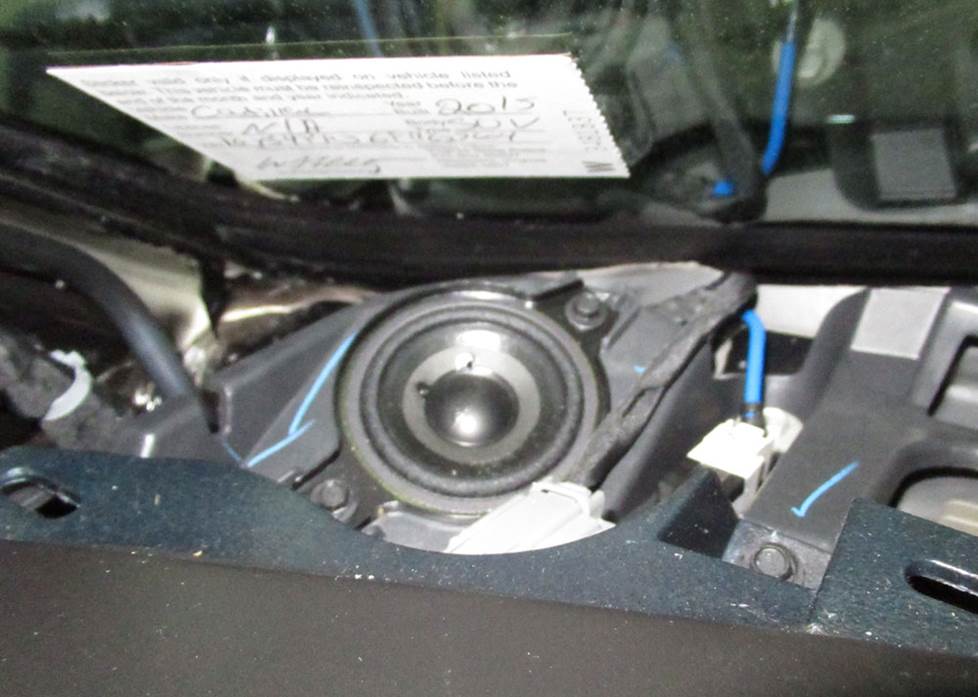
You'll need to remove the door panels to replace the front door speakers, which include this midrange speaker (Crutchfield Research Photo)
Removing the Escalade's factory speakers
With the radio situation being what it is, installing new aftermarket speakers is the best way to maximize the sound in your Escalade. The stock speakers are pretty easy to reach and replace, mostly, and we’ll give you all the step-by-step details in the illustrated, vehicle-specific removal instructions included free with your Crutchfield speaker order.
You'll get to the corner dash (shown) and center dash speakers by removing a dash panel (Crutchfield Research Photo)
Removing the dash speakers
Your Escalade has a 3-1/2" speaker in the center of the dash and 2-3/4" speakers in the dash corners. These speakers aren’t hard to reach and replace, and you’ll get to all of them in the same way.
You can replace the stock speakers with same-size or smaller models, though you will need to fabricate your own mounting bracket or use our universal backstraps to secure the new ones.
There’s no wiring harness adapter available for these locations, so you’ll need to splice, solder, or use Posi-Products speaker connectors to connect your new speakers to the Escalade’s wiring.
Detailed stereo and speaker removal instructions

To remove these speakers, pry off the driver's side pillar trim panel. Start at the top edge and use a panel tool to to release two clips, then push down on the tether to release it and lift up the panel. Pry out the two screw covers on the passenger's side pillar handle, then remove one 10mm screw at each location to remove the handle.
Pry out the passenger's side pillar trim panel to release one retaining clip, then lift up the trim panel and remove it.
Pry up the dash grille/vent trim panel to release twelve clips, then twist the sensor, remove it, and remove the trim panel. Remove the two 7mm screws securing each speaker to the dash, then disconnect the harnesses and remove the speakers.
Tools needed: Panel tool, 7mm & 10mm sockets, ratchet and extension
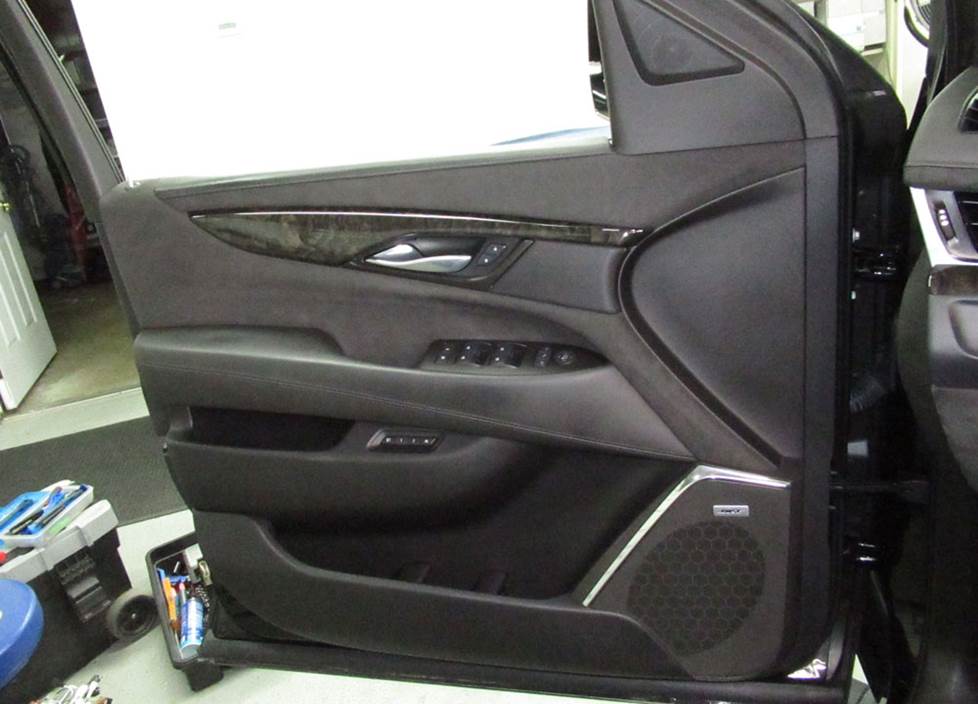
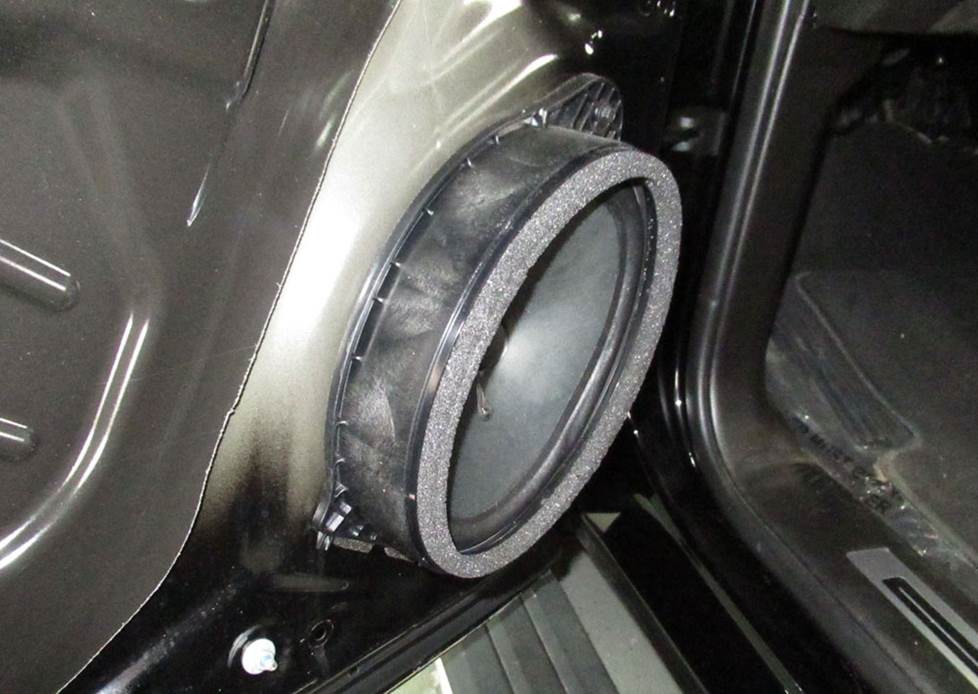
The front doors hold woofers, tweeters, and midrange speakers (Crutchfield Research Photo)
Removing the front door speakers
The Escalade’s impressively large front doors hold a suitably impressive array of speakers. There’s a tweeter, a midrange, and a woofer in each door. Once you remove the door panels, removing and replacing these speakers is a reasonably straightforward process.
There’s no speaker wiring adapter available for the tweeters or the mids, so you’ll need to splice, solder, or use Posi-Products speaker connectors for those locations. The tweeters will also need brackets, which we’ll discuss below.
To remove the door panels, grab your panel tool and, using the pry point, pry out the screw cover behind the door release and remove one 7mm screw. Next, pry up the screw cover inside the door pull cup and remove two exposed 7mm screws.
Remove the two 7mm screws along the bottom edge of the door panel, then use your panel tool to pry out the edges of door panel to release eighteen retaining clips. Disconnect the door release cable and wiring harnesses, then remove the door panel and store it somewhere safe and dry while you remove and replace the speakers.
Tweeters: To remove the 1.624" factory tweeters, pry out the lower front edge of the sail panel to release one clip, but don’t remove the panel. Pry out the sail panel’s grille to release two clips. The tweeter is glued to the back of that grille, so your next step is to carefully (you don’t want to hurt the grille) cut the glued areas to remove the tweeter.
Universal backstraps are a great way to keep your new tweeters in place, but you can also use hot glue or silicone to secure them.
Midranges: For the mids, you’ll start by removing two Torx T-15 screws on the back of the door panel. Next, starting at front edge, pry off the door trim strip to release the clips and pull it forward to remove it. Remove the two exposed Phillips screws, then pry off the grille to release four clips.
Remove the two 7mm screws securing the speaker to the door panel, then disconnect the harness and remove the speaker.
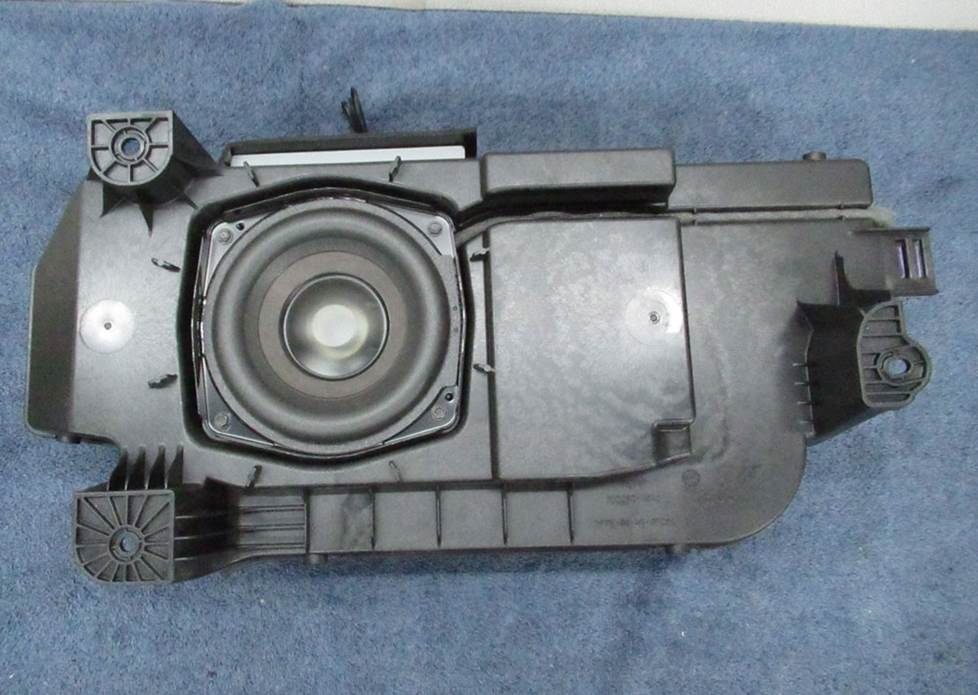
Replacing the stock woofers will yield an impressive improvement in audio quality (Crutchfield Research Photo)
Woofers: With the door panels already out of the way, the 6"x9" woofers are right there, so all you need to do is remove the 7mm screw securing the speaker. Pry the speaker out at the mounting tab, then remove it, pry off the harness clip, disconnect it, and set it aside.
You can replace these speakers with same-size, 6-1/2", or 6-3/4" aftermarket speakers. In some cases, you’ll need a speaker mounting bracket to install your new speaker and we’ll include them as part of your purchase. In some of those cases, you'll need to remove the inner tabs on the aftermarket bracket before attaching the speaker. We’ll let you know if that’s the case.
Replacing the low-impedance factory speaker with a 4-ohm aftermarket speaker will result in lower volume levels, so shop accordingly.
Once you’ve installed your new speakers, test them out to make sure they’re working. If they are, start putting the door back together, taking care to make sure the door locks and windows are working properly as you do so.
Tools needed: Panel tool, Phillips screwdriver, small flat blade screwdriver, Torx T15 driver, 7mm socket, ratchet and extension, utility knife
The rear doors feature woofers and these tweeters (Crutchfield Research Photo)
Removing the rear door speakers
Each rear door contains a 1.601" tweeter and a 6-3/4" woofer. Plenty of good aftermarket replacements are available, and we’d suggest choosing a set of component speakers for your Escalade.
You’ll need a set of Posi-Products speaker connectors to connect the tweeters to the factory wiring, and, as with the front tweeters, universal backstraps are a great way to keep the new tweeters in place. You can also use hot glue or silicone to secure them.
As for the woofers, you might need to use a speaker mounting bracket to install your new speaker, and if that’s the case with your order, we’ll include them as part of your purchase. In some cases, you'll need to remove the inner tabs on the aftermarket bracket before attaching the speaker.
If all this is starting to sound familiar, it’s because speaker replacement in these doors is generally quite similar to what you did on the front doors. We’ll skip the details here, but rest assured, they’re all included in the illustrated, step-by-step removal instructions included free with your Crutchfield purchase.
Tools needed: Panel tool, Phillips screwdriver, small flat blade screwdriver, Torx T15 driver, 7mm socket, ratchet and extension
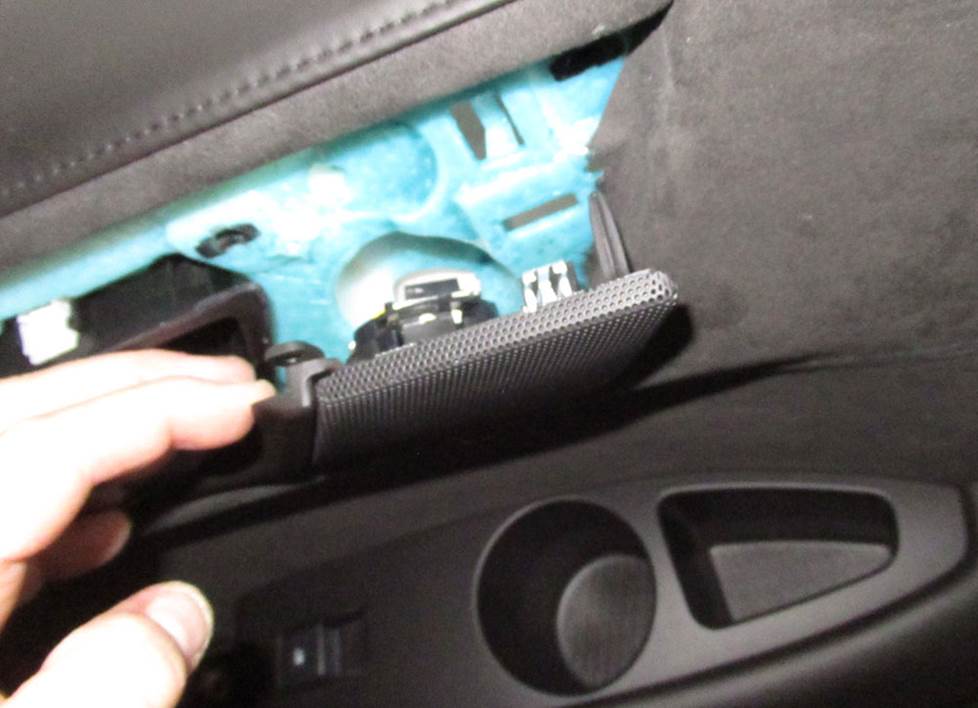
These 2-3/4" rear pillar mids are reasonably easy to reach and replace (Crutchfield Research Photo)
Removing the rear pillar speakers
Removing and replacing the 2-3/4" rear pillar midrange speakers is a reasonably simple DIY task, but it’ll pay to work carefully and stay organized. Our vehicle-specific instructions will be a big help.
Pry down the upper cargo door trim panel to release four clips, then work the seat belt through the panel opening and remove the panel. Next, using the pry point, use you panel tool to pry out the screw cover on the rear pillar trim panel, then remove the exposed 7mm screw.
Pry out the rear pillar trim panel to release five clips, then disconnect the wiring harness, pry off the harness clip and remove the trim panel. That trim panel will remain tethered to the seat belt throughout, by the way. From here, just remove the Phillips screw securing the speaker to the pillar trim panel and remove it.
You’ll need a set of Posi-Products speaker connectors to connect these speakers to the factory wiring. Test the speakers before you button everything up, and definitely make sure the seat belts are functioning properly.
Tools needed: Panel tool, small flat blade screwdriver, Phillips screwdriver, 7mm socket, ratchet and extension
Read our Car Speakers Buying Guide for more information.
Shop for speakers that fit your Cadillac Escalade
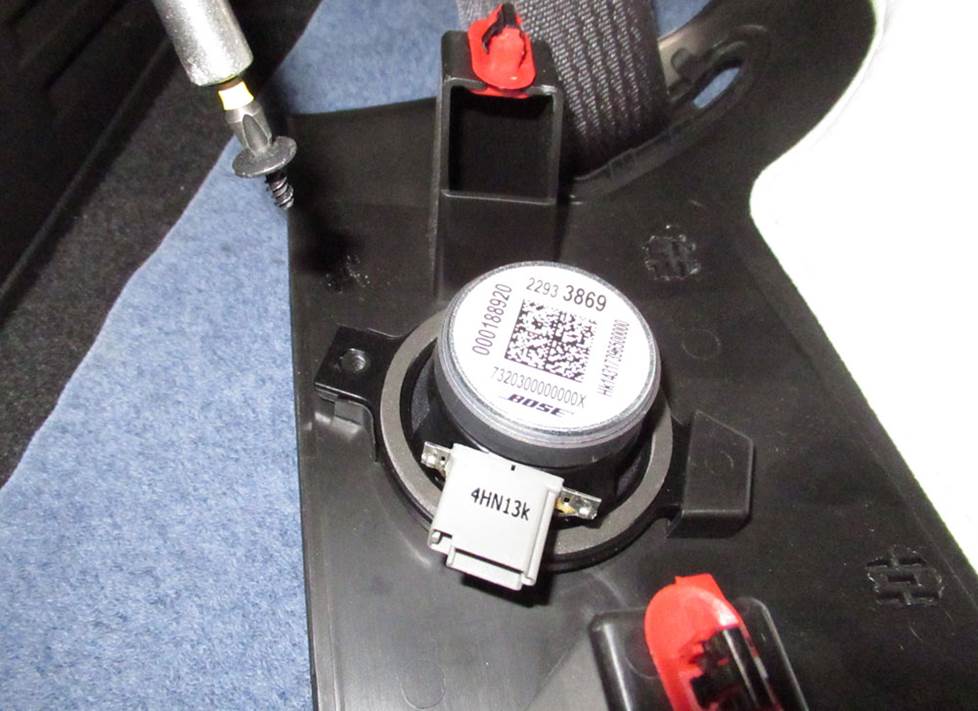
There's a fair amount of work involved in removing the center console subwoofer (Crutchfield Research Photo)
Removing the center console subwoofer
The Escalade sports a 6" single voice coil subwoofer in the center console. You can replace this sub, but the disassembly process is pretty intense. It’s not hard, exactly, but there are a lot of steps involved in getting into the console and getting the old sub out of there.
Can you do this? Yes, you can, but taking it apart is one thing, putting it back together is another. You’ll need to be patient and you’ll definitely need to stay organized and keep track of all the various panels and bits of hardware as you work.
The entire process is explained in detail in your Crutchfield MasterSheet disassembly instructions. If you have questions or run into trouble, our expert tech support team is right here in Virginia and ready to help you, seven days a week.
Replacing this low-impedance sub with a 4-ohm aftermarket model will result in lower volume levels. And, since this stock speaker only receives bass frequencies from its amp, whatever aftermarket speaker you install will also only play bass. Another thing to note is that you’ll need to fabricate a mounting bracket to install the new speaker.
Tools needed: Panel tool, T15 Torx driver, 7mm, 10mm, 15mm sockets, ratchet and extension

Like bass? The Escalade offers plenty of room for a sub enclosure or maybe two (Crutchfield Research Photo)
More bass in your Escalade
The Escalade is about as full-sized as full-sized SUVs can get, so there’s obviously a lot of room in the cargo hold. If you want to install a big, booming subwoofer/box combo back here, well, you have all the space you need.
The actual measurements are 49" W x 15" H x 10"/13" D with the rear seats in the "up" position, so if you really like bass, you’ll really like whatever you install back here. A quality amplifier will bring the best out of your subwoofer(s), so be sure to add one of those to your shopping list.
If you have more practical concerns, but still want to pad the bottom end in your music, a more compact powered subwoofer will also work nicely back here.
Learn more about building a bass system in our Car Subwoofer Buying Guide.
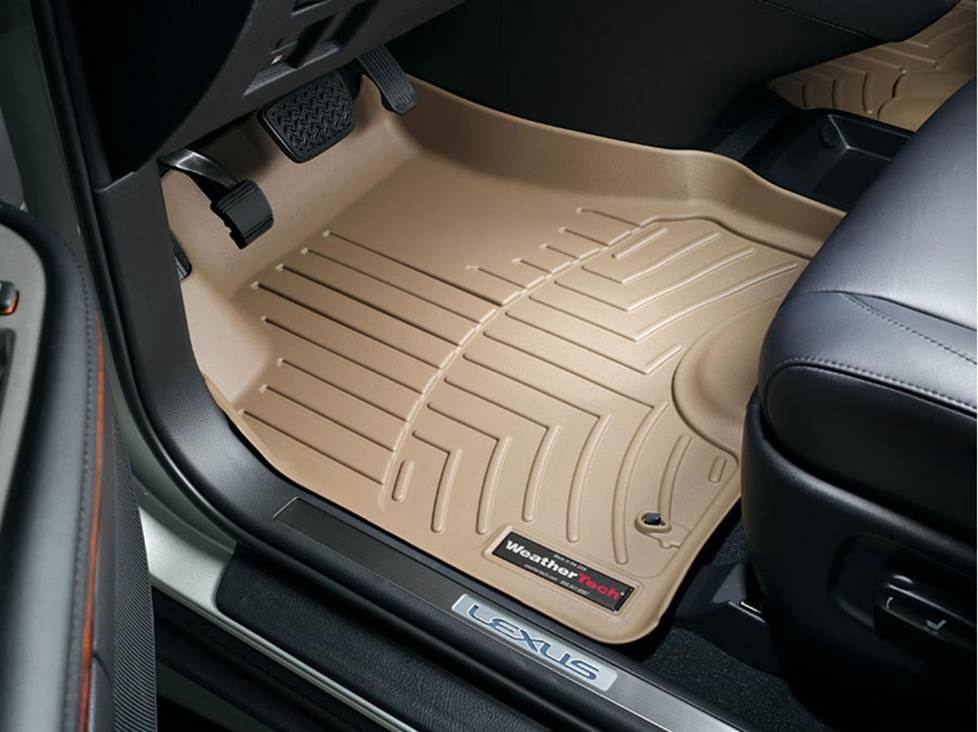
A set of custom-fit WeatherTech floor liners will protect your Escalade's carpets from damage
Other options for your Escalade
There are lots of things you can do to make your Escalade into an even better ride than it is already. Here are a few ideas.
Floor mats
Even in a vehicle as luxurious as an Escalade, there are things that just happen when you hit the road carrying any combination of adults, kids, pets, and food. WeatherTech floor liners will help protect your Escalade's carpeting from dirt and damage.
Amplifiers
The factory Bose system includes amps, but they aren’t ideal for use with aftermarket head units or speakers. If you want the best possible sound, it’s best to bypass or eliminate these amps in favor of aftermarket models. There's plenty of room in the Escalade to add the amplifier(s) you need for your system.
Remote start and security systems
Adding remote start capability to your vehicle lets you warm it up in the winter or cool it down in the summer. The iDatastart system is incredibly convenient and makes it easier than ever to install a remote start system, so we highly recommend it. The module requires a vehicle-specific T-harness (sold separately) to connect with your vehicle's computer, security, and ignition systems, so we ask that you call to order so that we can make sure you get the right harness for your ride.
You can also talk to your Crutchfield Advisor about a security system. They’re not as easy to install (we usually suggest letting a professional do the job), but we can help you choose a system that’ll work in your vehicle.
Let's get started!
Ready to shop? Use our vehicle selector to find the gear that will fit your car or truck. If you have questions of your own, give us a shout via phone, chat, or email


derek c
Posted on 12/15/2023
Hey, does anyone know what number the factory head unit starts clipping at? It goes 1 to 63 volume. Thank you